Getting Started with React and Electron
Set up a React app inside Electron, package it for desktop, and add routing.
In this tutorial, you will set up a React app to run inside Electron and package it for desktop. This is useful when you want to reuse React skills and components in a desktop app.
This guide assumes Node.js and npm are already installed.
Step 1: Create a React app
Create a new React app and start the development server:
npx create-react-app react-elec-demo
cd react-elec-demo
npm run start
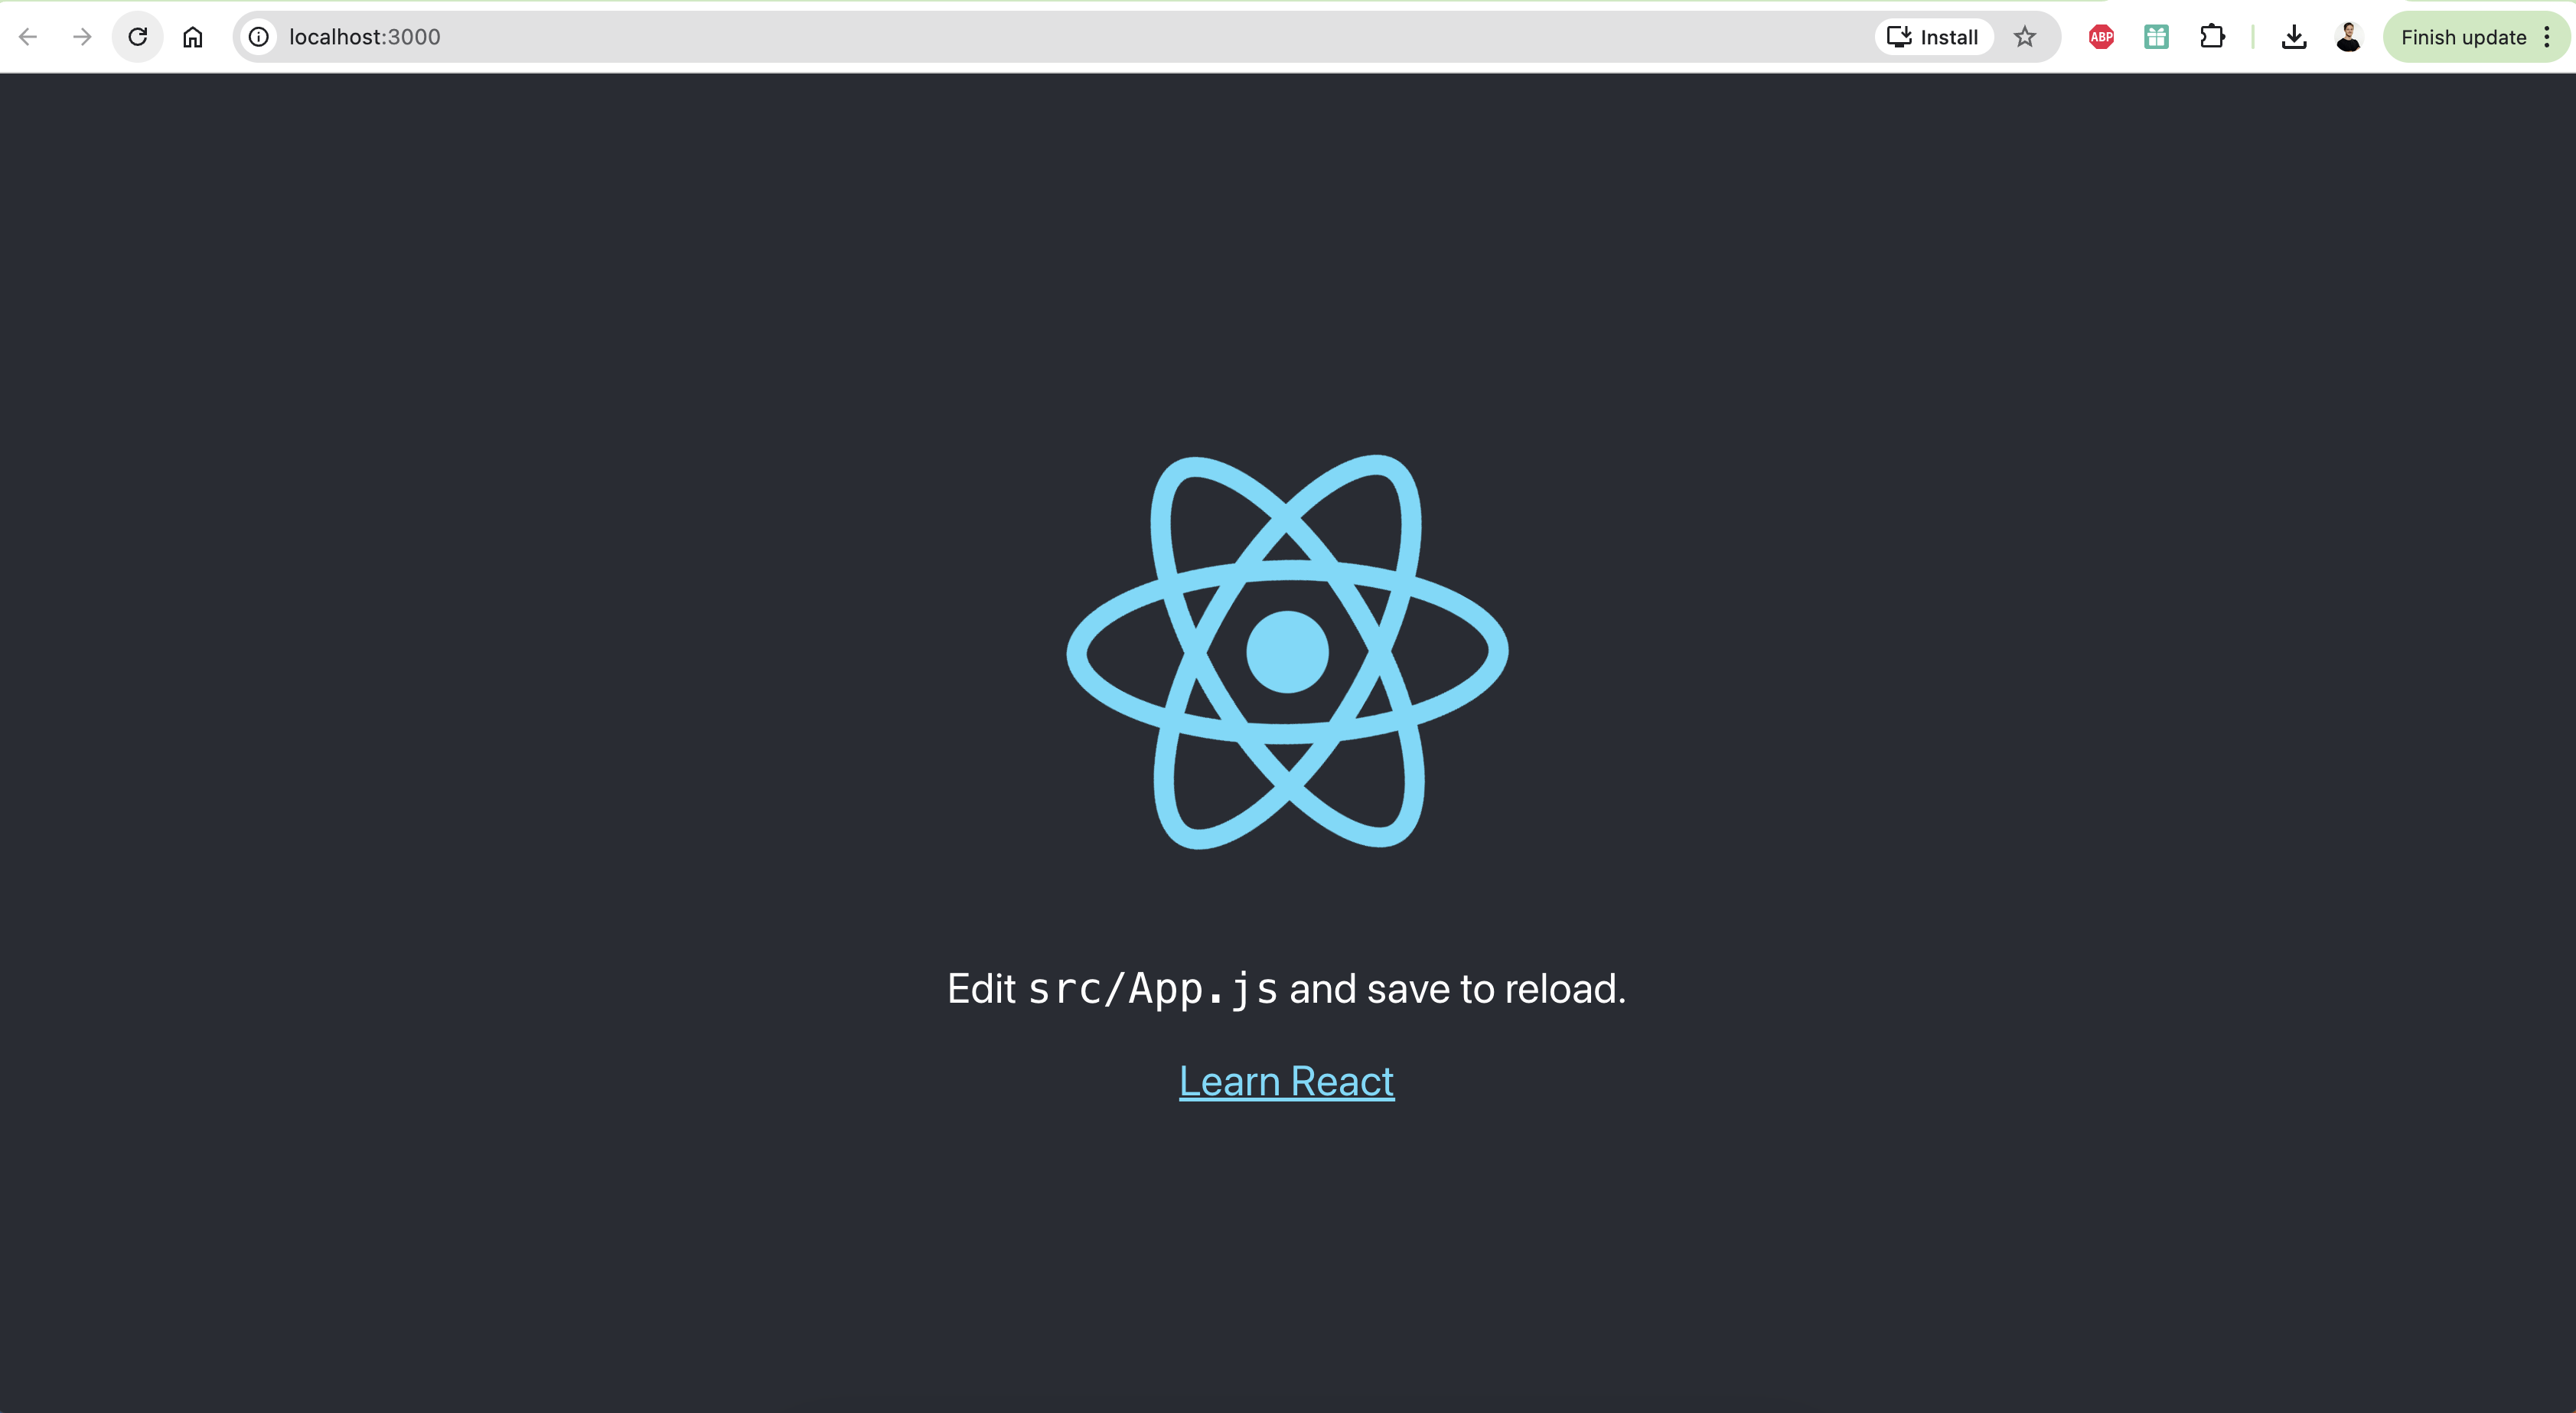
You should see the default React app in your browser before adding Electron.
Step 2: Add an Electron entrypoint
Create main.js in the project root:
const path = require("path");
const { app, BrowserWindow } = require("electron");

const createWindow = () => {
  const win = new BrowserWindow({
    width: 800,
    height: 600,
  });

  if (app.isPackaged) {
    win.loadFile(path.join(__dirname, "./build/index.html"));
    return;
  }

  win.loadURL("http://localhost:3000");
};

app.whenReady().then(() => {
  createWindow();
});
Then install the packages used for local Electron development:
npm install --save-dev electron wait-on concurrently
Step 3: Update package.json for local development
Add Electron as the app entrypoint and update the scripts:
{
  "main": "main.js",
  "homepage": ".",
  "scripts": {
    "start:react": "PORT=3000 react-scripts start",
    "start:electron": "electron .",
    "start": "concurrently \"npm run start:react\" \"wait-on http://localhost:3000/ && npm run start:electron\"",
    "build": "react-scripts build",
    "test": "react-scripts test",
    "eject-react": "react-scripts eject"
  }
}
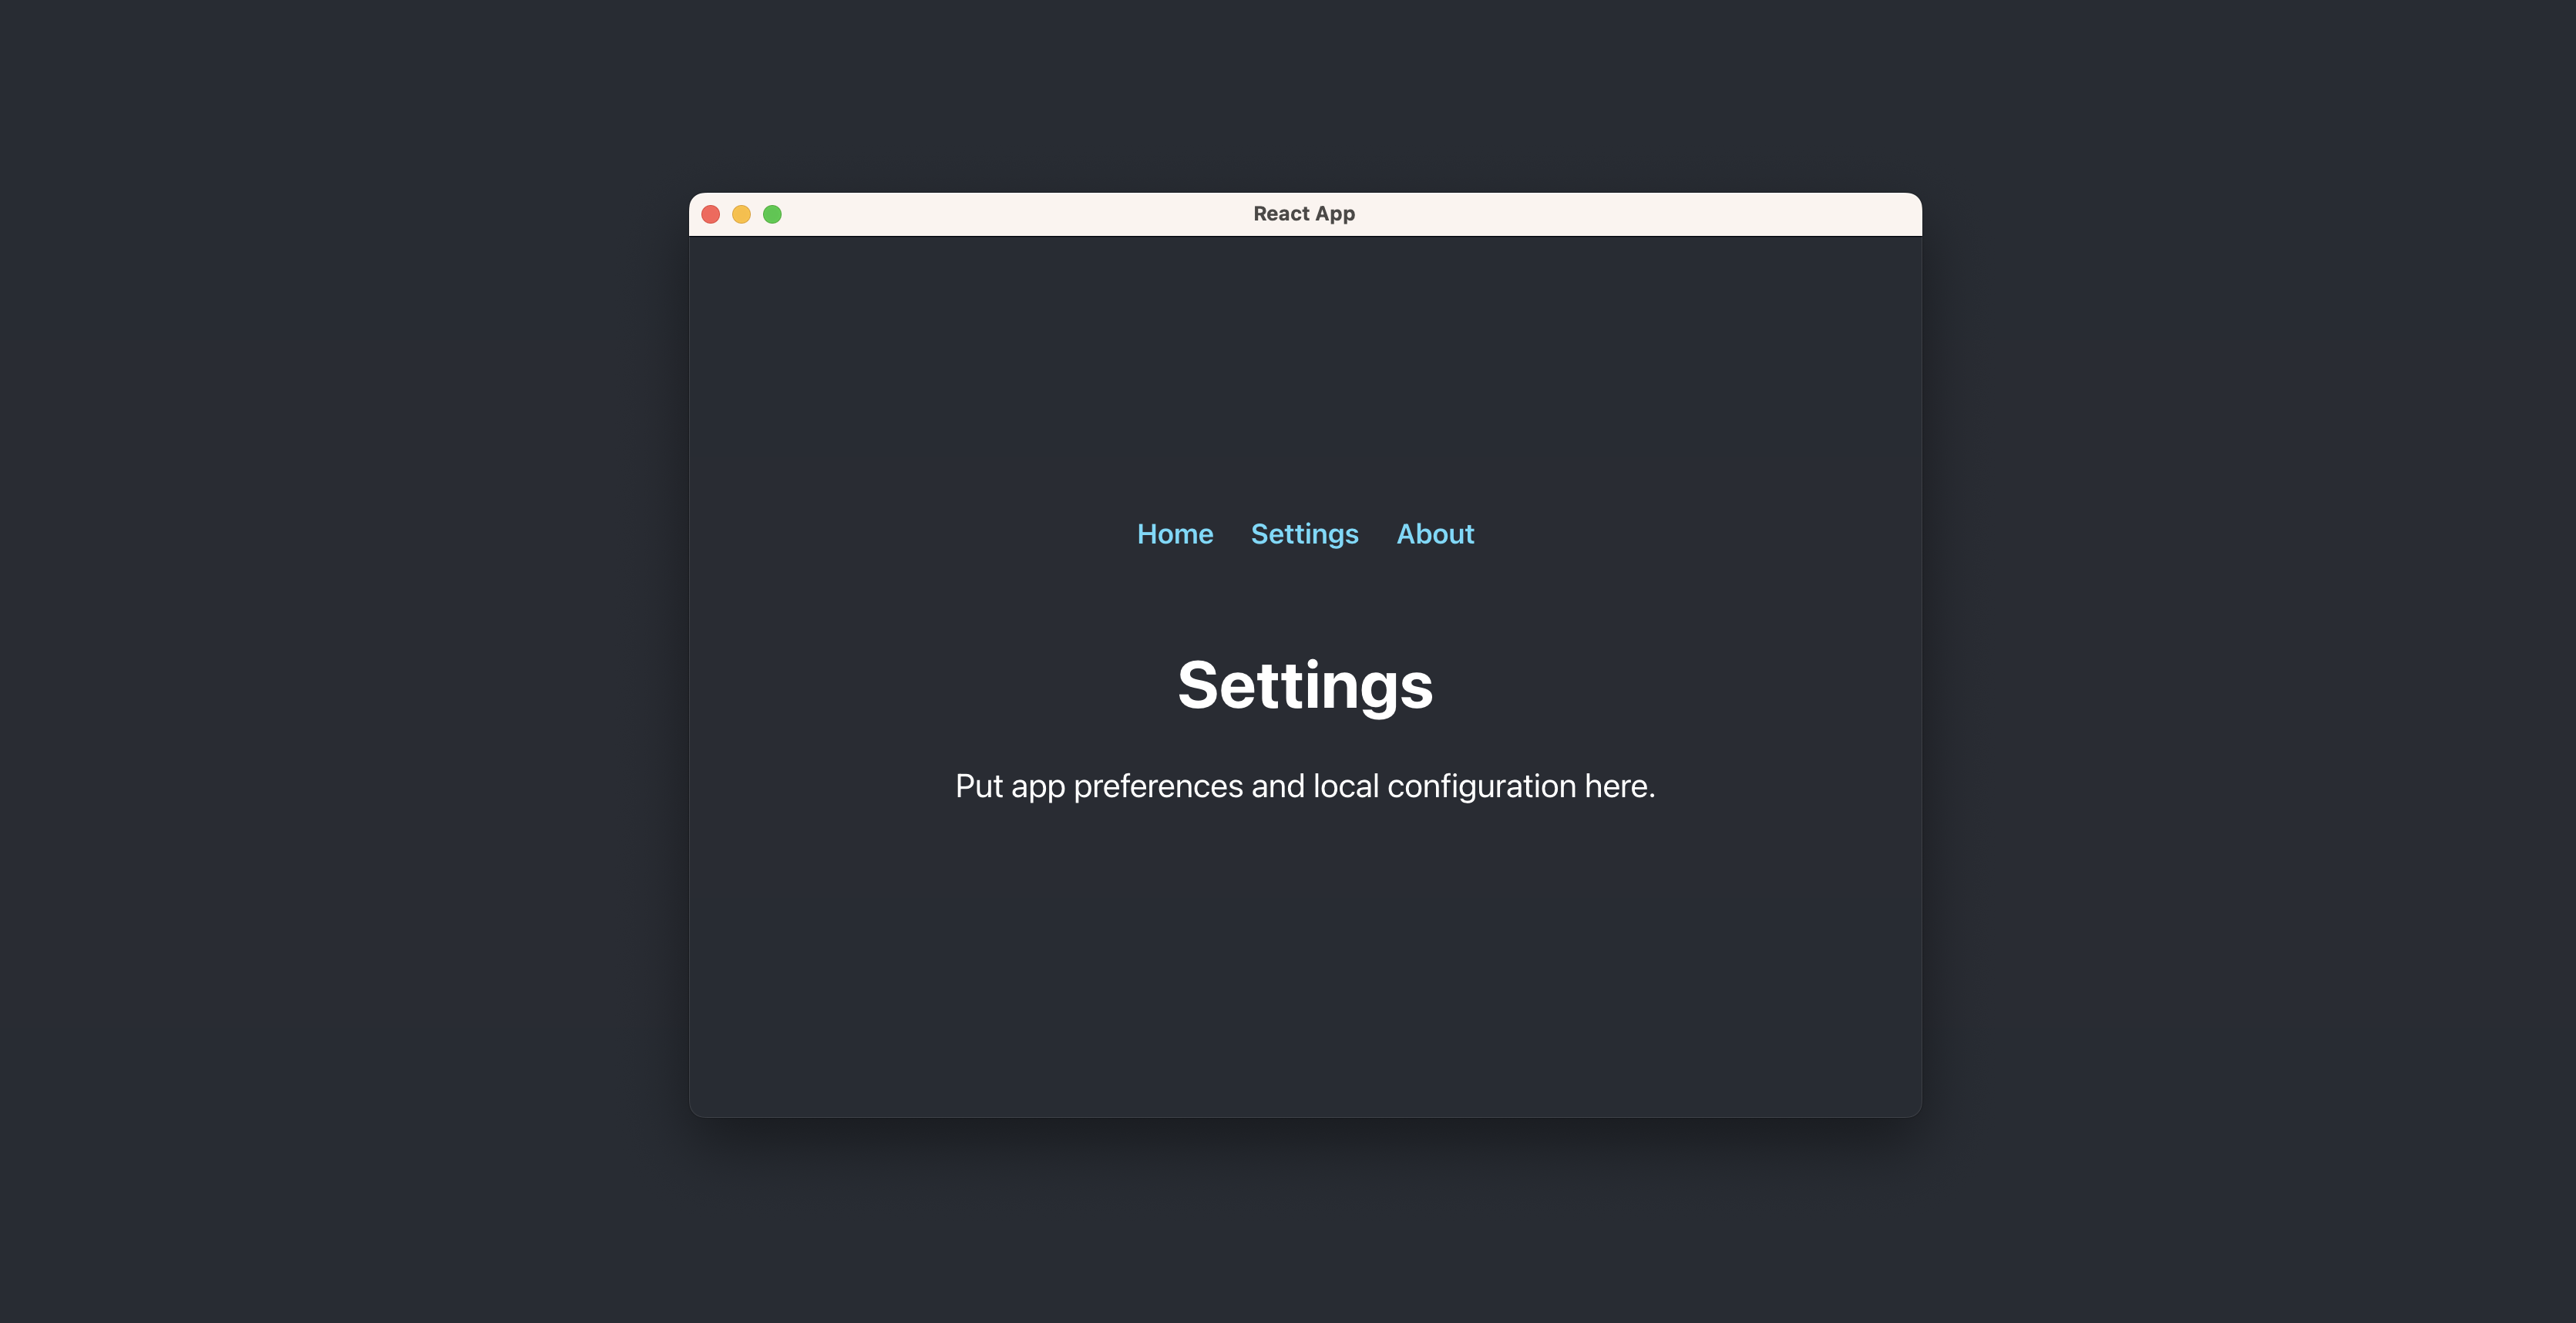
Now npm run start will open the React app inside an Electron window.
Step 4: Package the app for production
Install Electron Forge and import its config:
npm install --save-dev @electron-forge/cli
npm exec --package=@electron-forge/cli -c "electron-forge import"
Then update your scripts so the React build runs before packaging:
{
  "scripts": {
    "start:react": "PORT=3000 react-scripts start",
    "start:electron": "electron .",
    "start": "concurrently \"npm run start:react\" \"wait-on http://localhost:3000/ && npm run start:electron\"",
    "start:forge": "electron-forge start",
    "build": "react-scripts build",
    "test": "react-scripts test",
    "eject": "react-scripts eject",
    "package": "npm run build && electron-forge package",
    "make": "npm run build && electron-forge make"
  }
}
Build the packaged app:
npm run package
This creates the React production build in build/ and the packaged Electron app in out/.
Step 5: Add multiple routes
Install React Router:
npm install react-router-dom
Update src/index.js to wrap the app with HashRouter:
import React from "react";
import ReactDOM from "react-dom/client";
import { HashRouter } from "react-router-dom";
import "./index.css";
import App from "./App";
import reportWebVitals from "./reportWebVitals";

const root = ReactDOM.createRoot(document.getElementById("root"));
root.render(
  <React.StrictMode>
    <HashRouter>
      <App />
    </HashRouter>
  </React.StrictMode>
);

reportWebVitals();
Then update src/App.js with a few routes:
import { Link, Route, Routes } from "react-router-dom";
import "./App.css";

function Home() {
  return (
    <section>
      <h1>Home</h1>
      <p>This is the default Electron route.</p>
    </section>
  );
}

function Settings() {
  return (
    <section>
      <h1>Settings</h1>
      <p>Put app preferences and local configuration here.</p>
    </section>
  );
}

function About() {
  return (
    <section>
      <h1>About</h1>
      <p>This page is rendered through React Router inside Electron.</p>
    </section>
  );
}

function App() {
  return (
    <div className="App">
      <header className="App-header">
        <nav className="App-nav">
          <Link to="/">Home</Link>
          <Link to="/settings">Settings</Link>
          <Link to="/about">About</Link>
        </nav>

        <Routes>
          <Route path="/" element={<Home />} />
          <Route path="/settings" element={<Settings />} />
          <Route path="/about" element={<About />} />
        </Routes>
      </header>
    </div>
  );
}

export default App;
Use npm run start again and confirm the routes render correctly inside Electron.
Conclusion
You now have a React app running inside Electron with a production packaging flow and client-side routing. From here, you can add native desktop features or package installers for your target platforms.