Hosting Multiple Sites on an S3 Bucket
Host multiple static sites from one S3 bucket by routing requests through CloudFront.
In this tutorial, you will host multiple static sites from a single Amazon S3 bucket by routing requests with CloudFront. This is useful when you want to reduce bucket sprawl and manage several small static sites from one origin.
This guide assumes you already have an AWS account, a domain you control, and access to update DNS records.
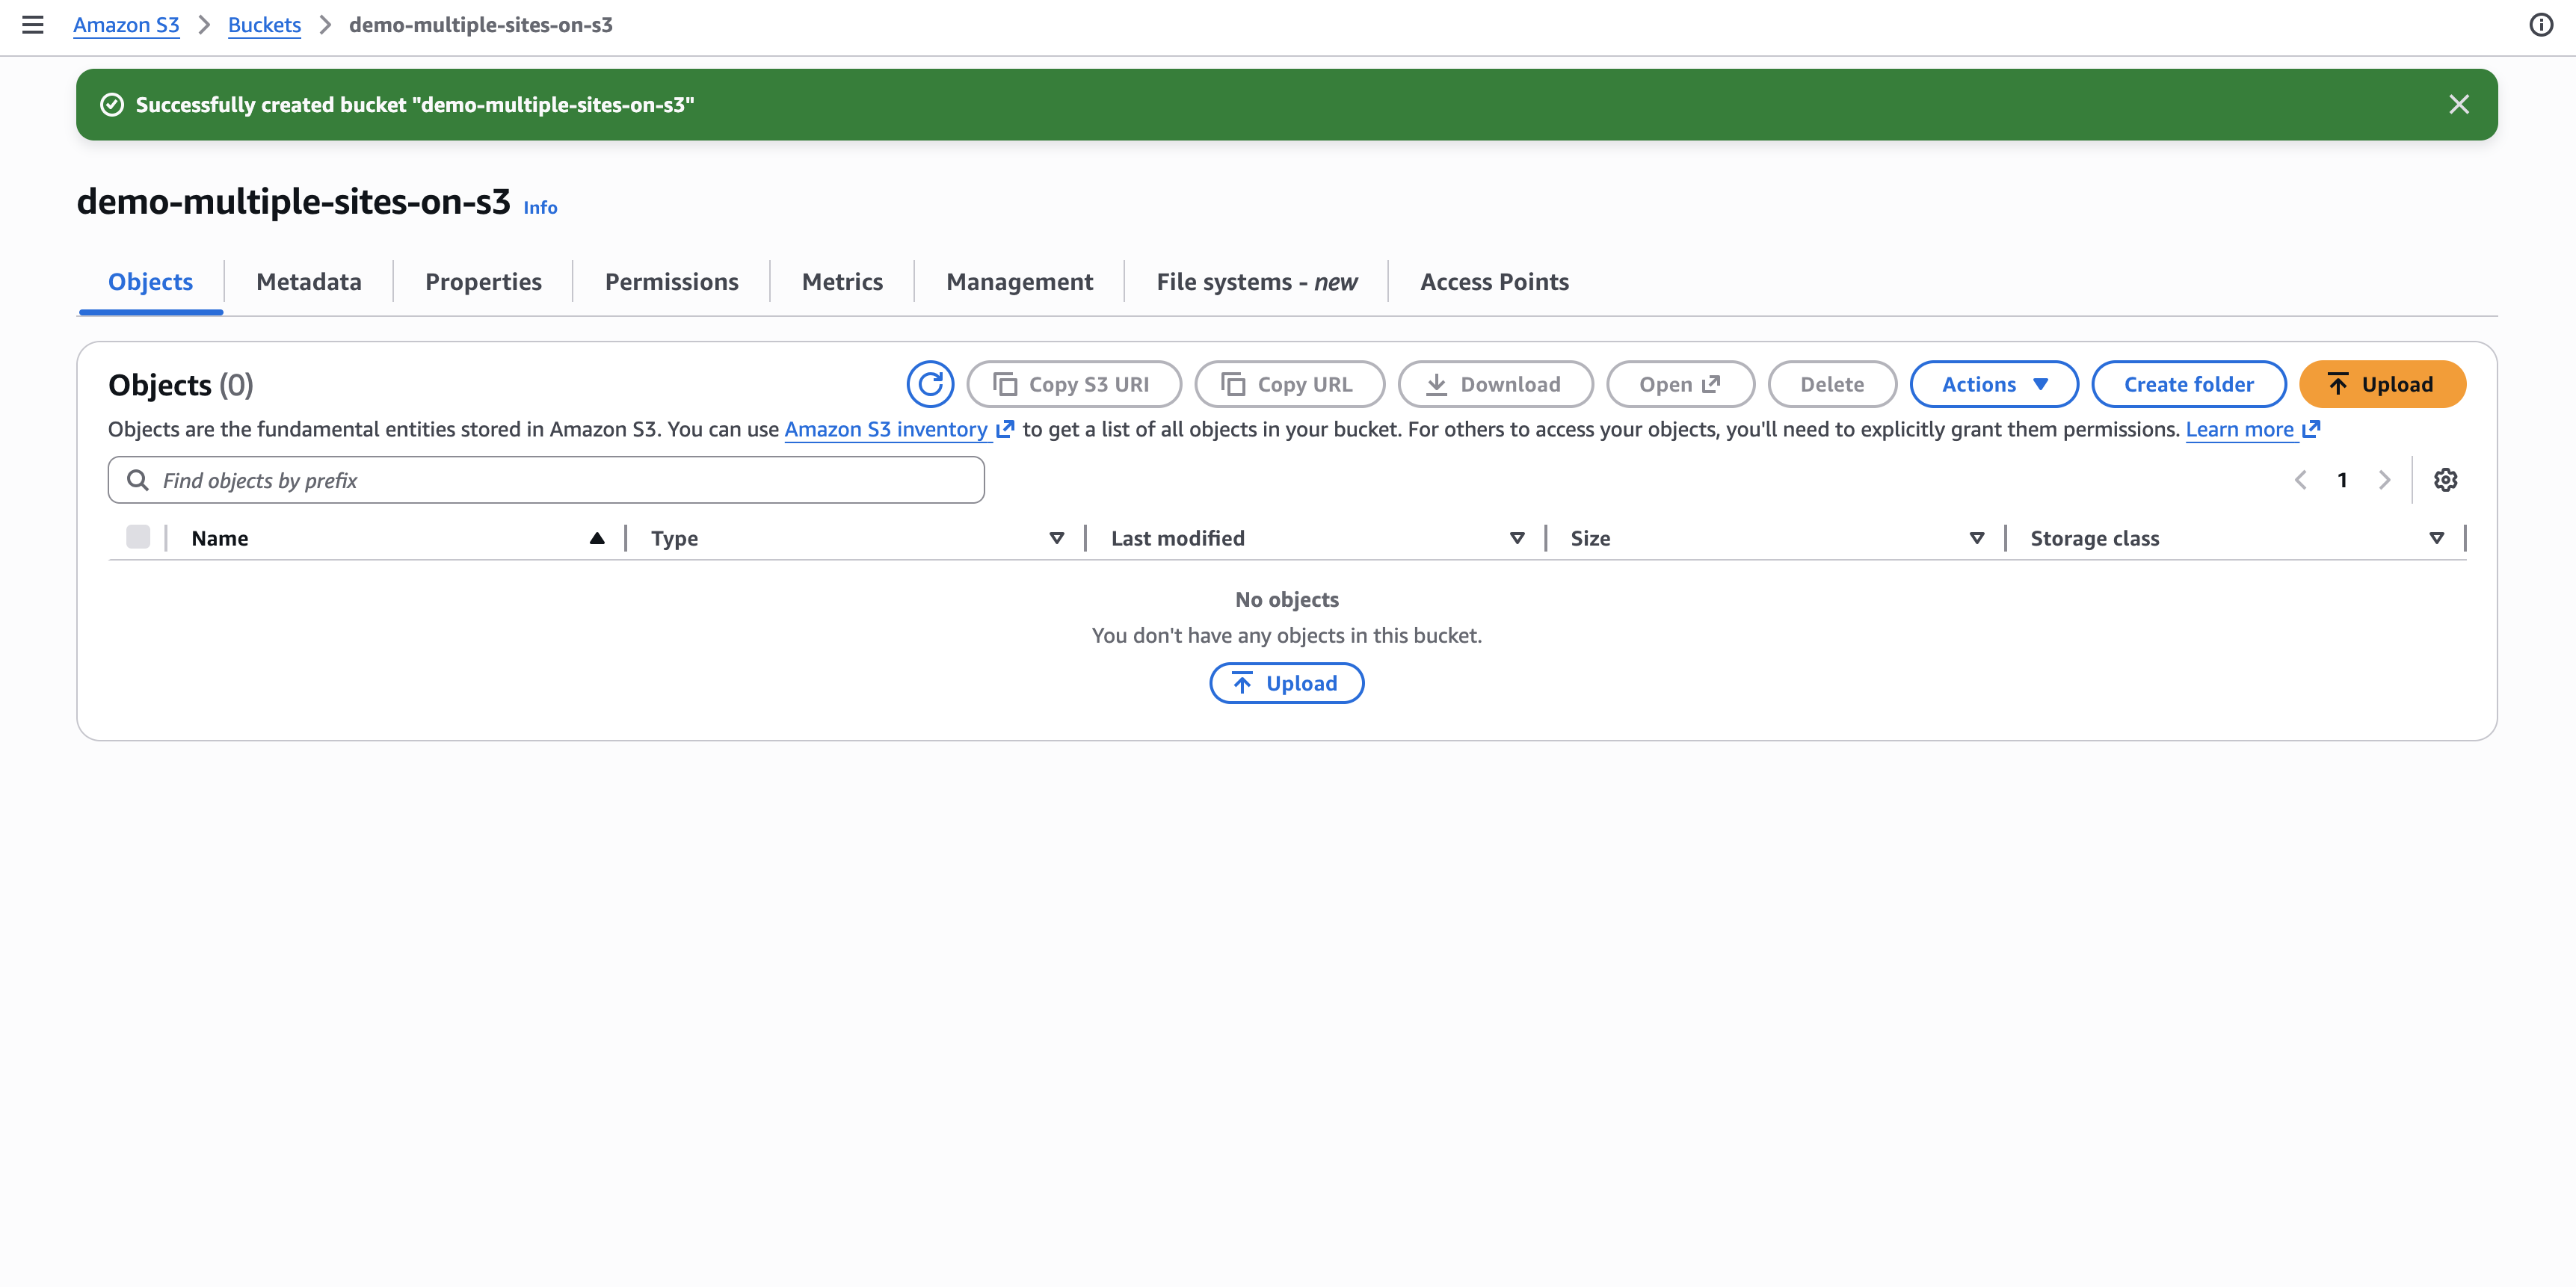
Step 1: Create the S3 bucket
Create a new S3 bucket in the AWS Console. Leave public access blocked for now.
Step 2: Create a folder for each site
Inside the bucket, create one folder per site, such as site1 and site2.
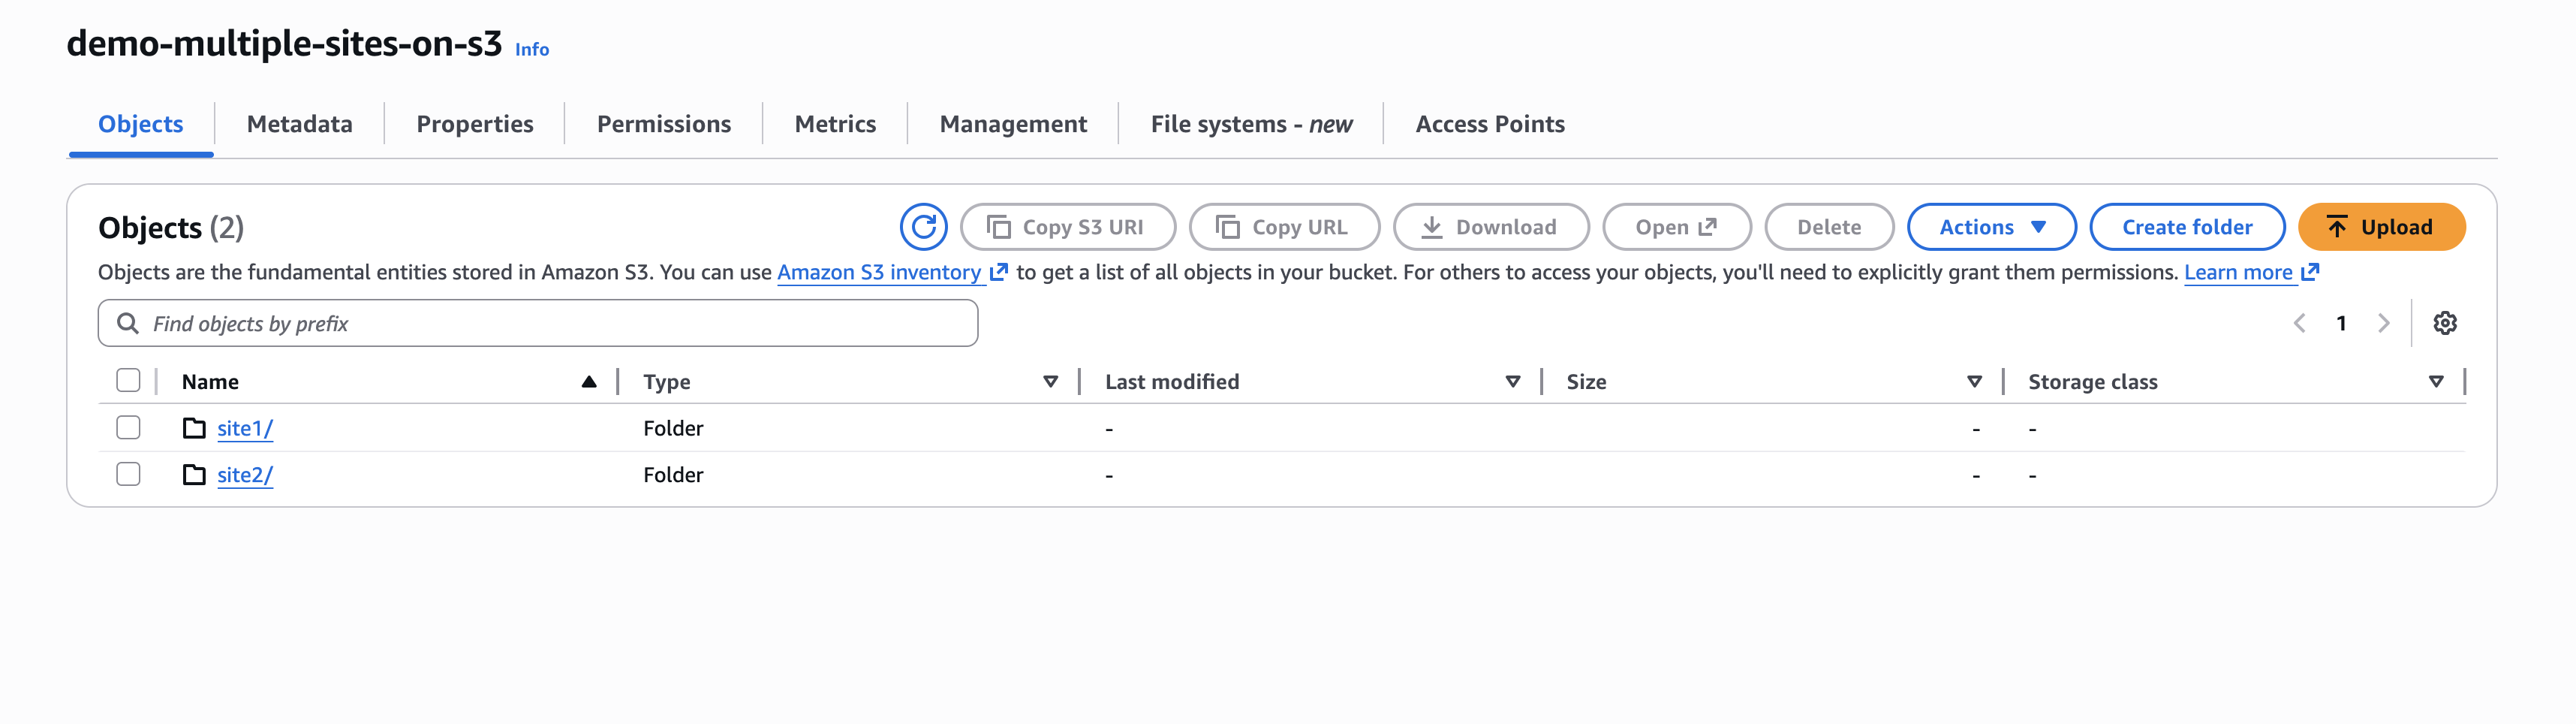
Upload an index.html file into each folder so each site has distinct content:
<html>
  <body>
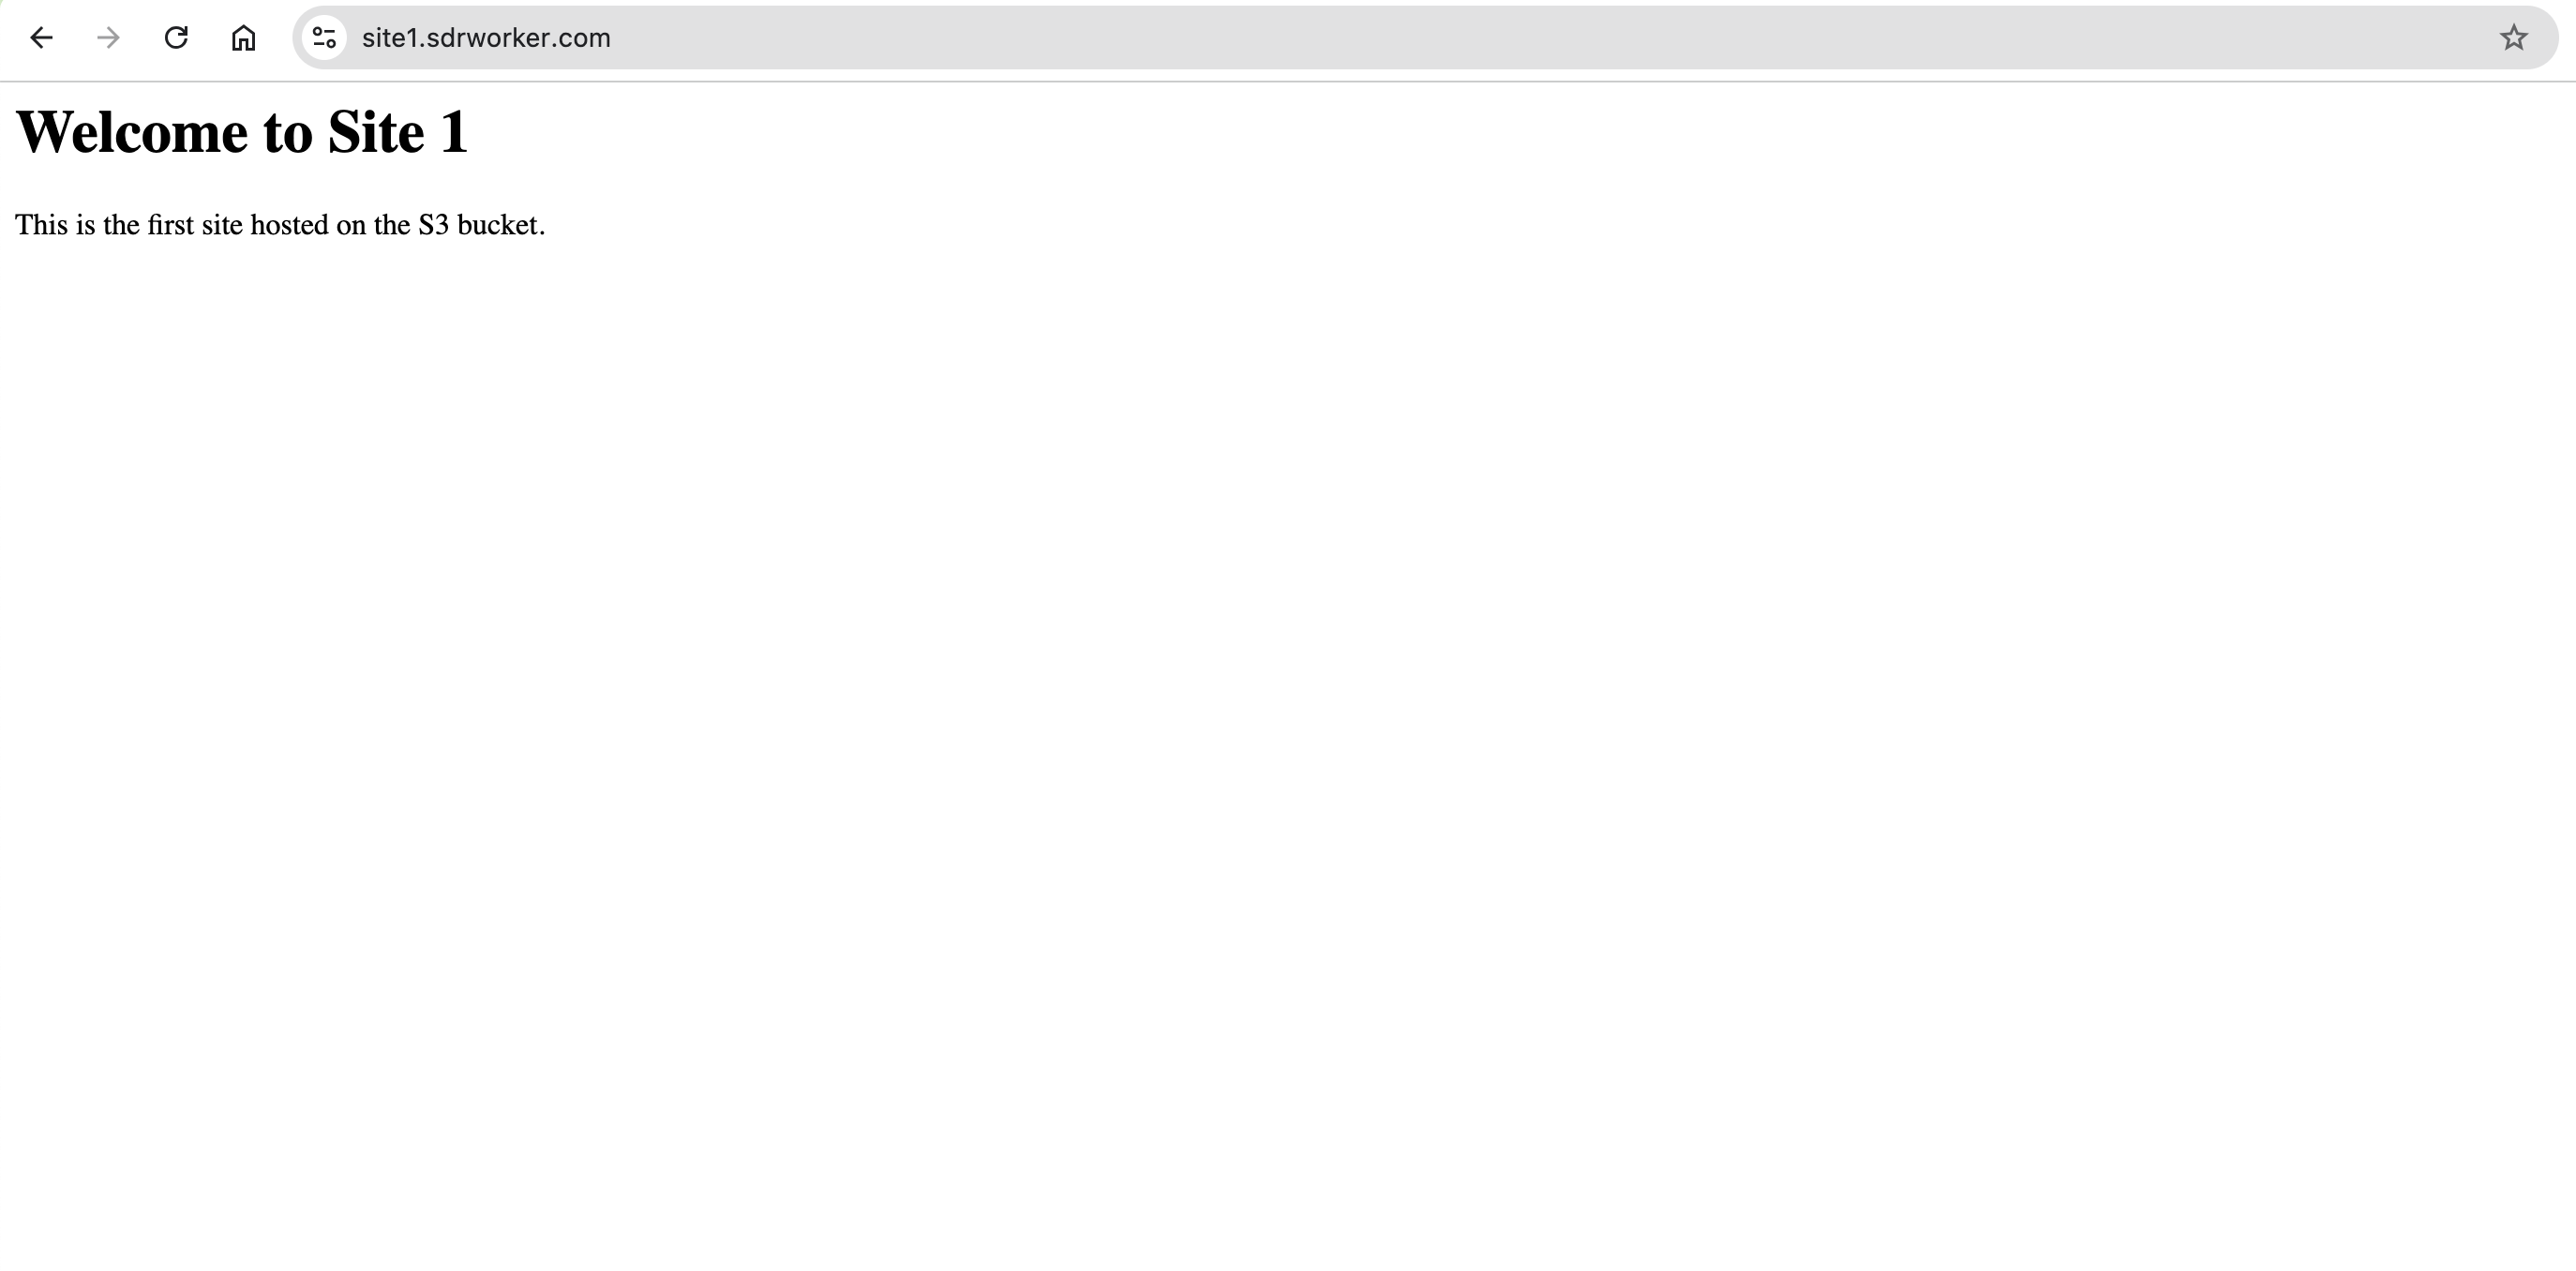
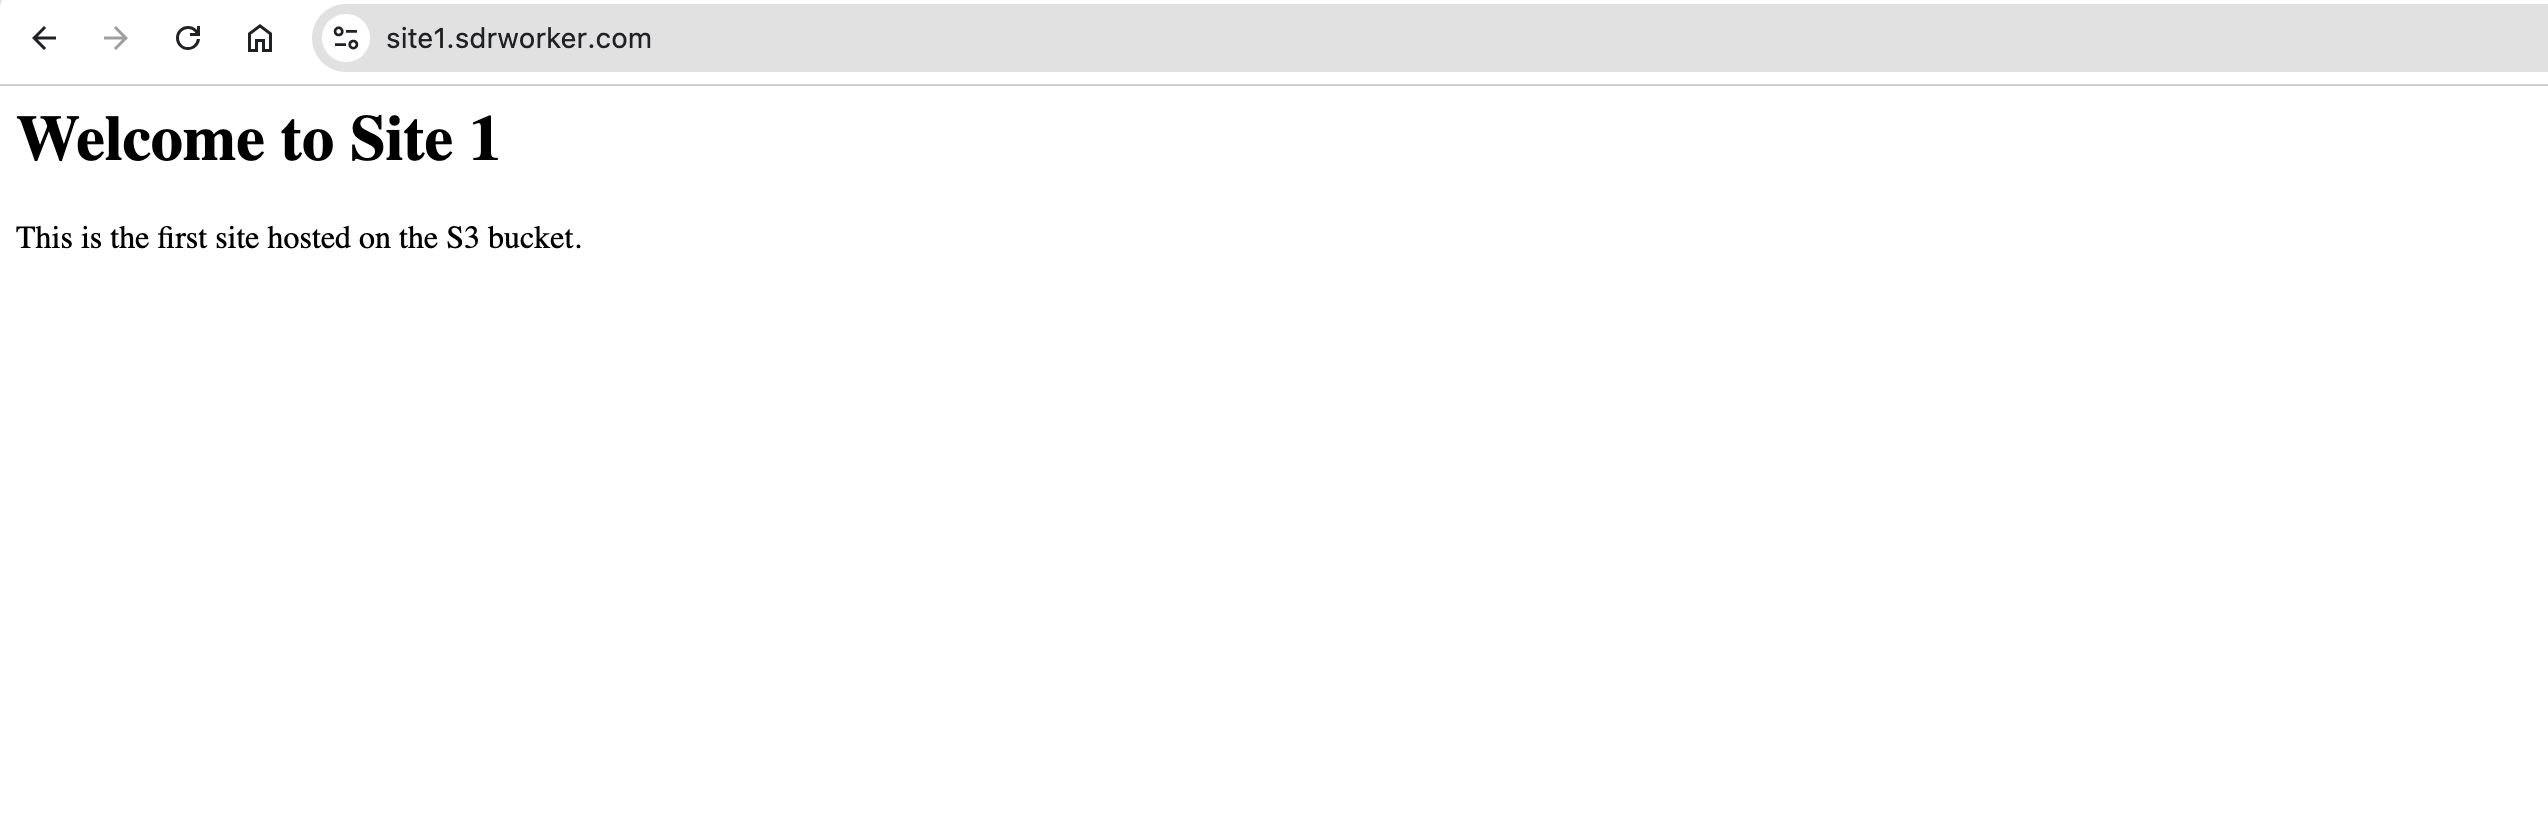
    <h1>Welcome to Site 1</h1>
    <p>This is the first site hosted on the S3 bucket.</p>
  </body>
</html>
<html>
  <body>
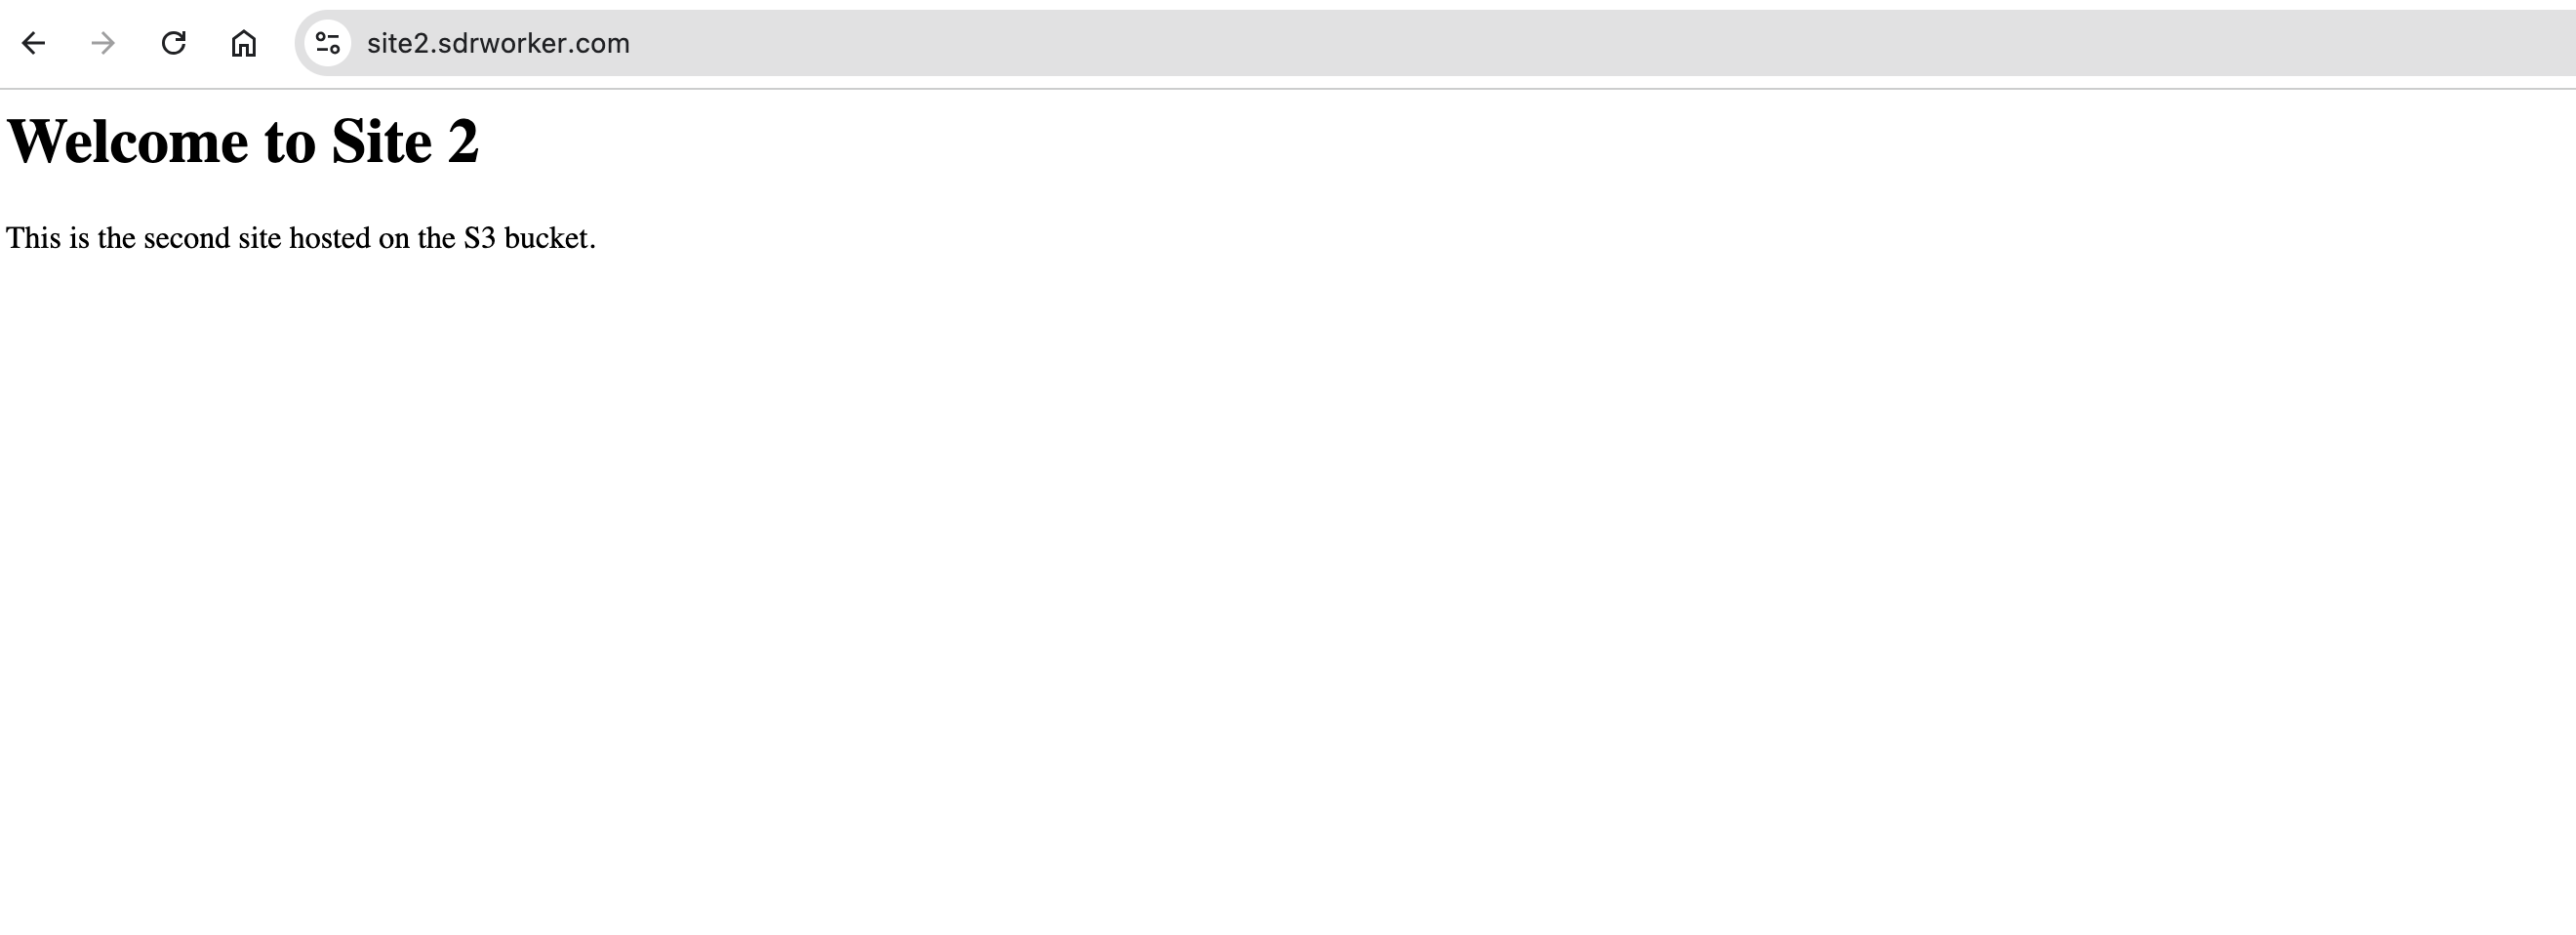
    <h1>Welcome to Site 2</h1>
    <p>This is the second site hosted on the S3 bucket.</p>
  </body>
</html>
Step 3: Create the CloudFront distribution
Create a new CloudFront distribution and choose the multi-tenant option.
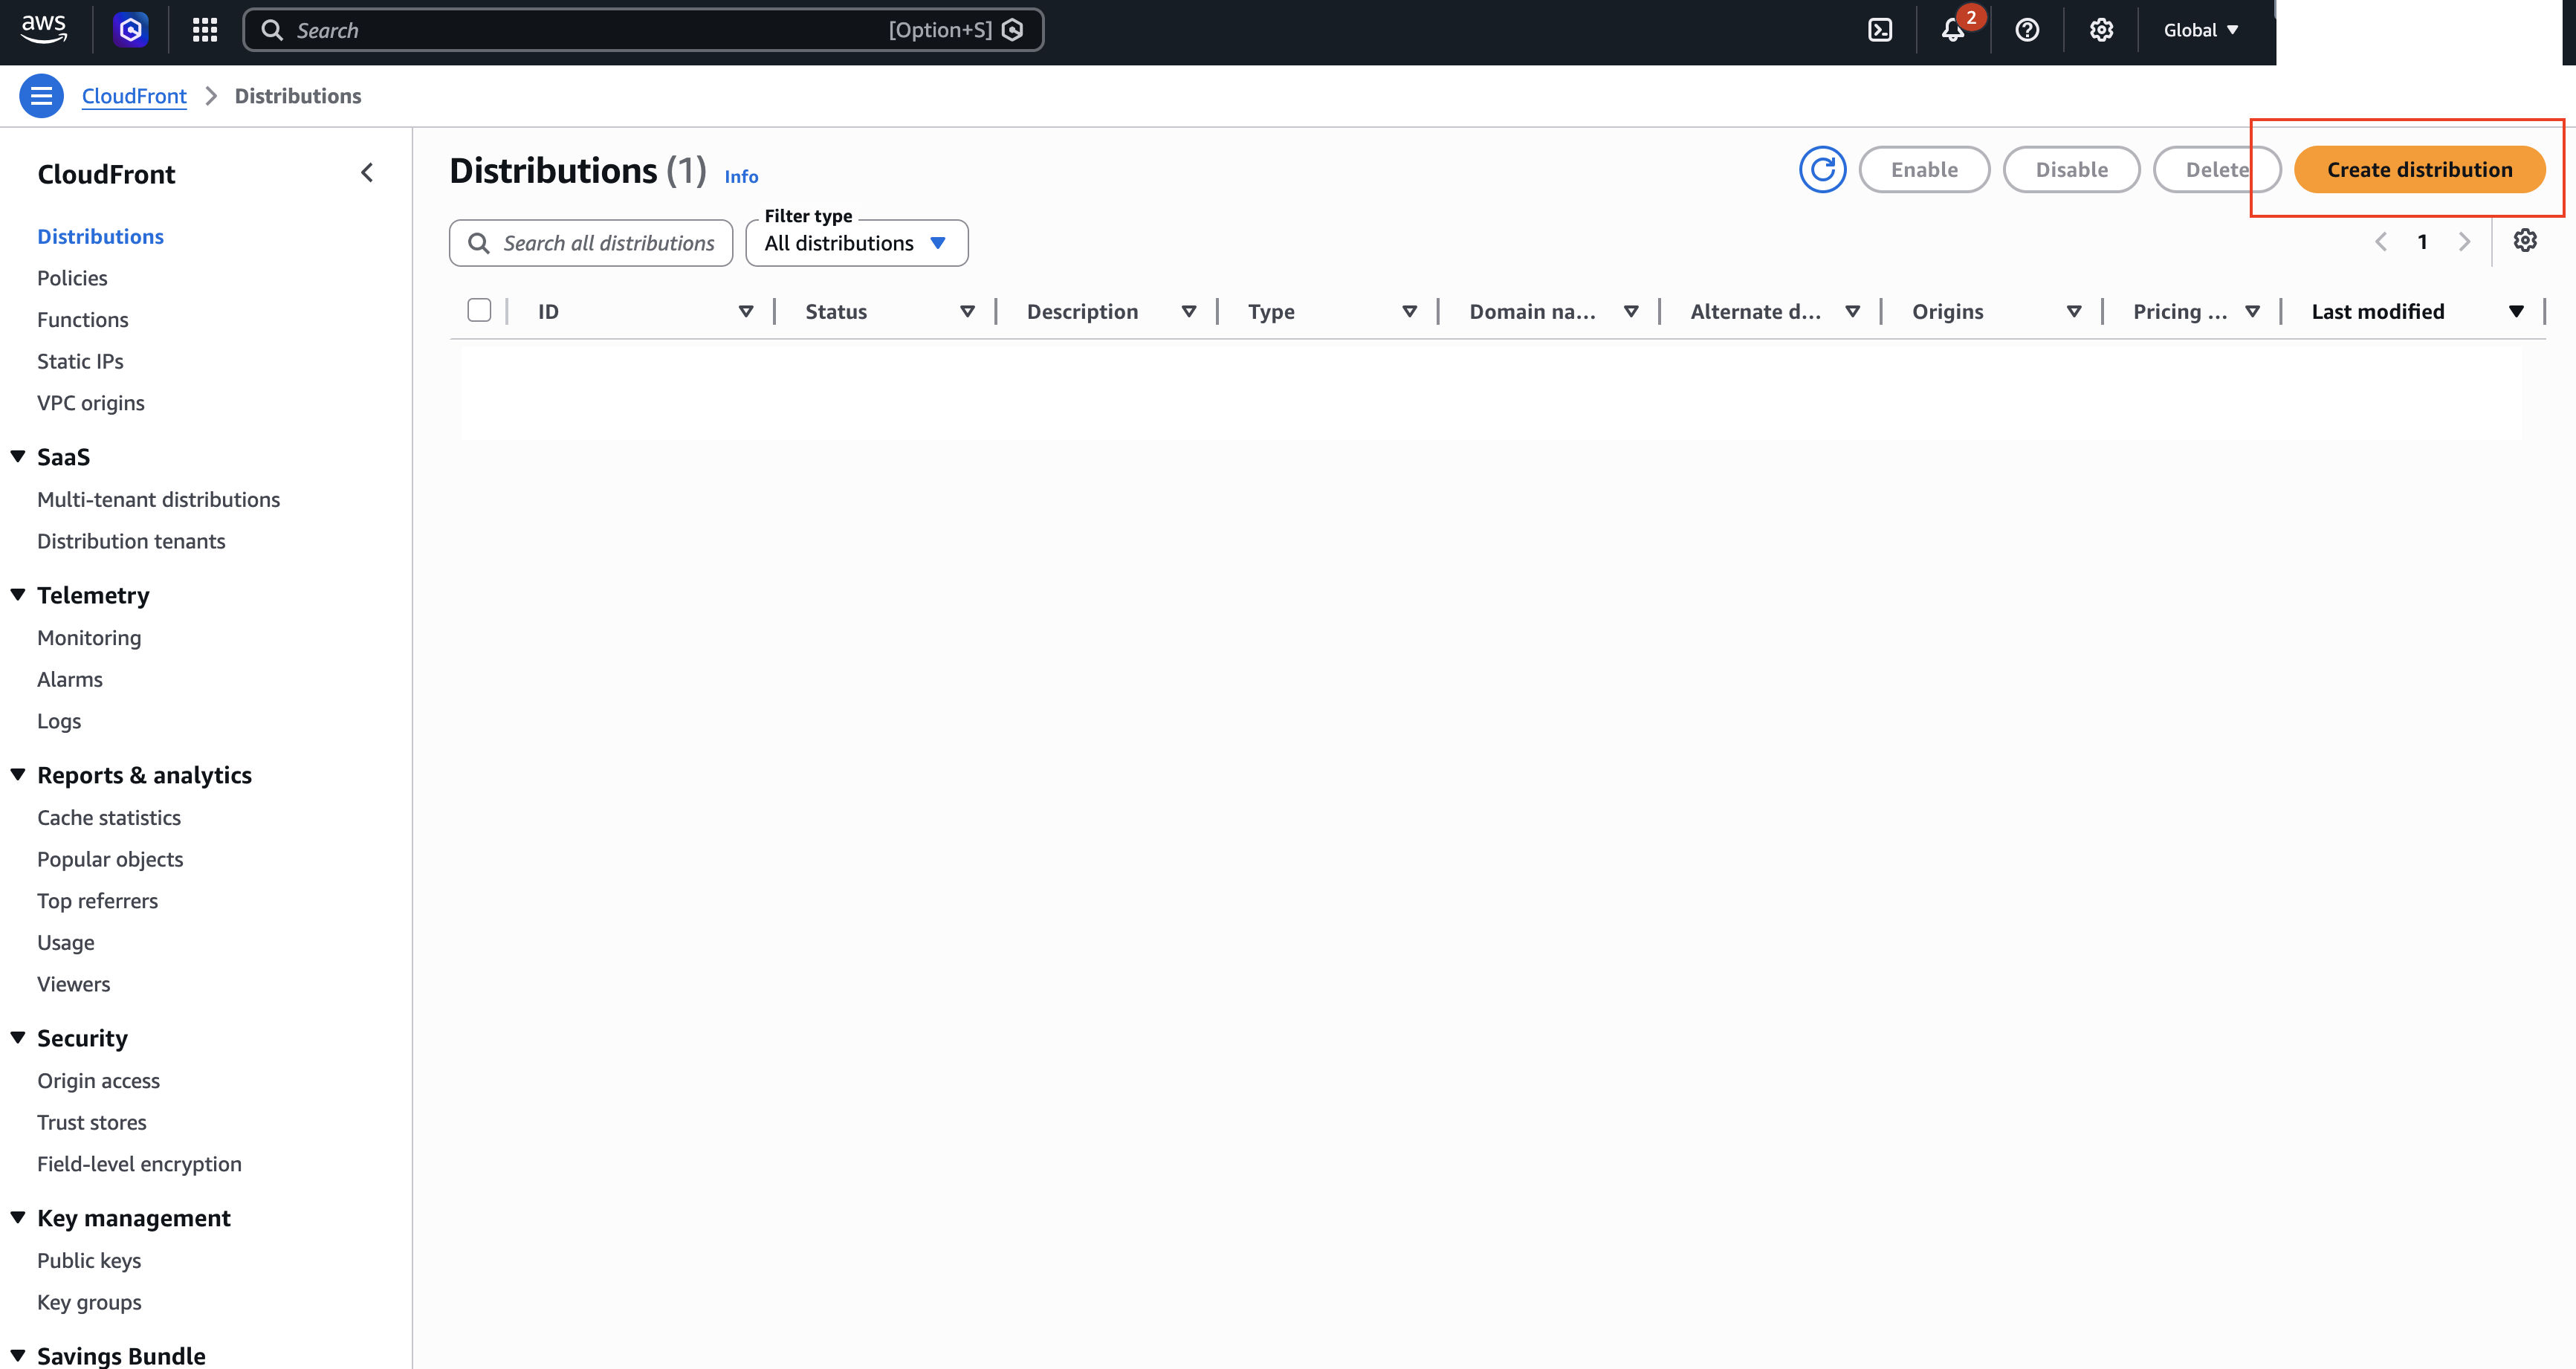
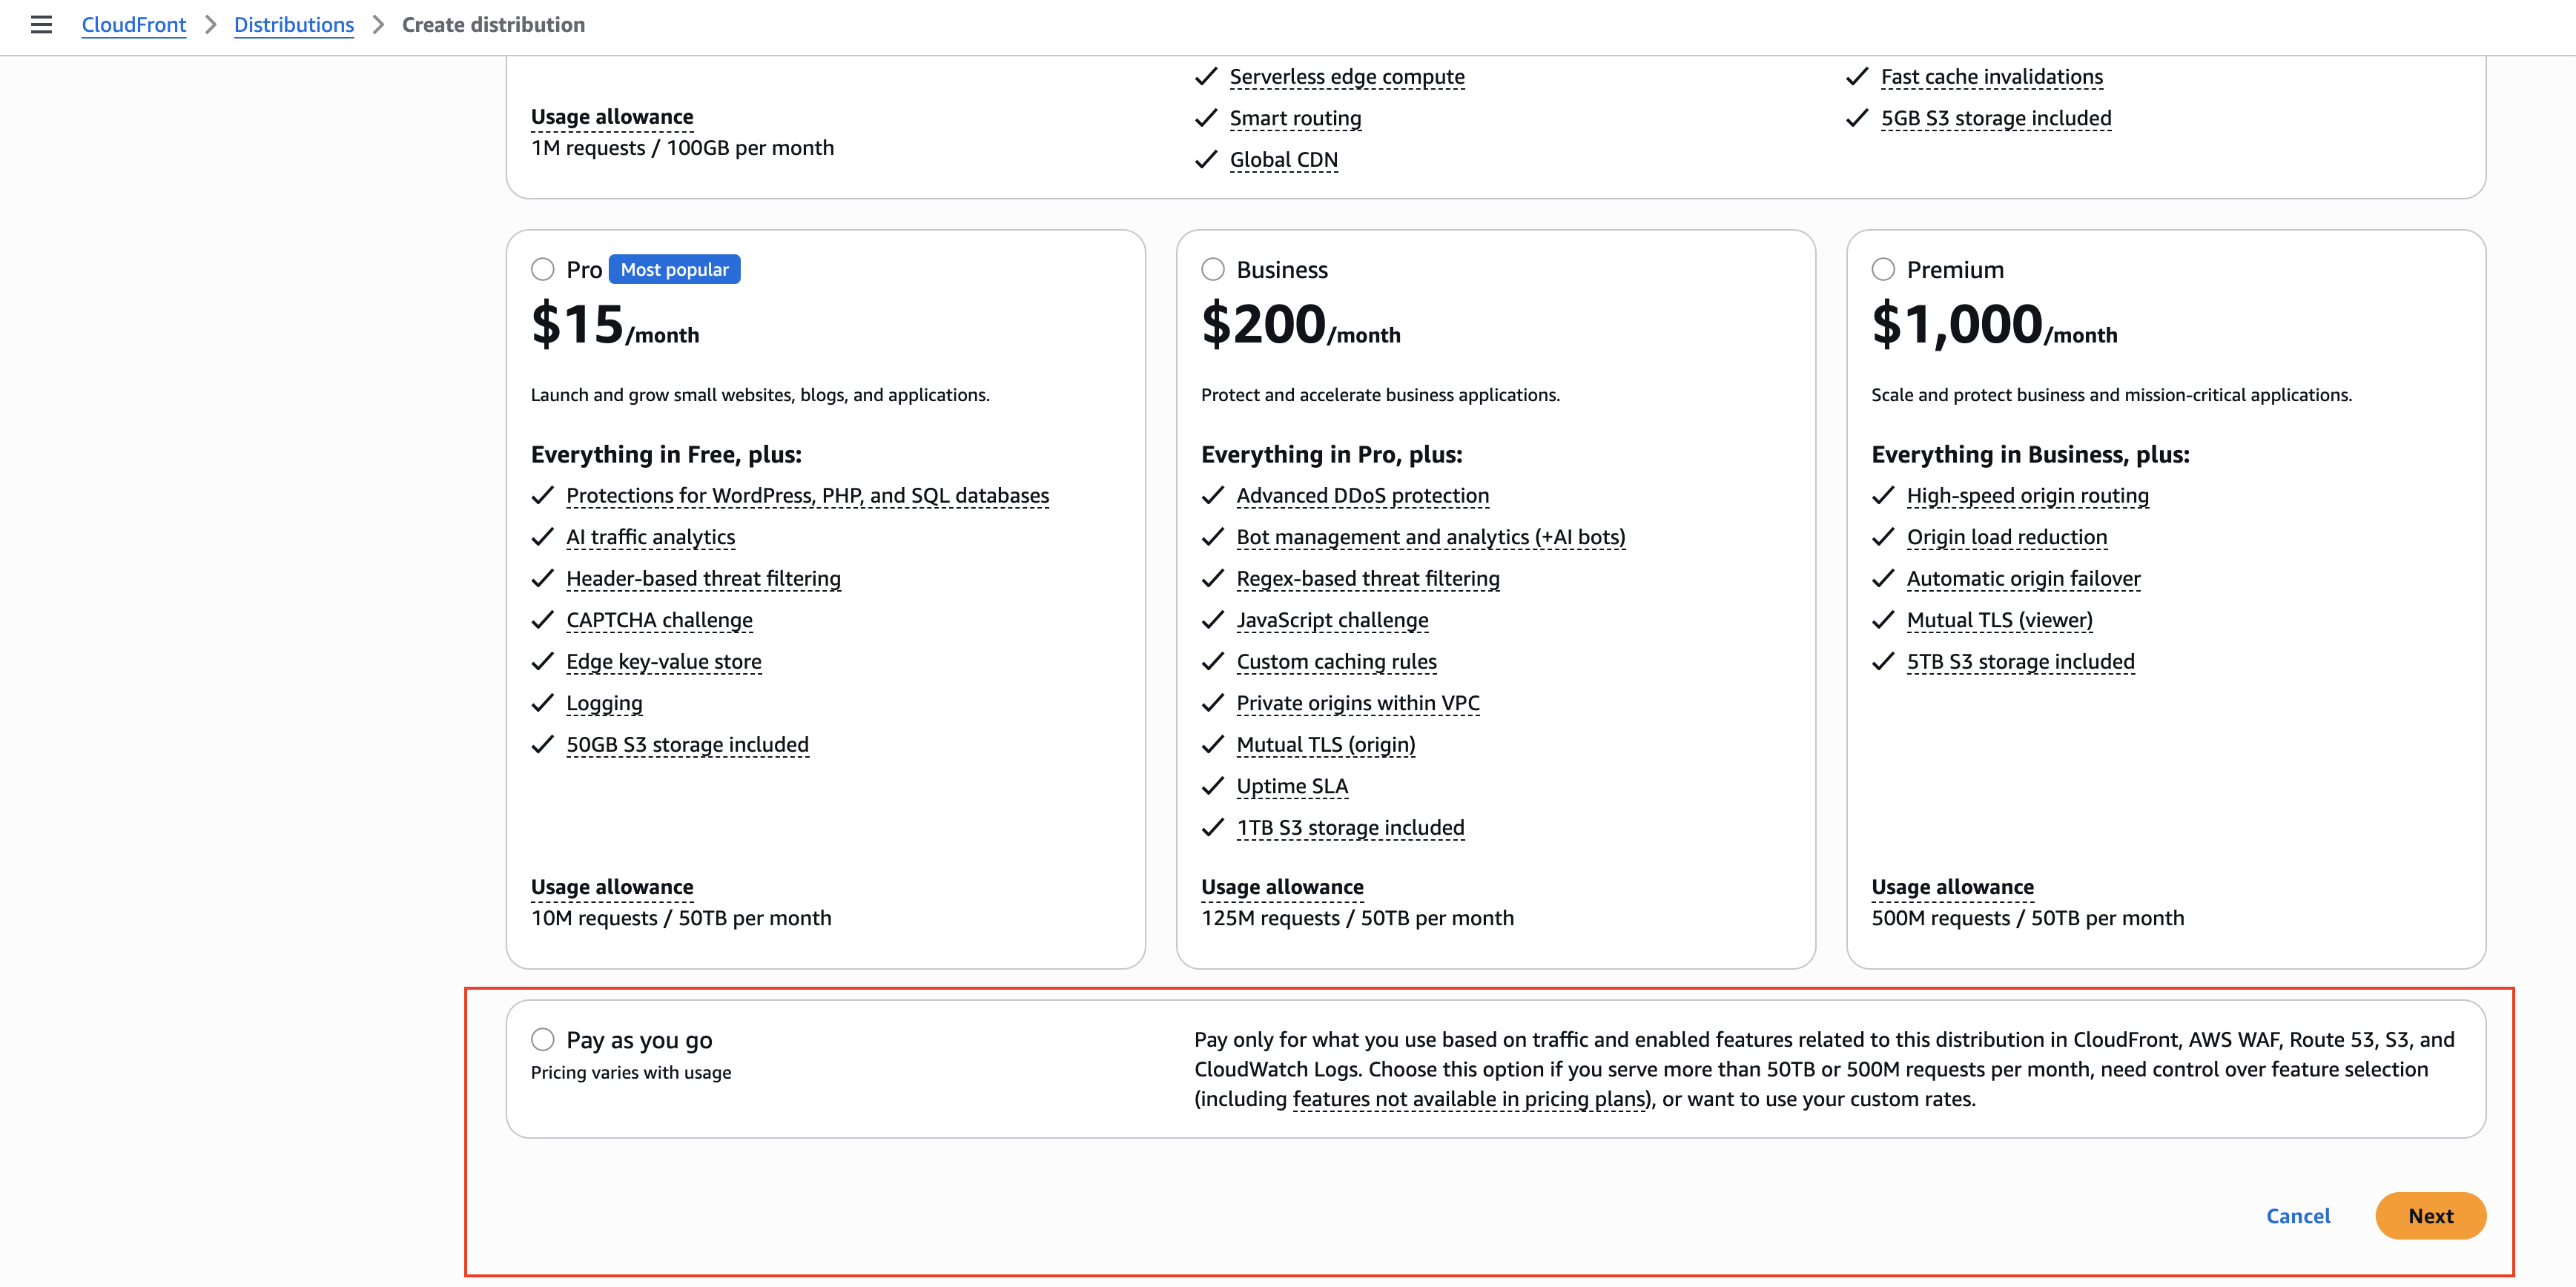
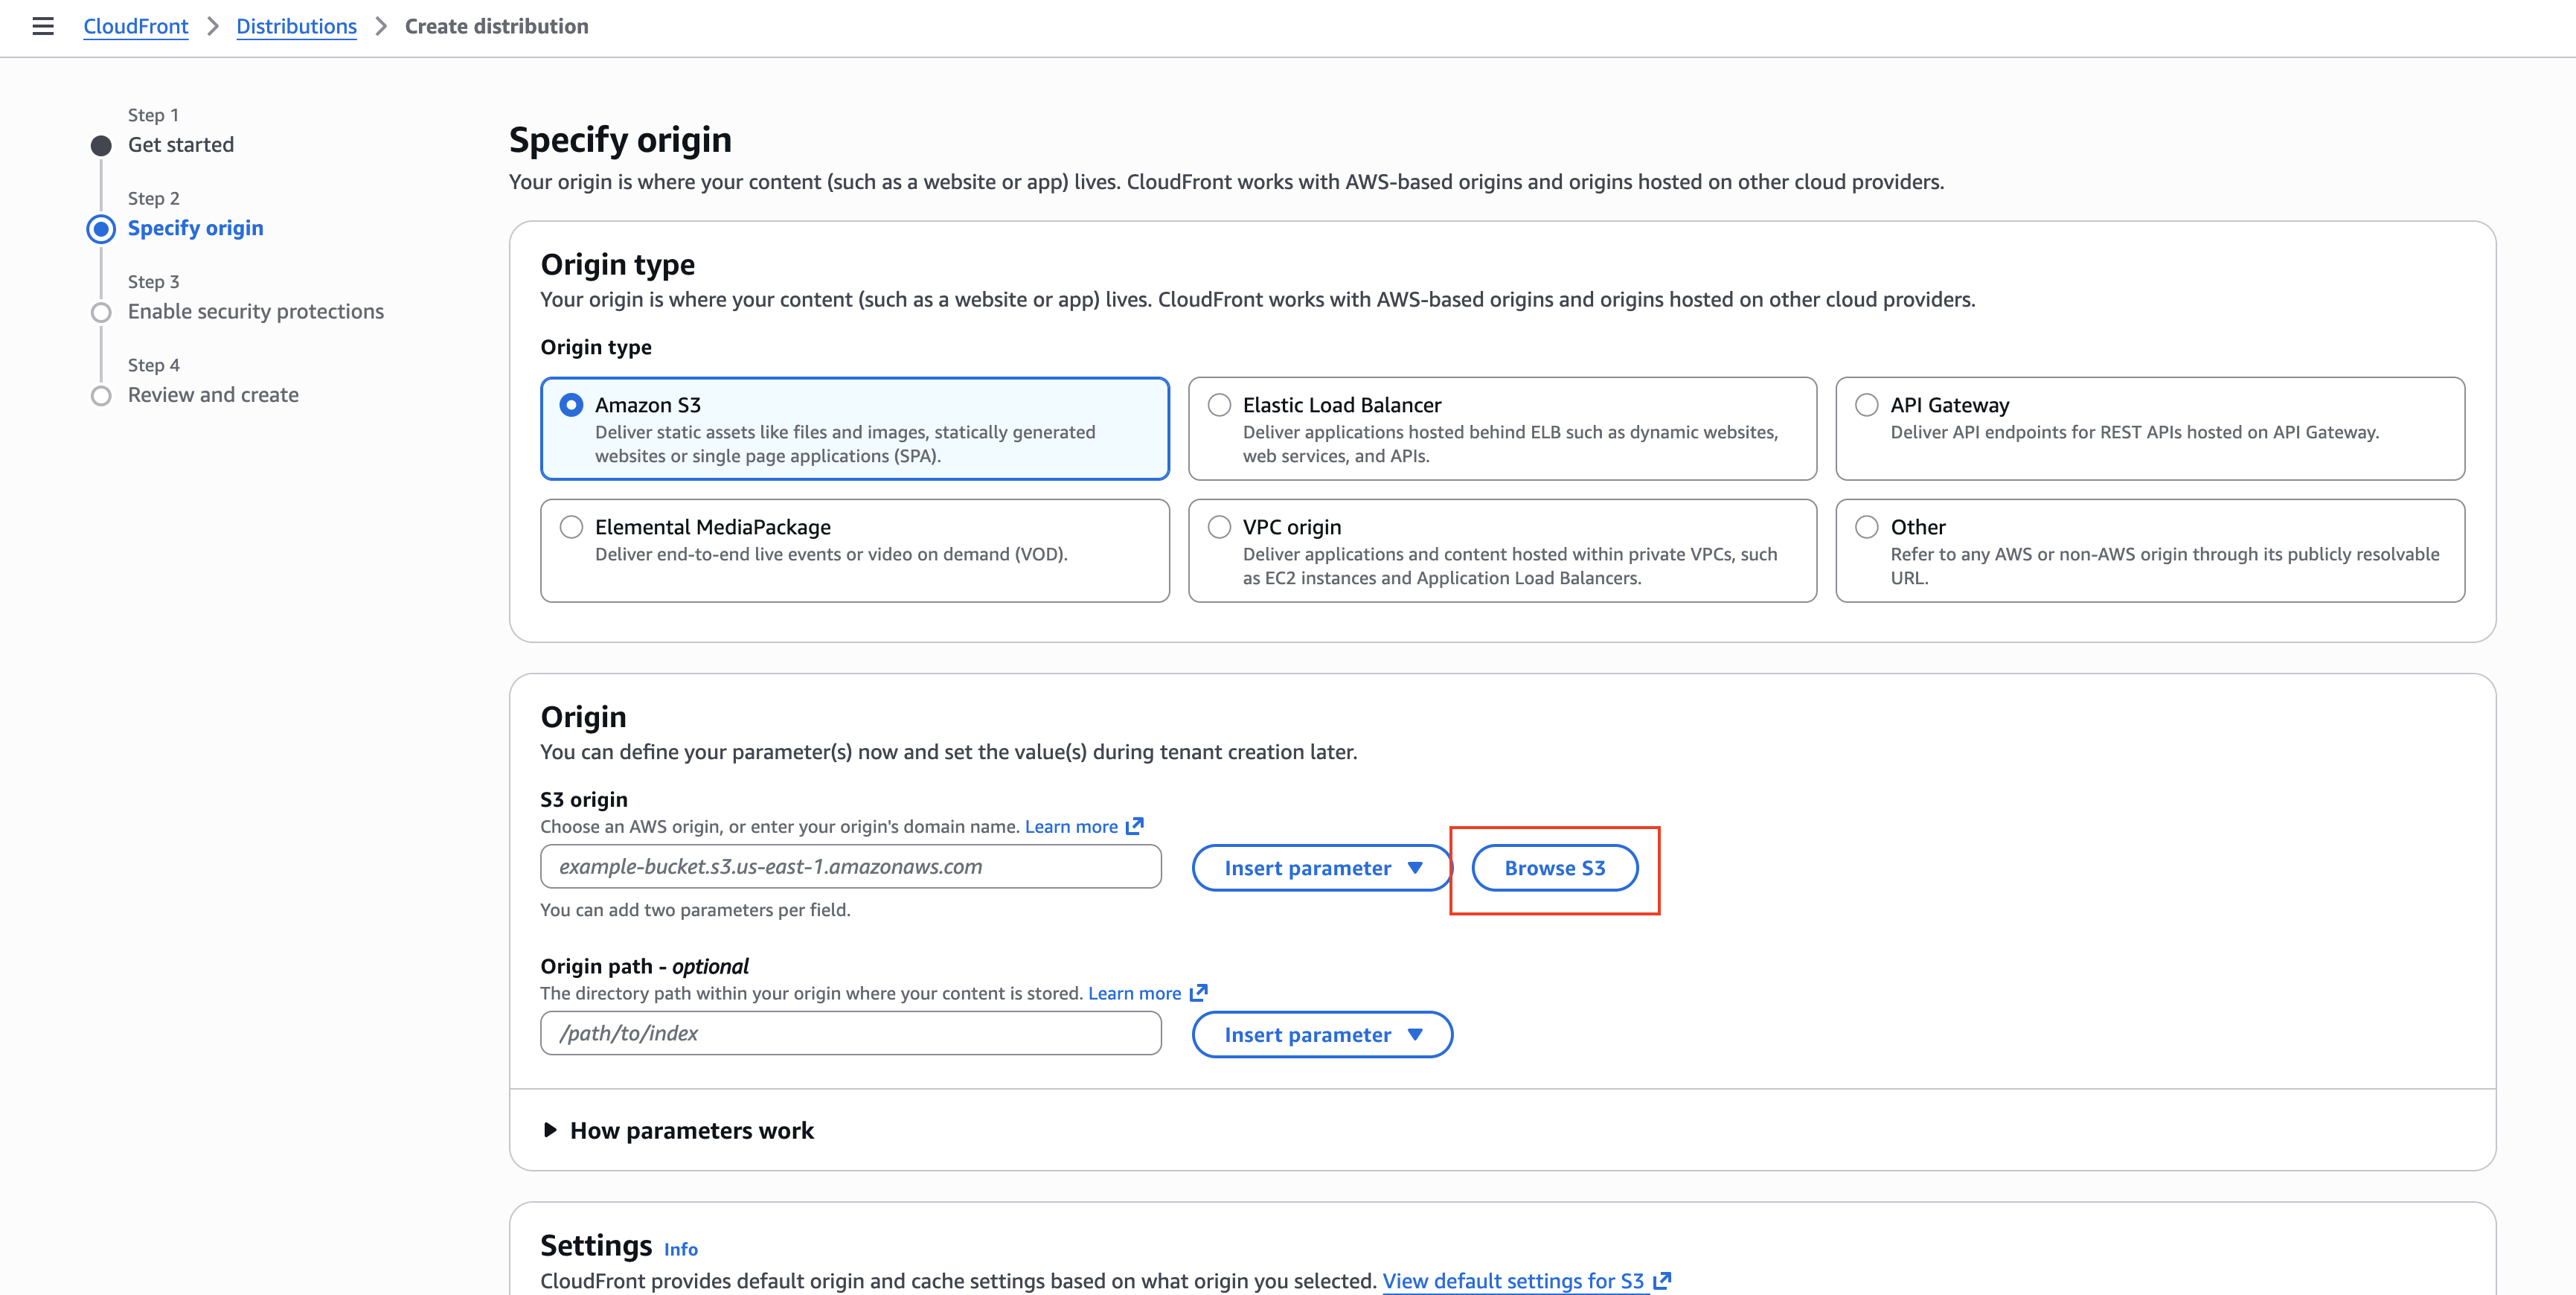
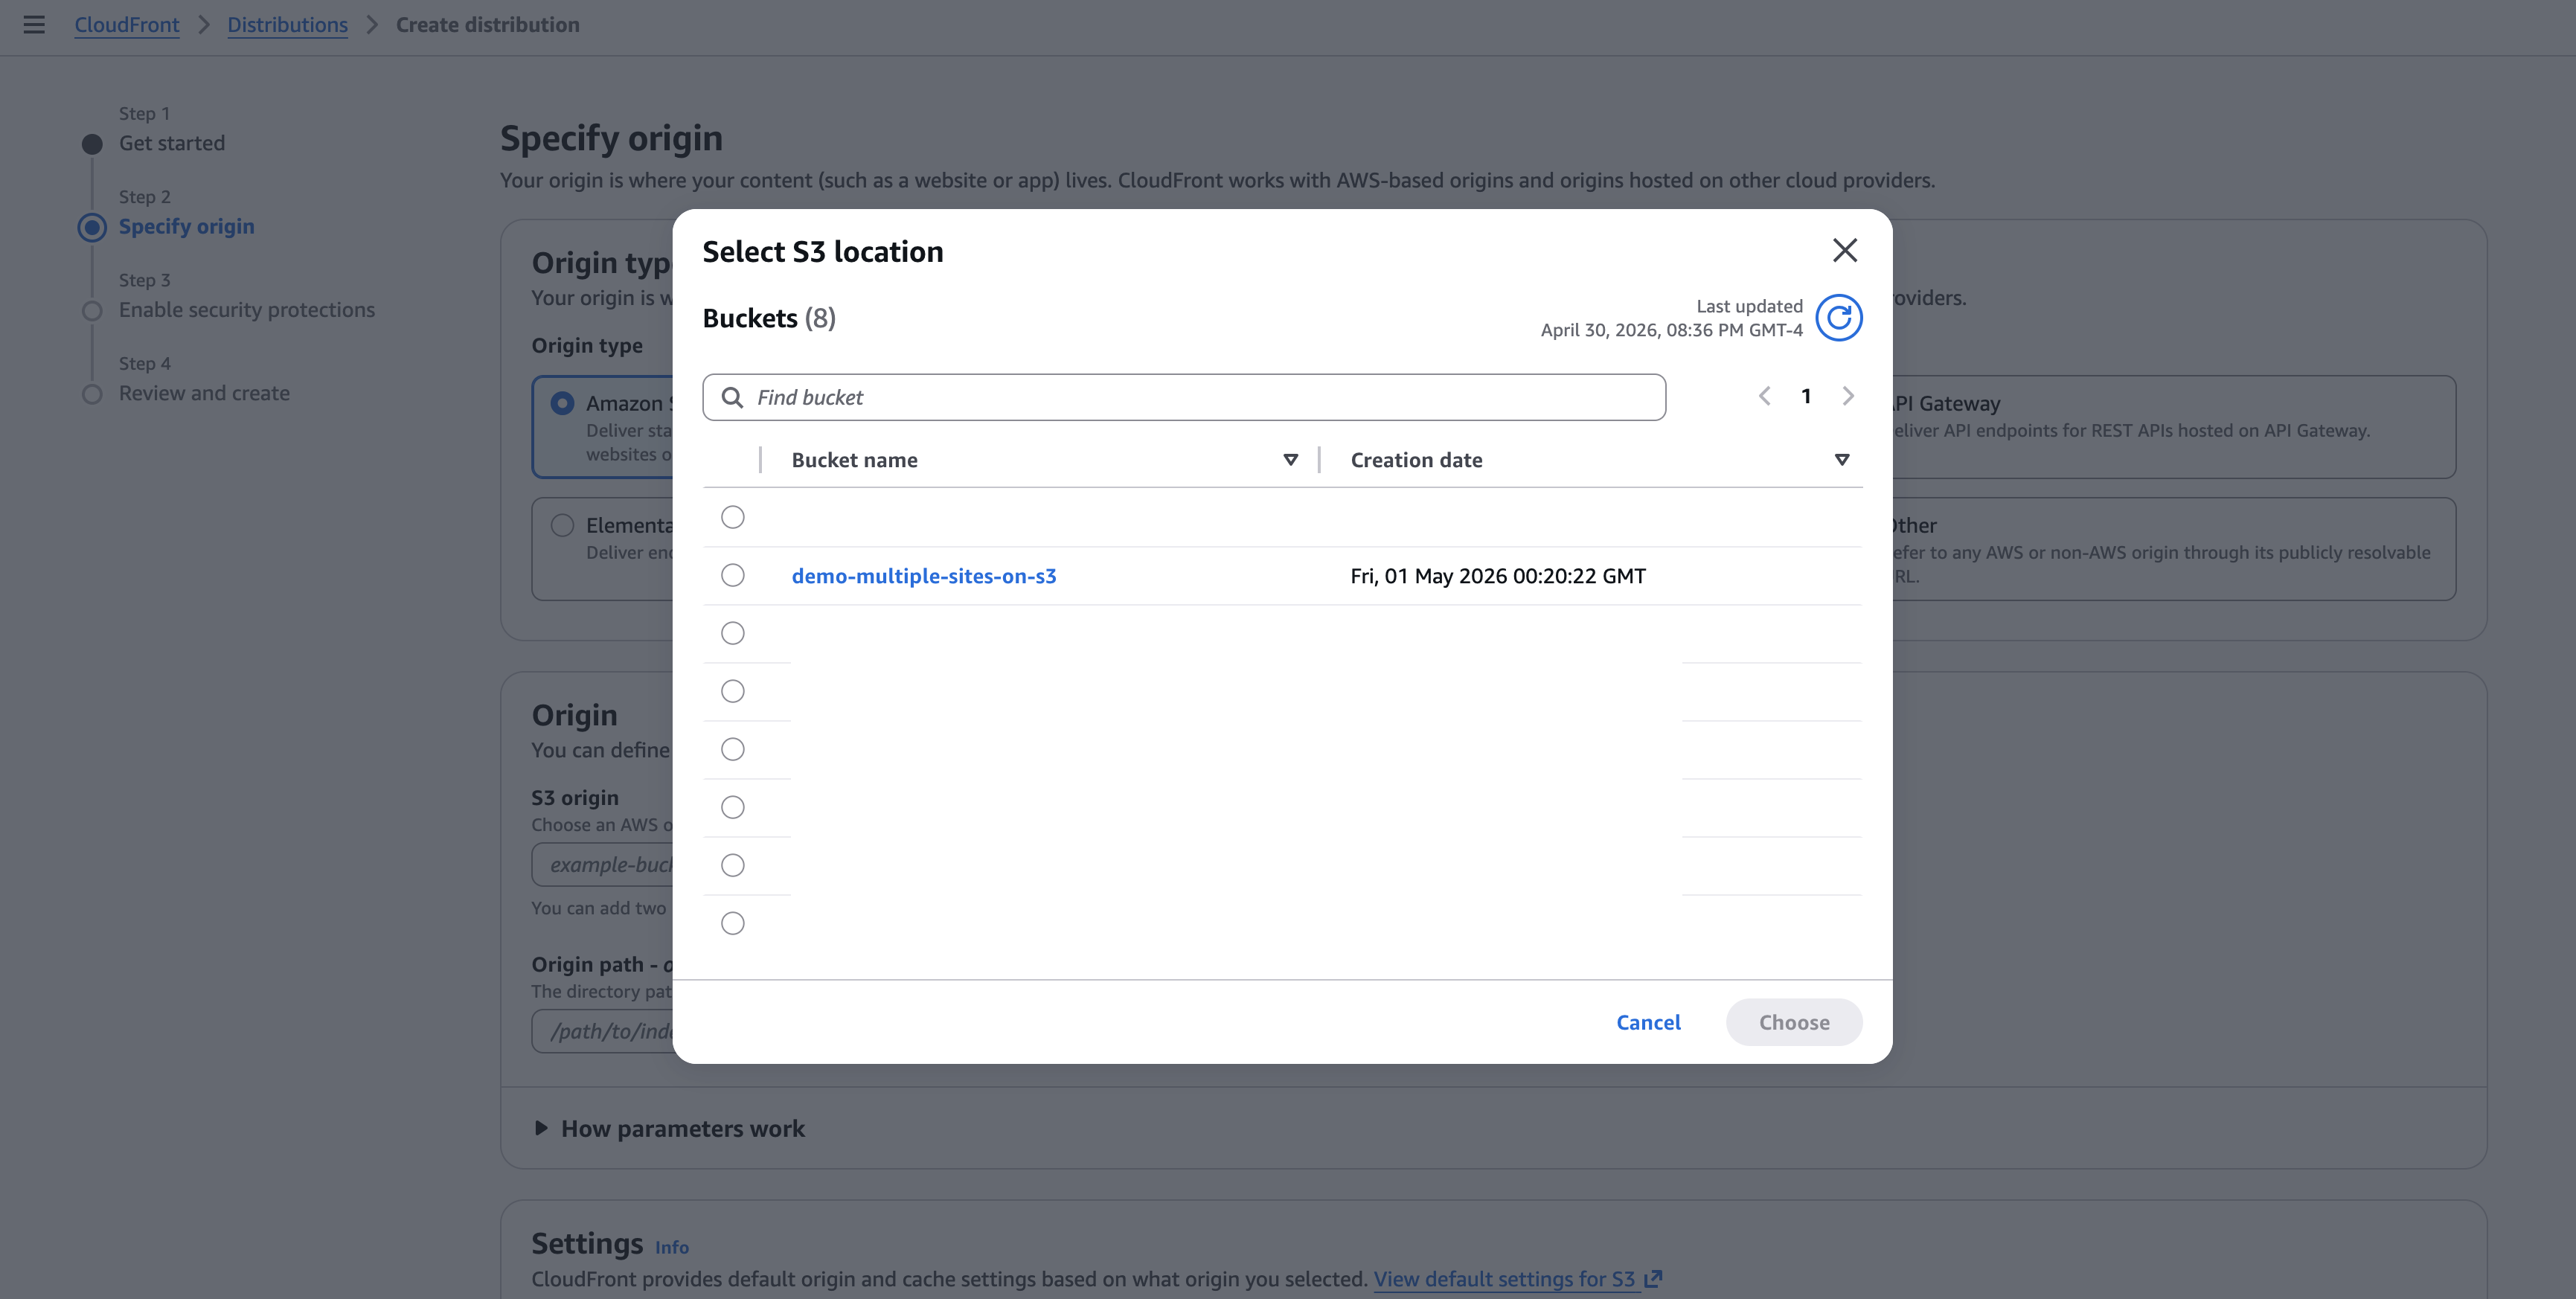
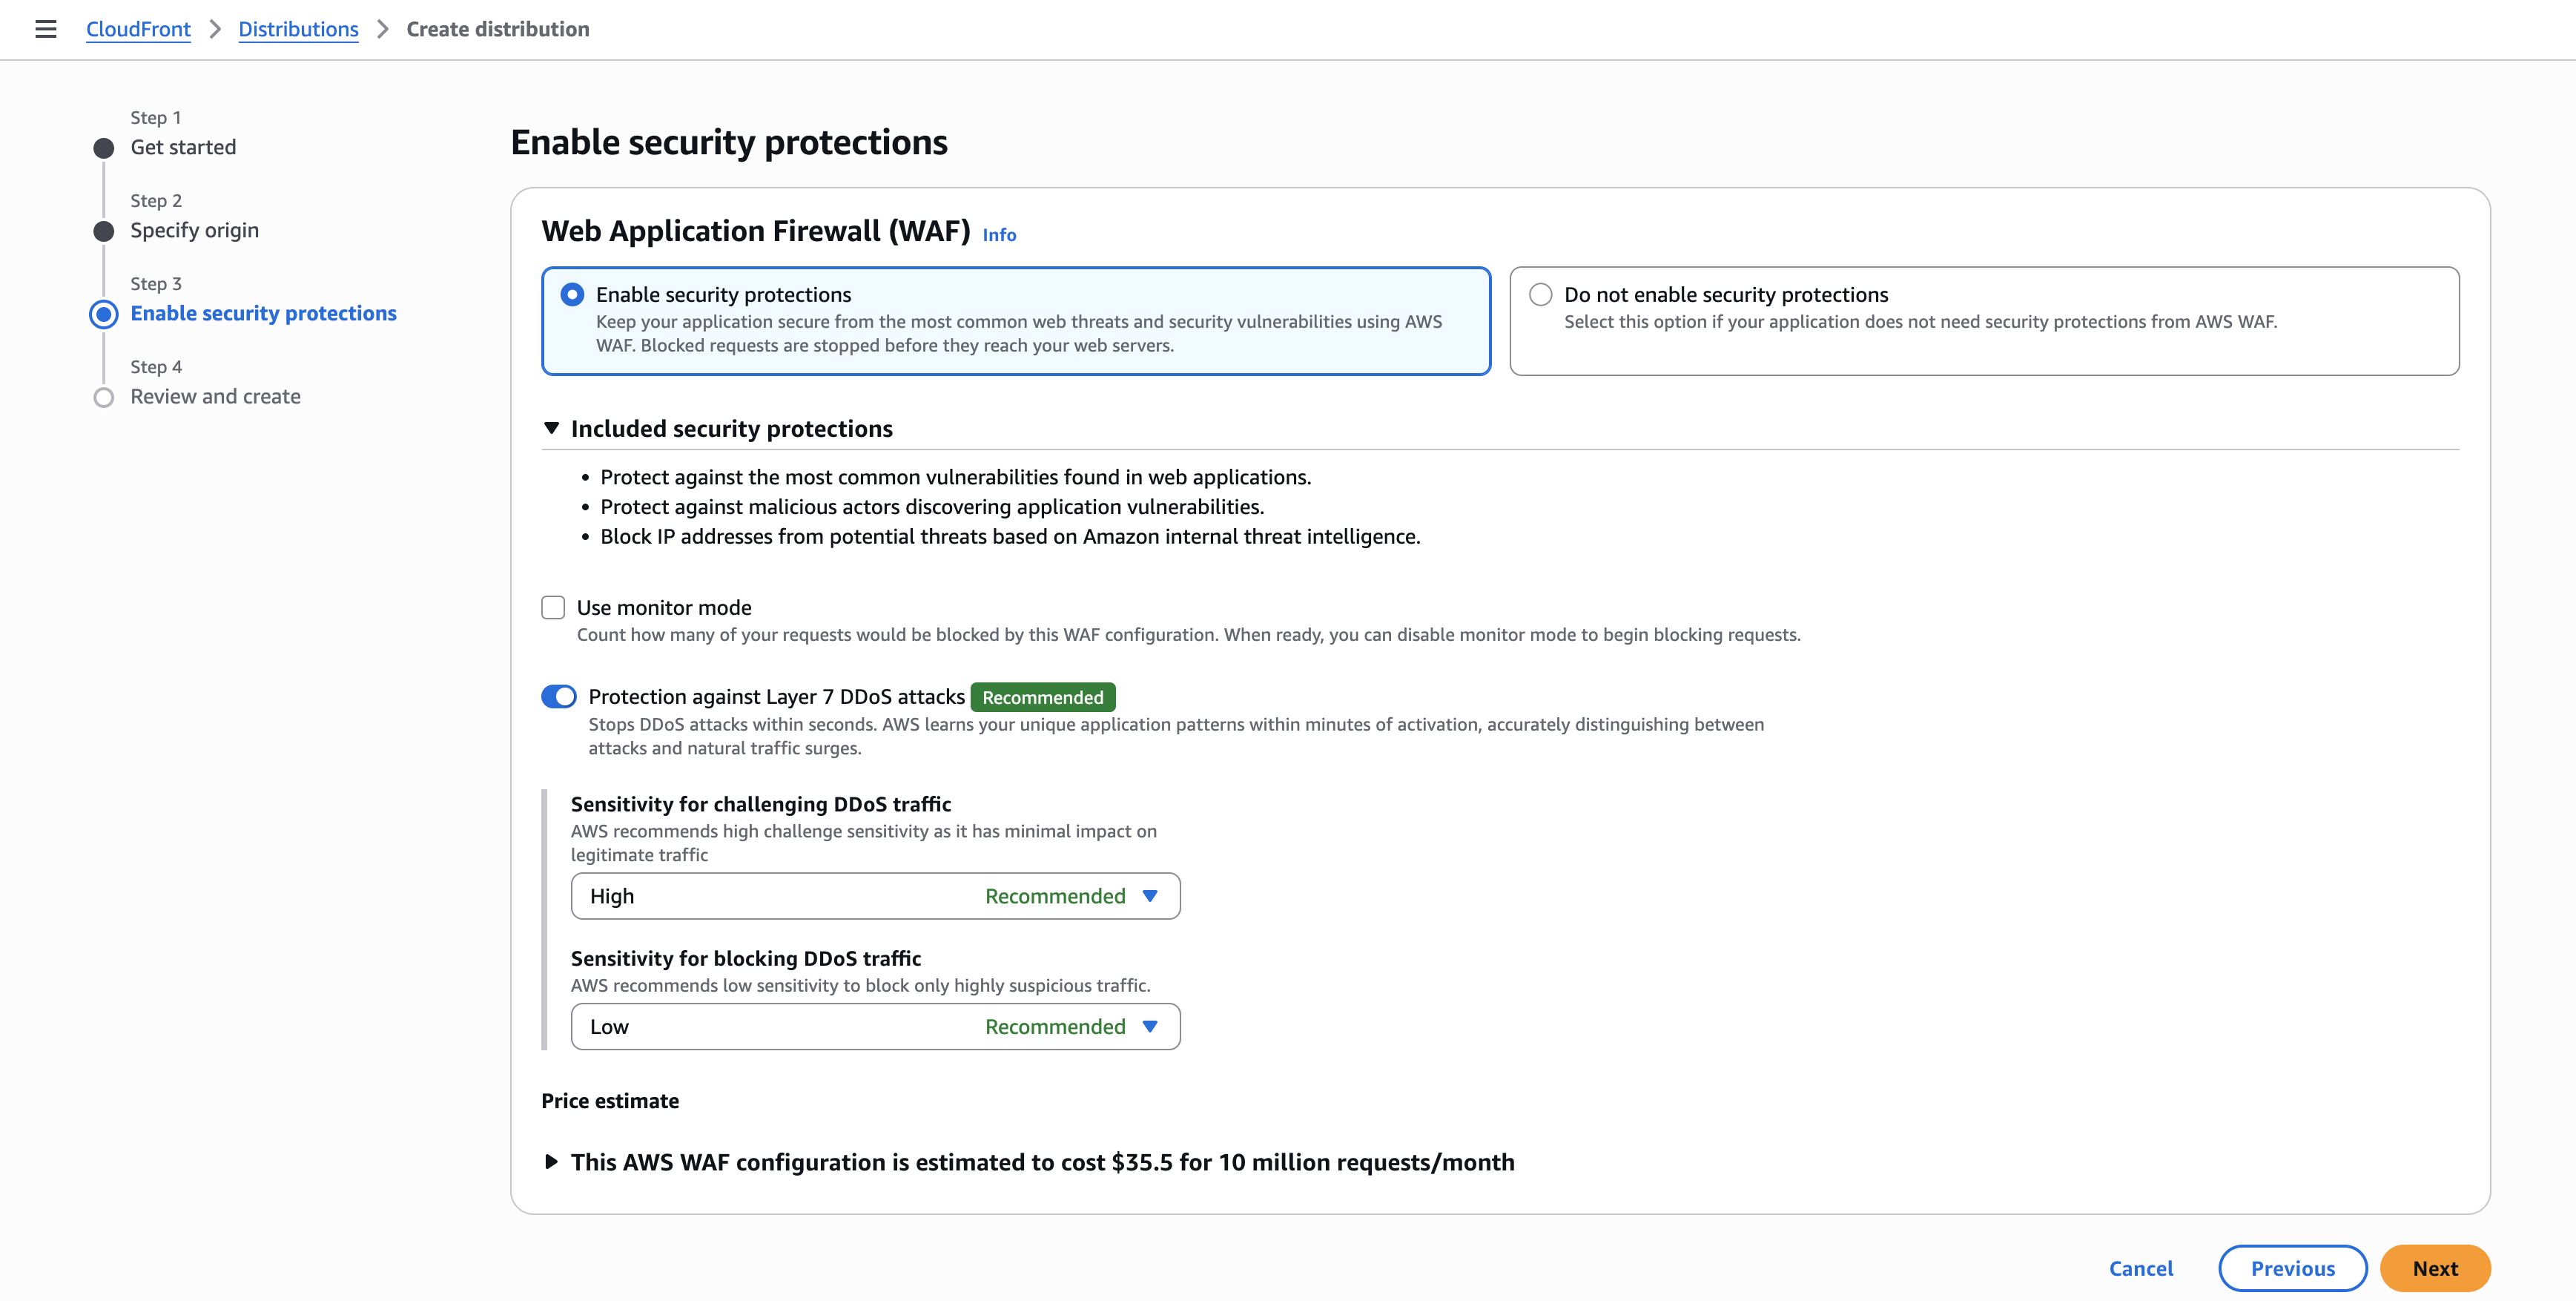
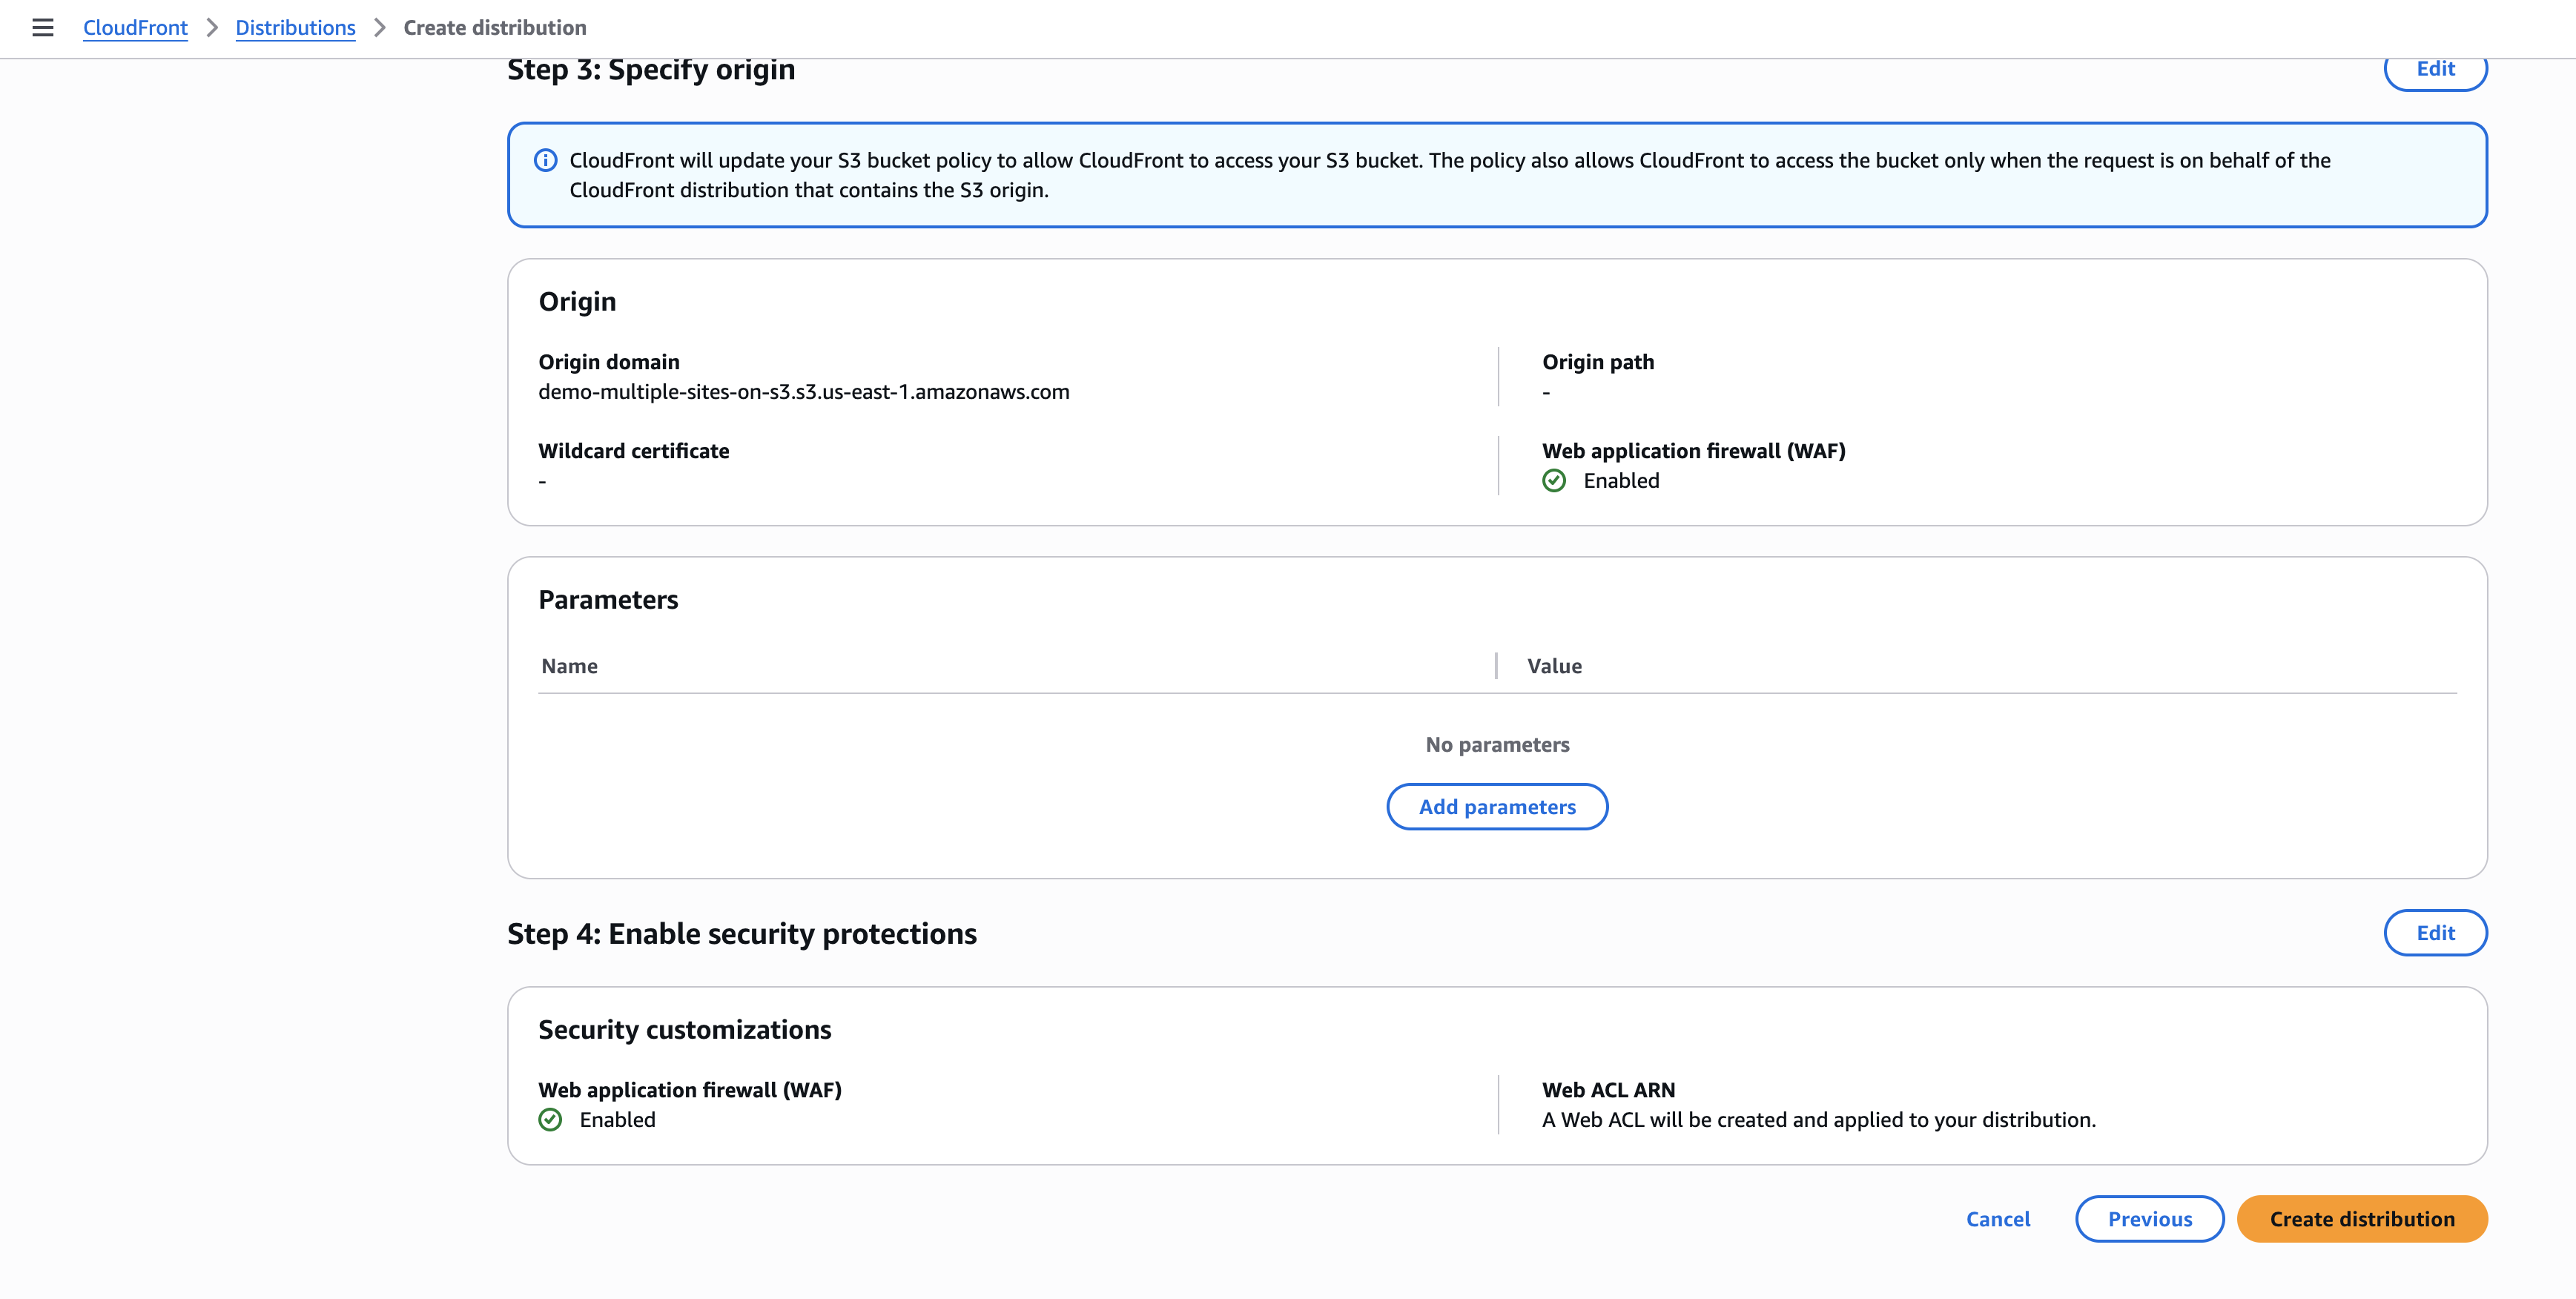
Select the S3 bucket as the origin, enable security settings, review the configuration, and create the distribution.
Step 4: Review bucket permissions
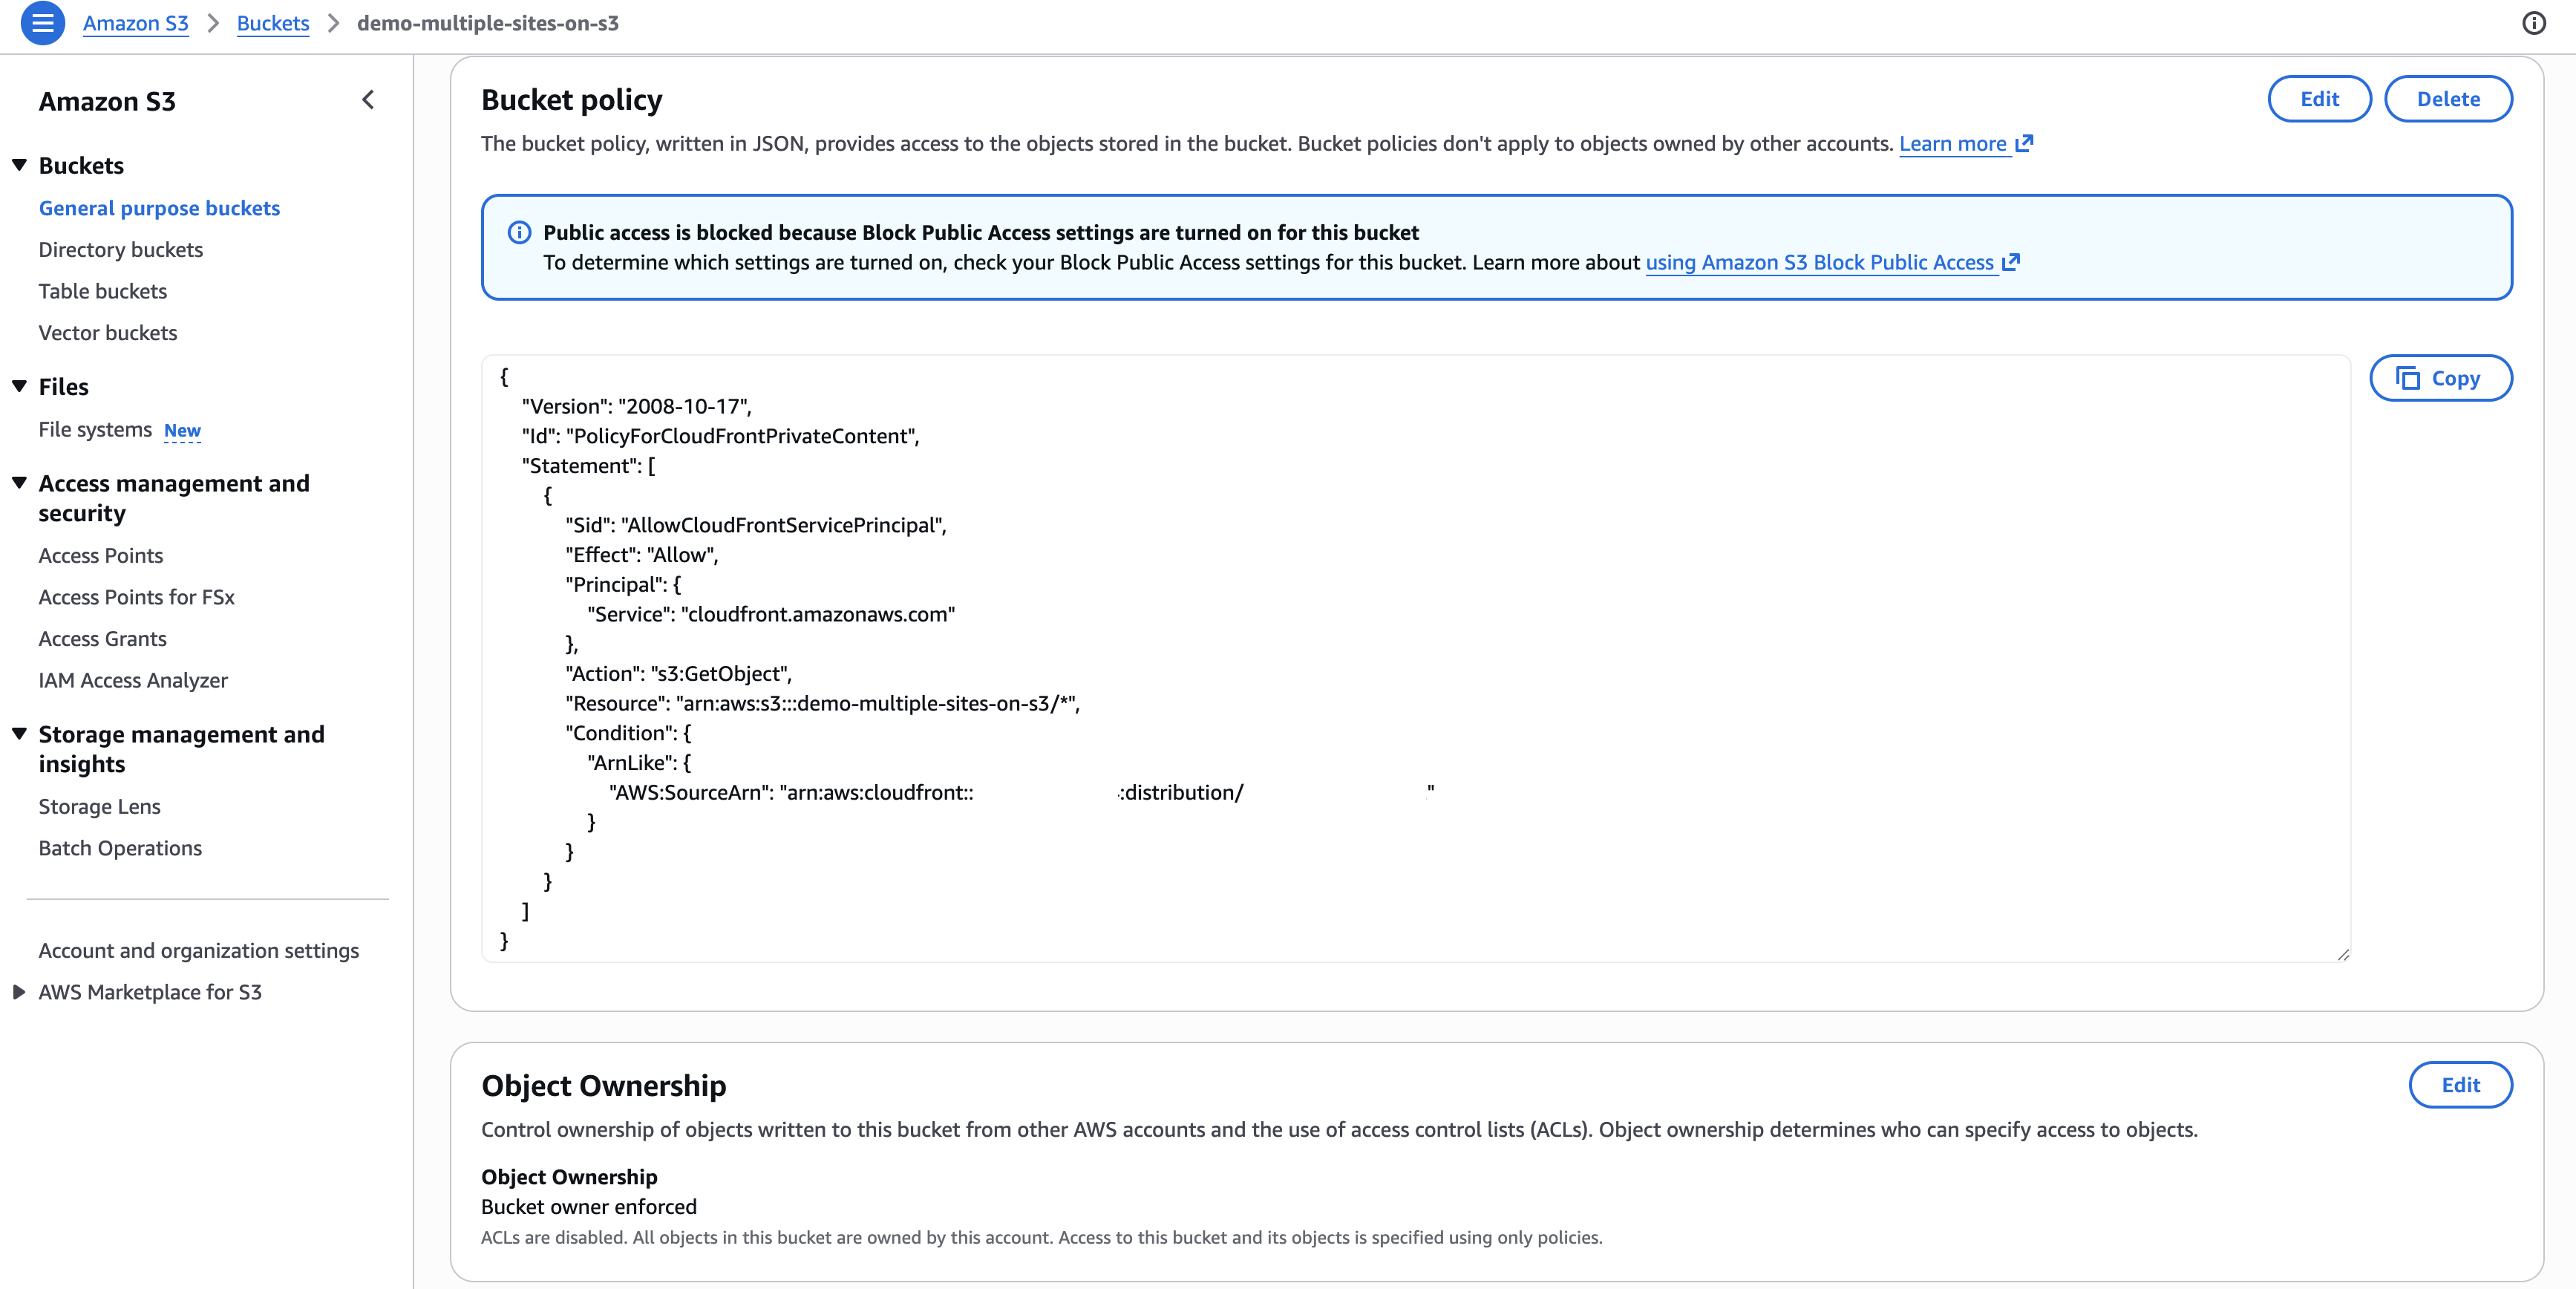
After CloudFront is created, review the bucket policy that grants CloudFront access to the bucket.
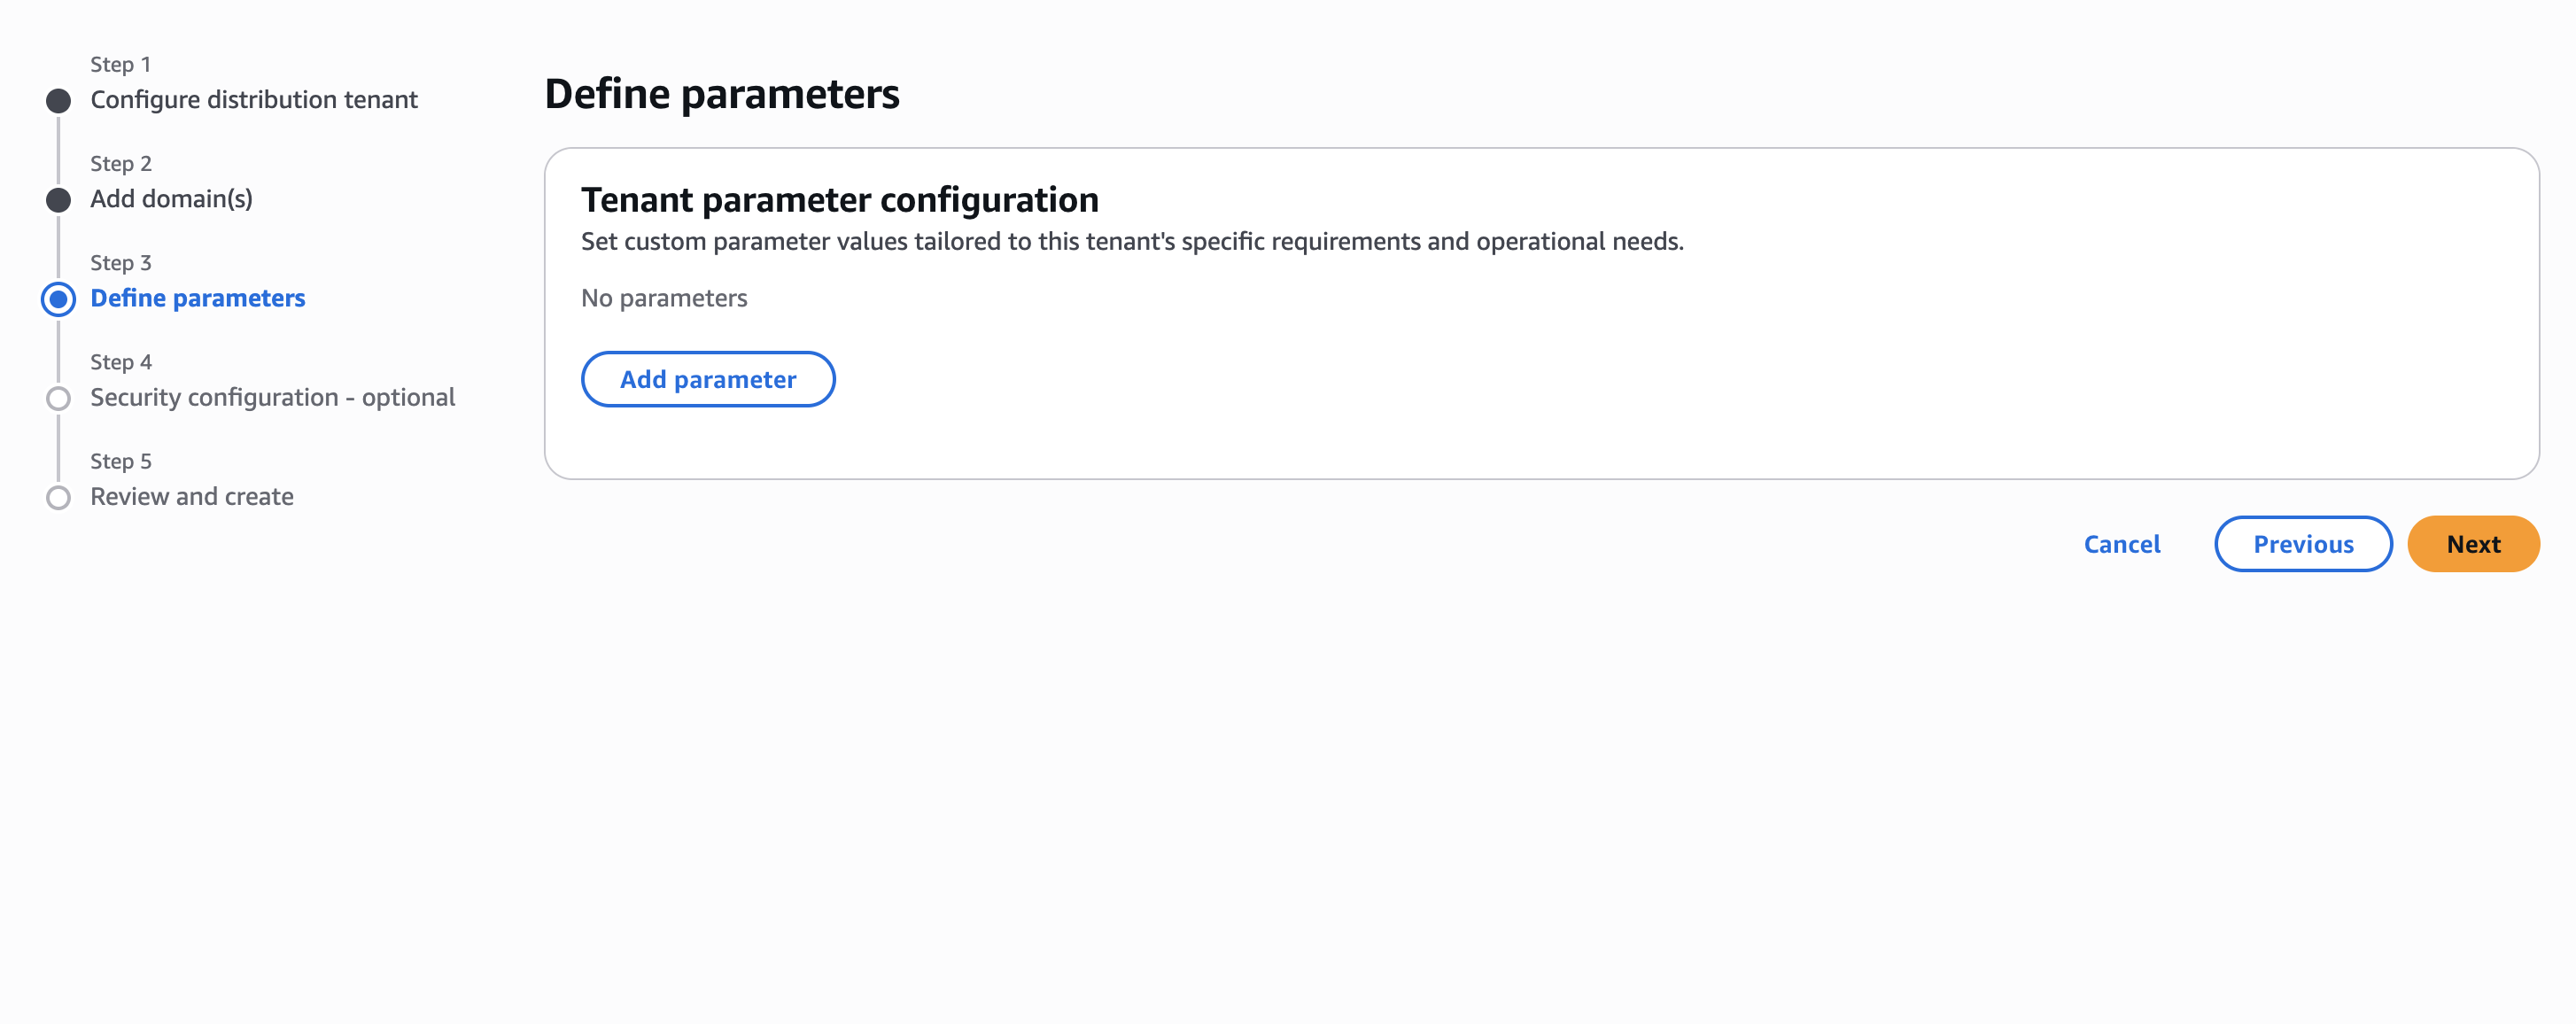
Step 5: Create the first tenant
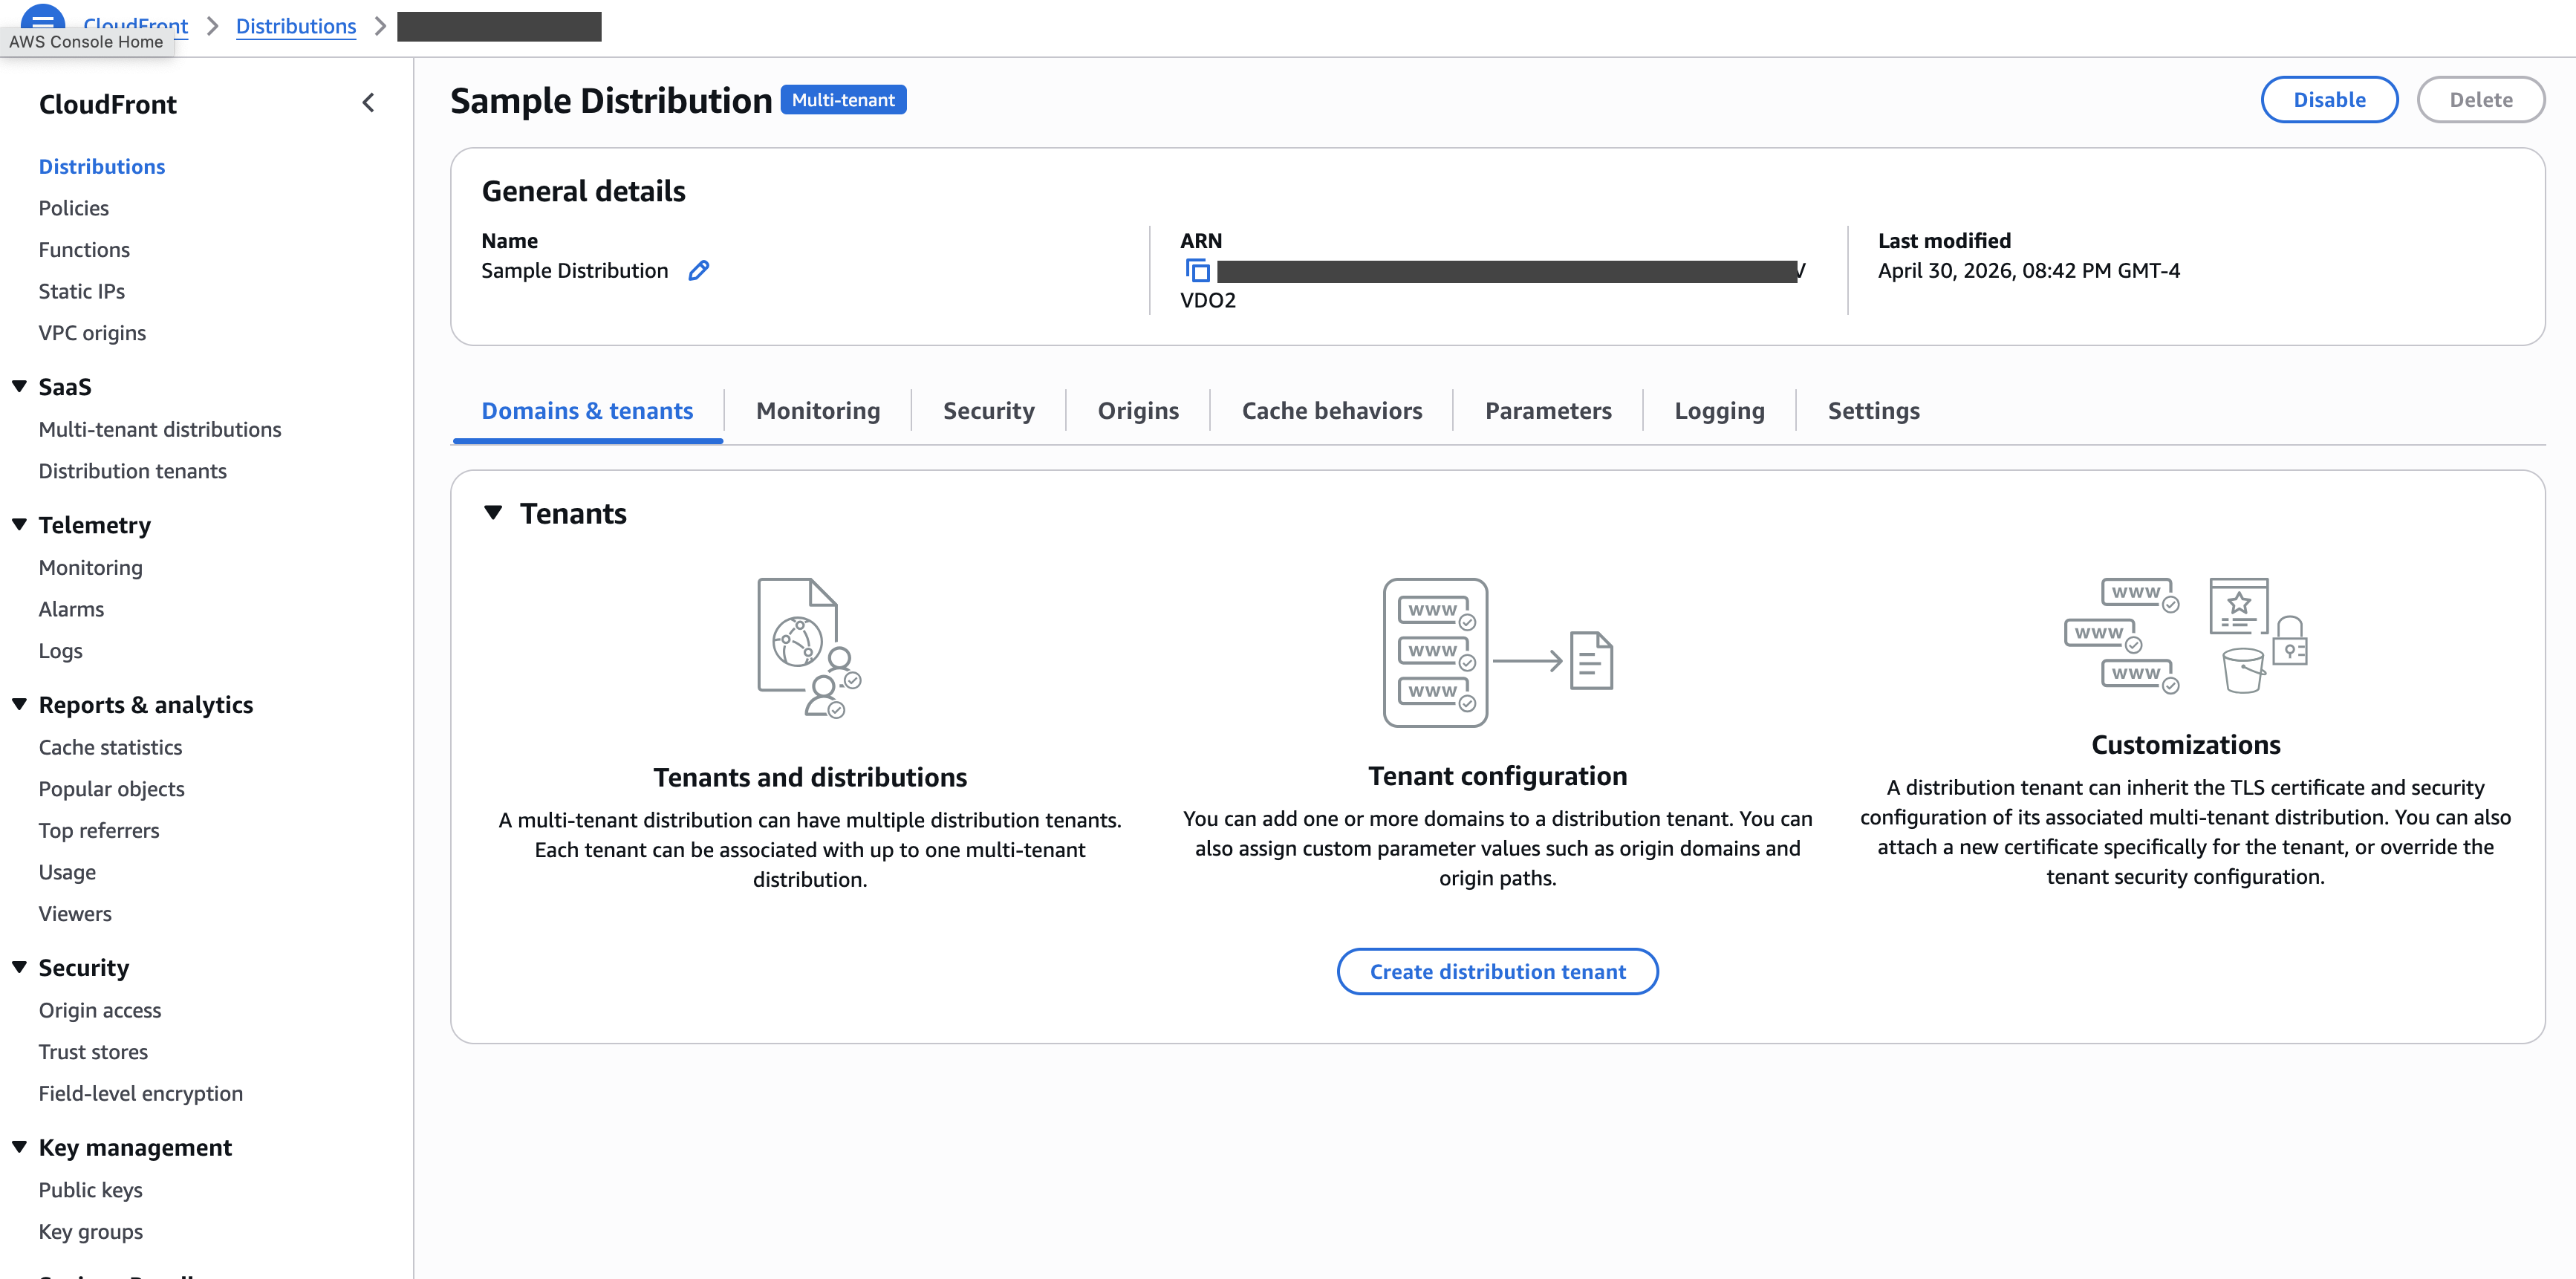
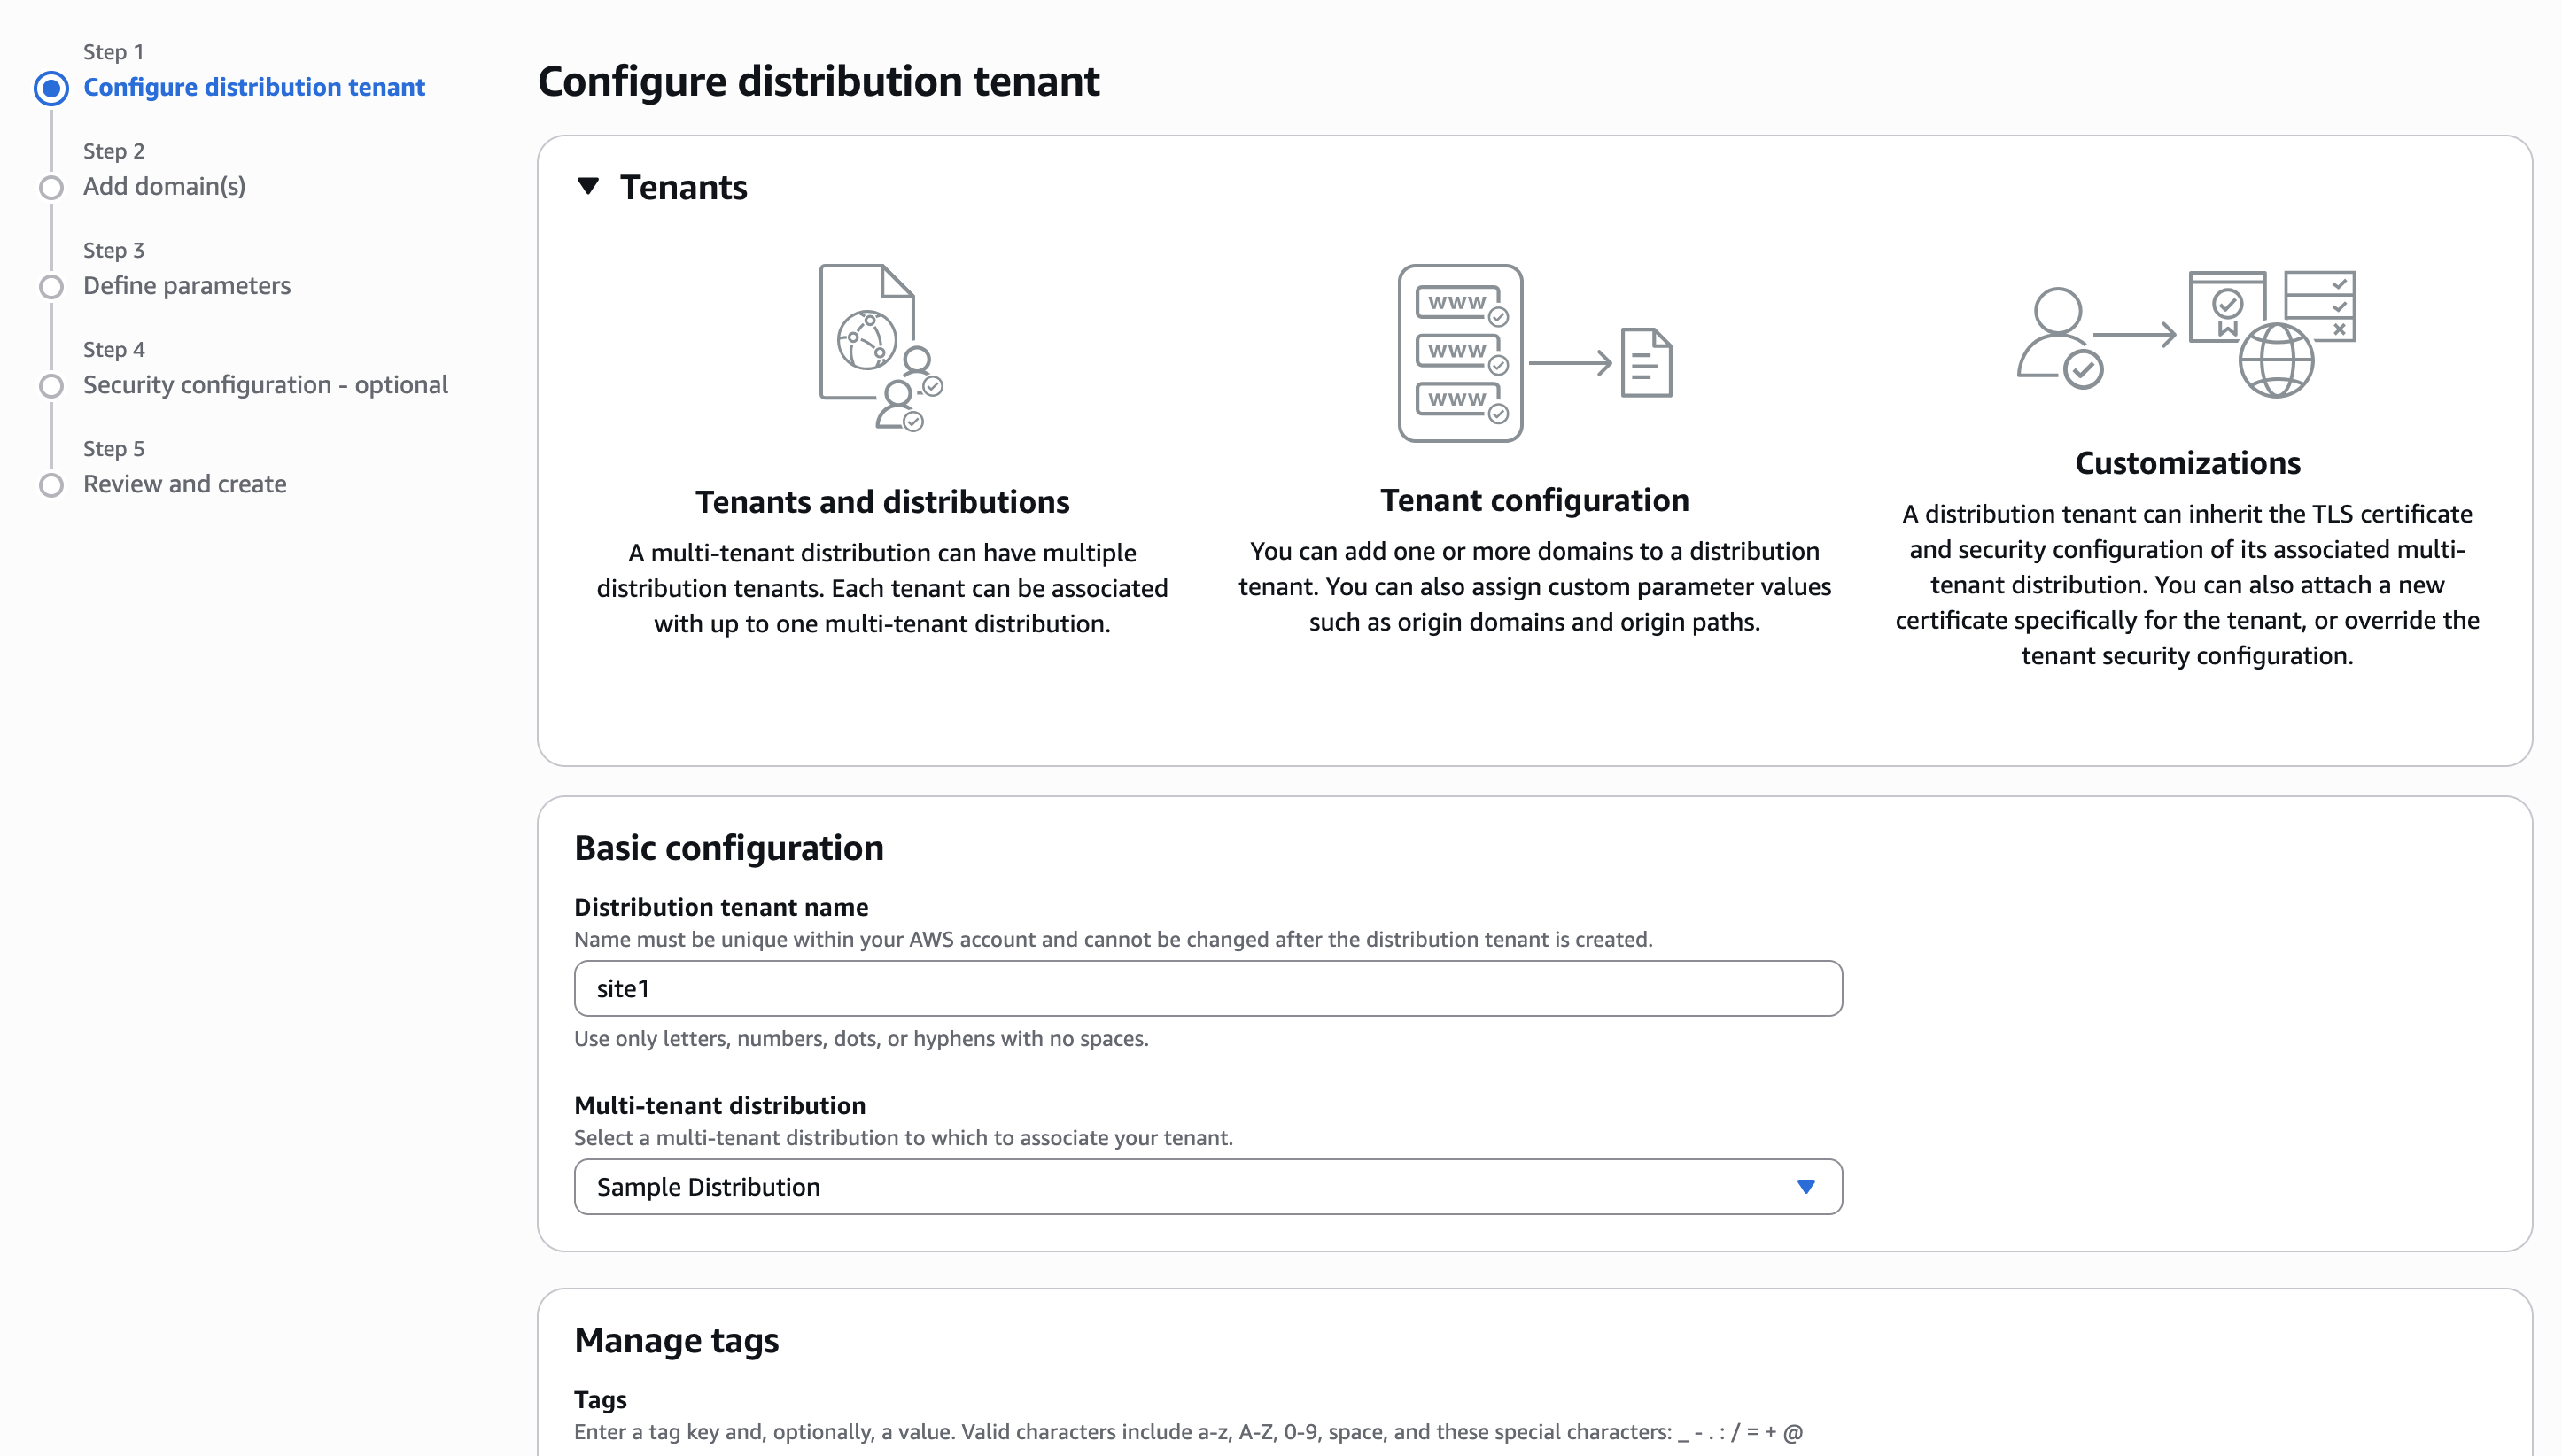
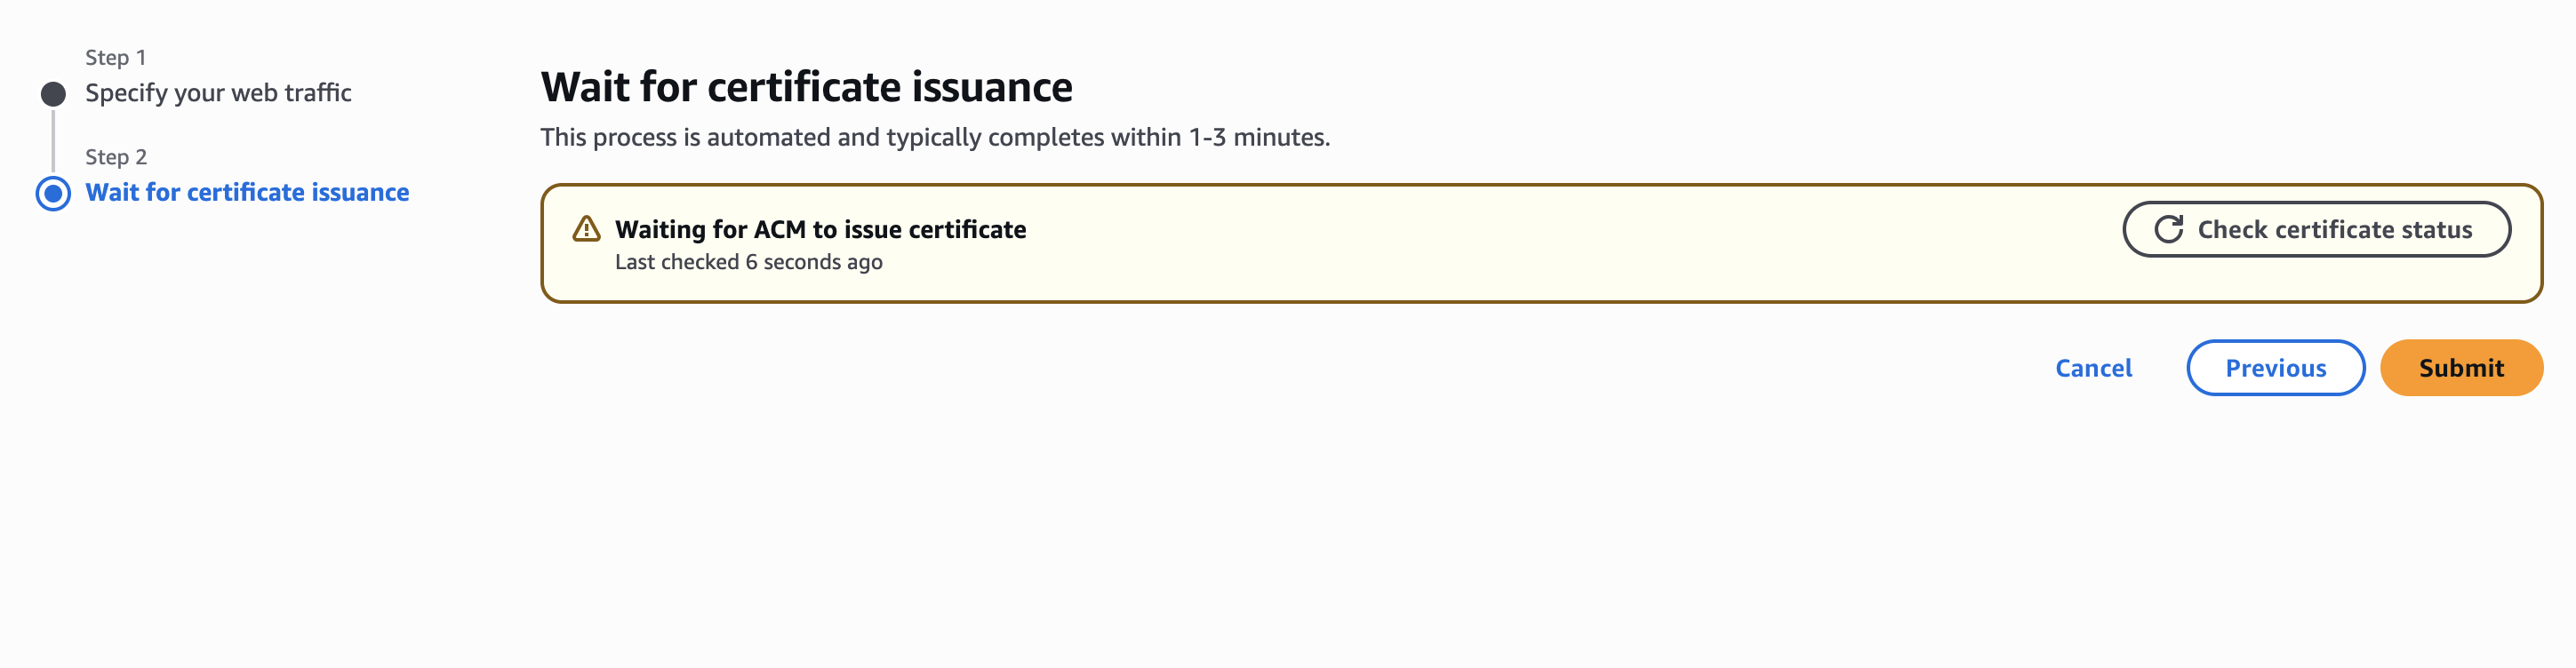
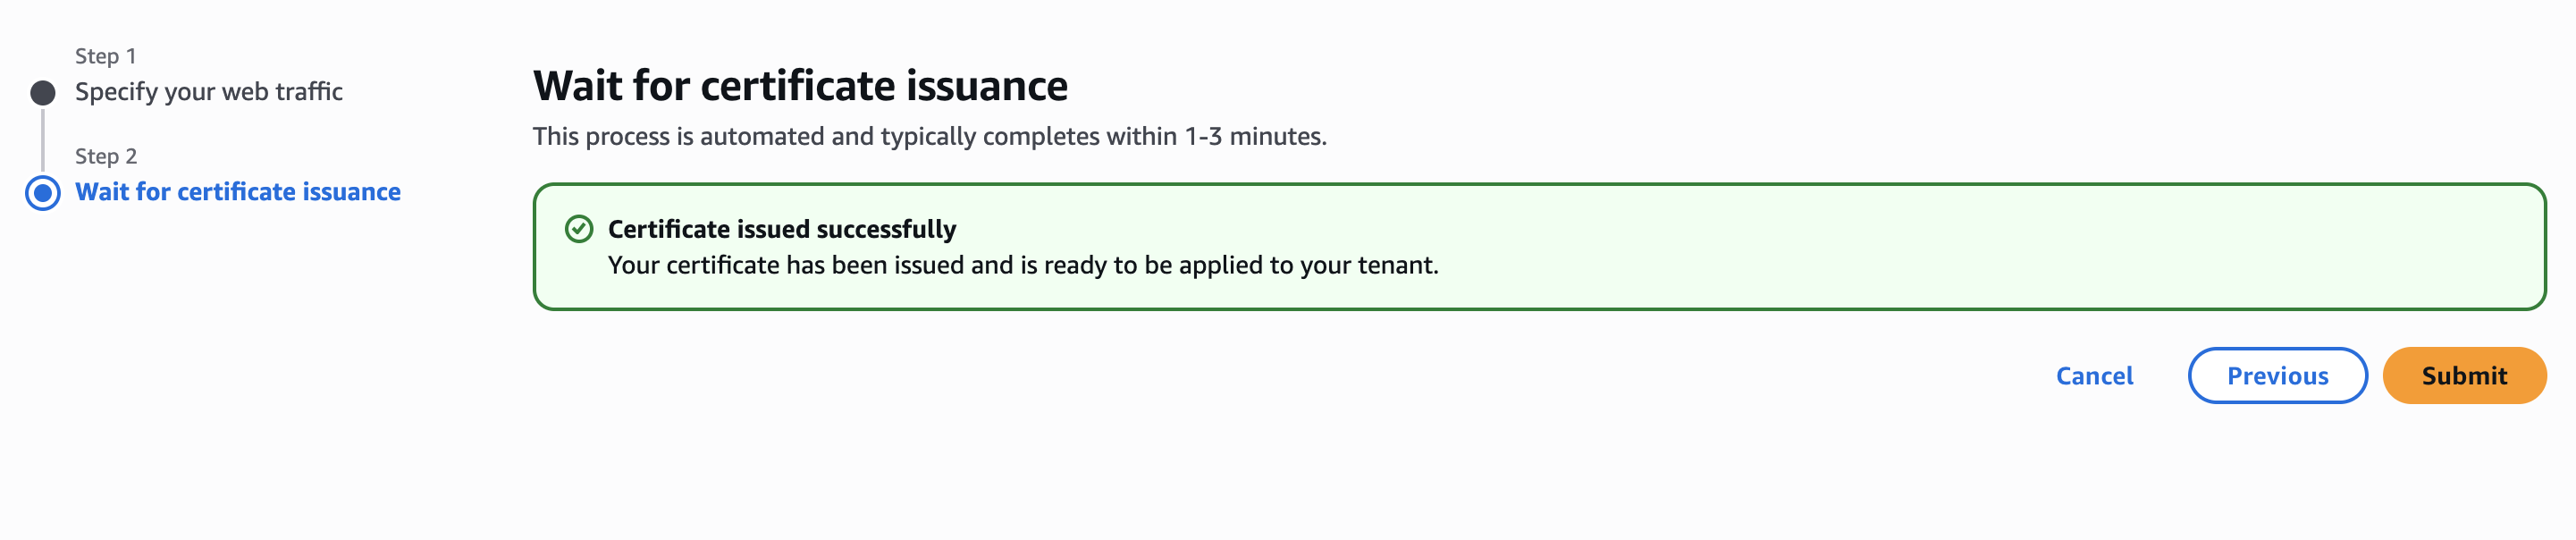
Open the distribution, go to Domains & Tenants, and create the first tenant for site1.
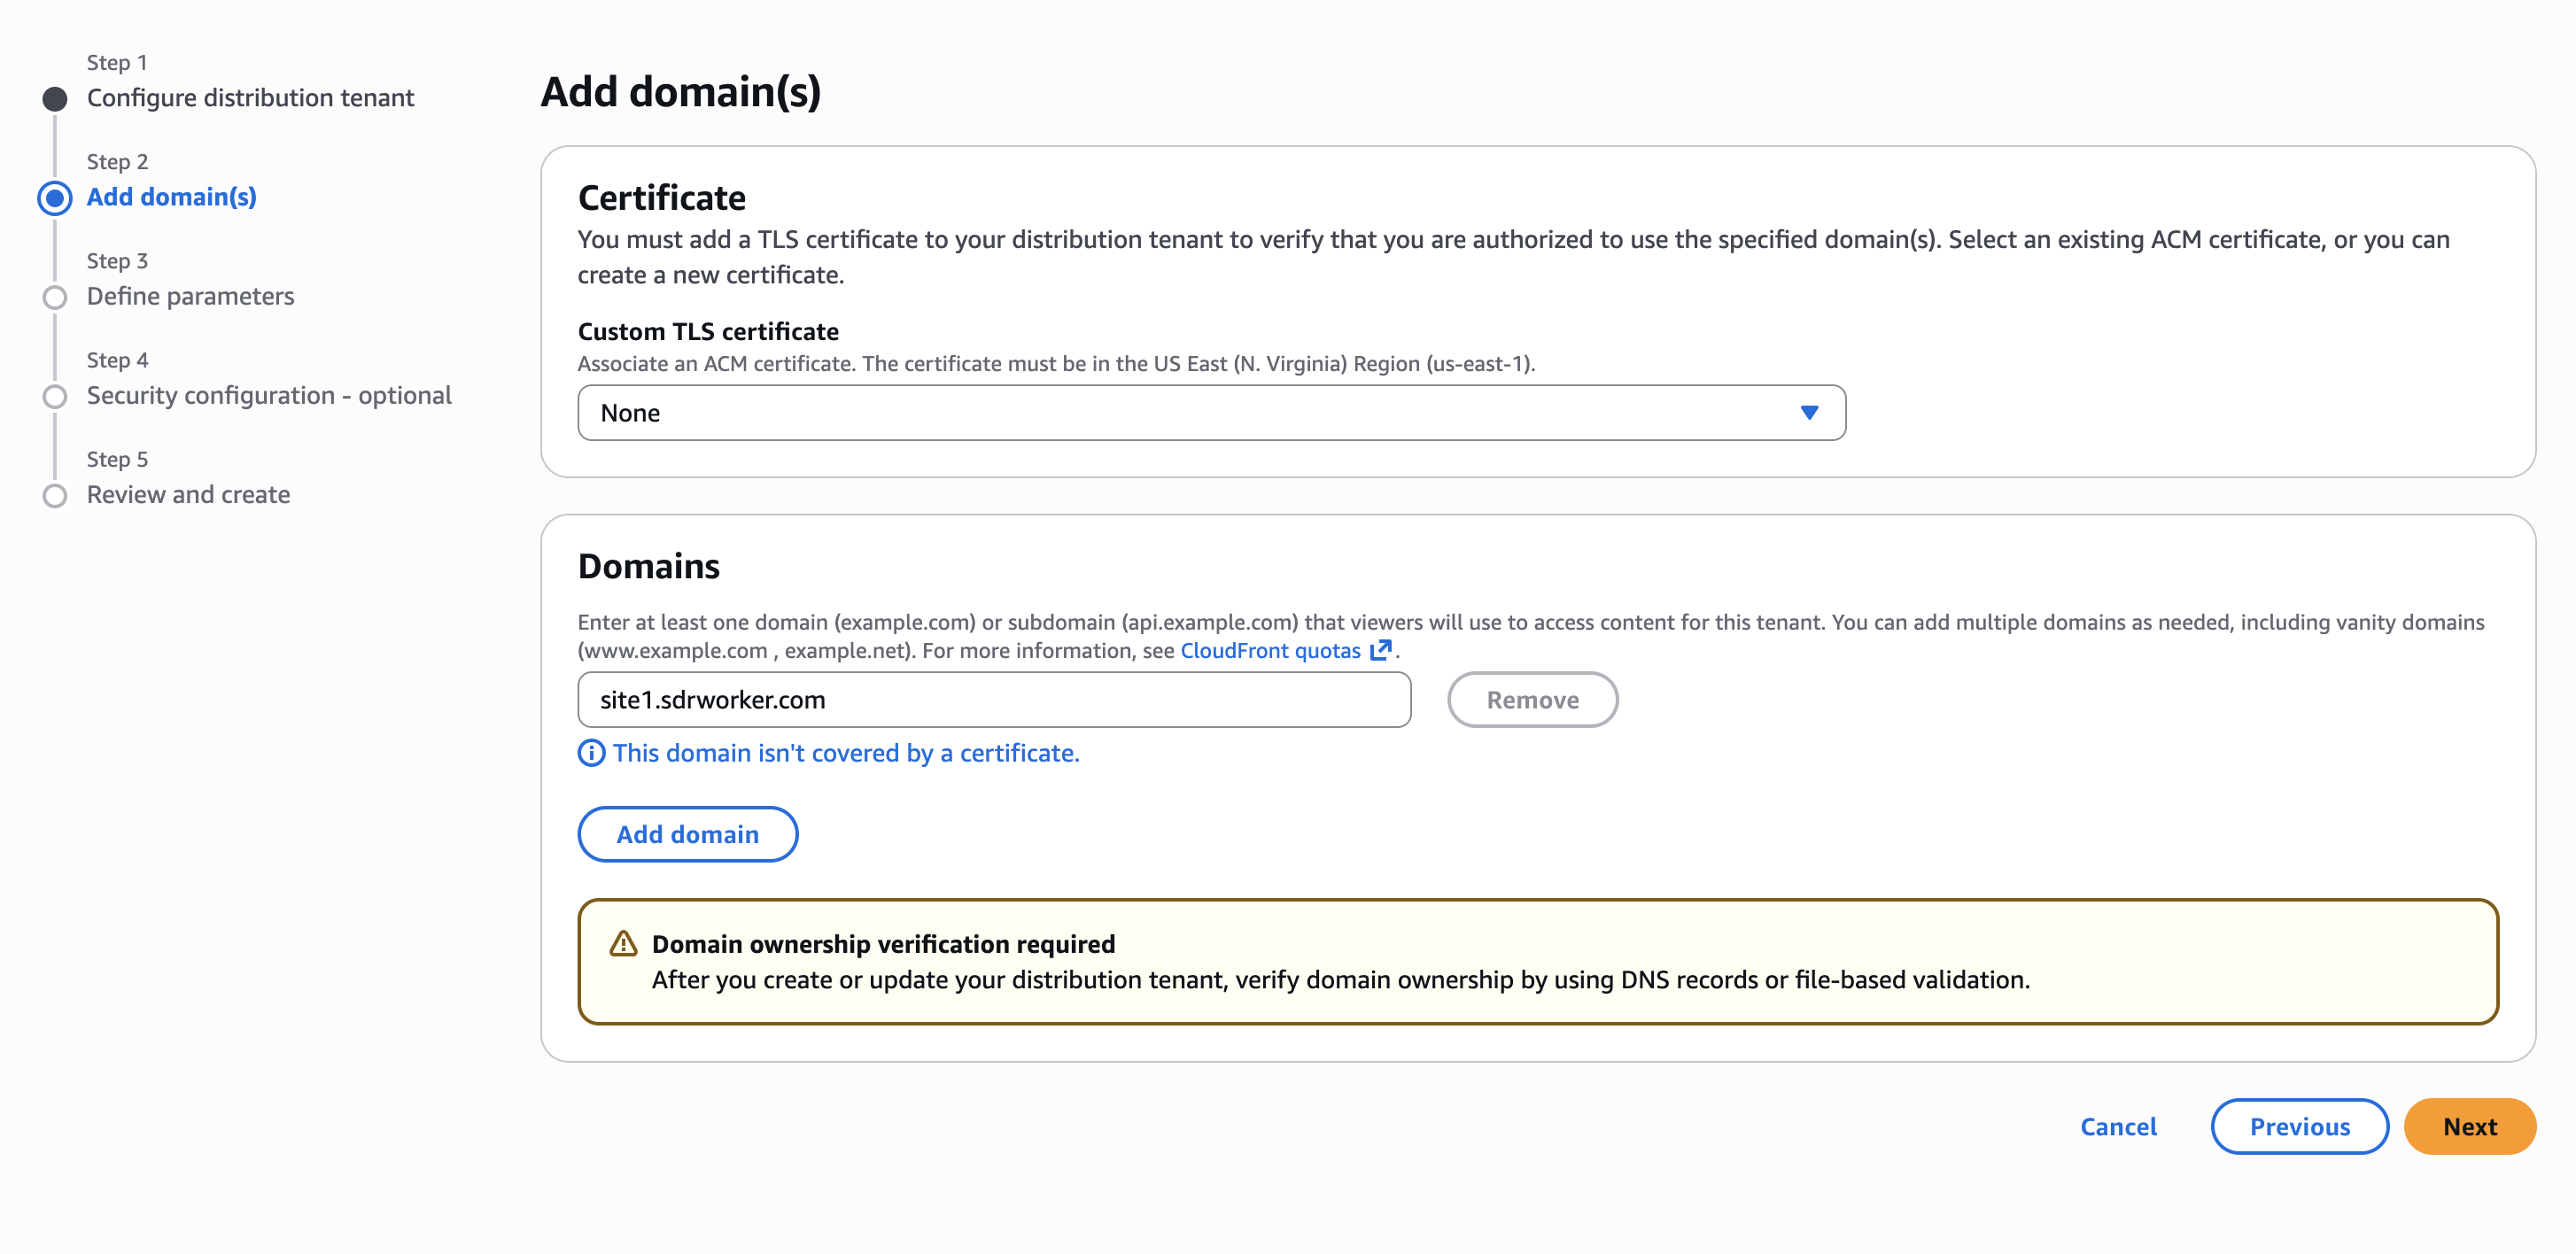
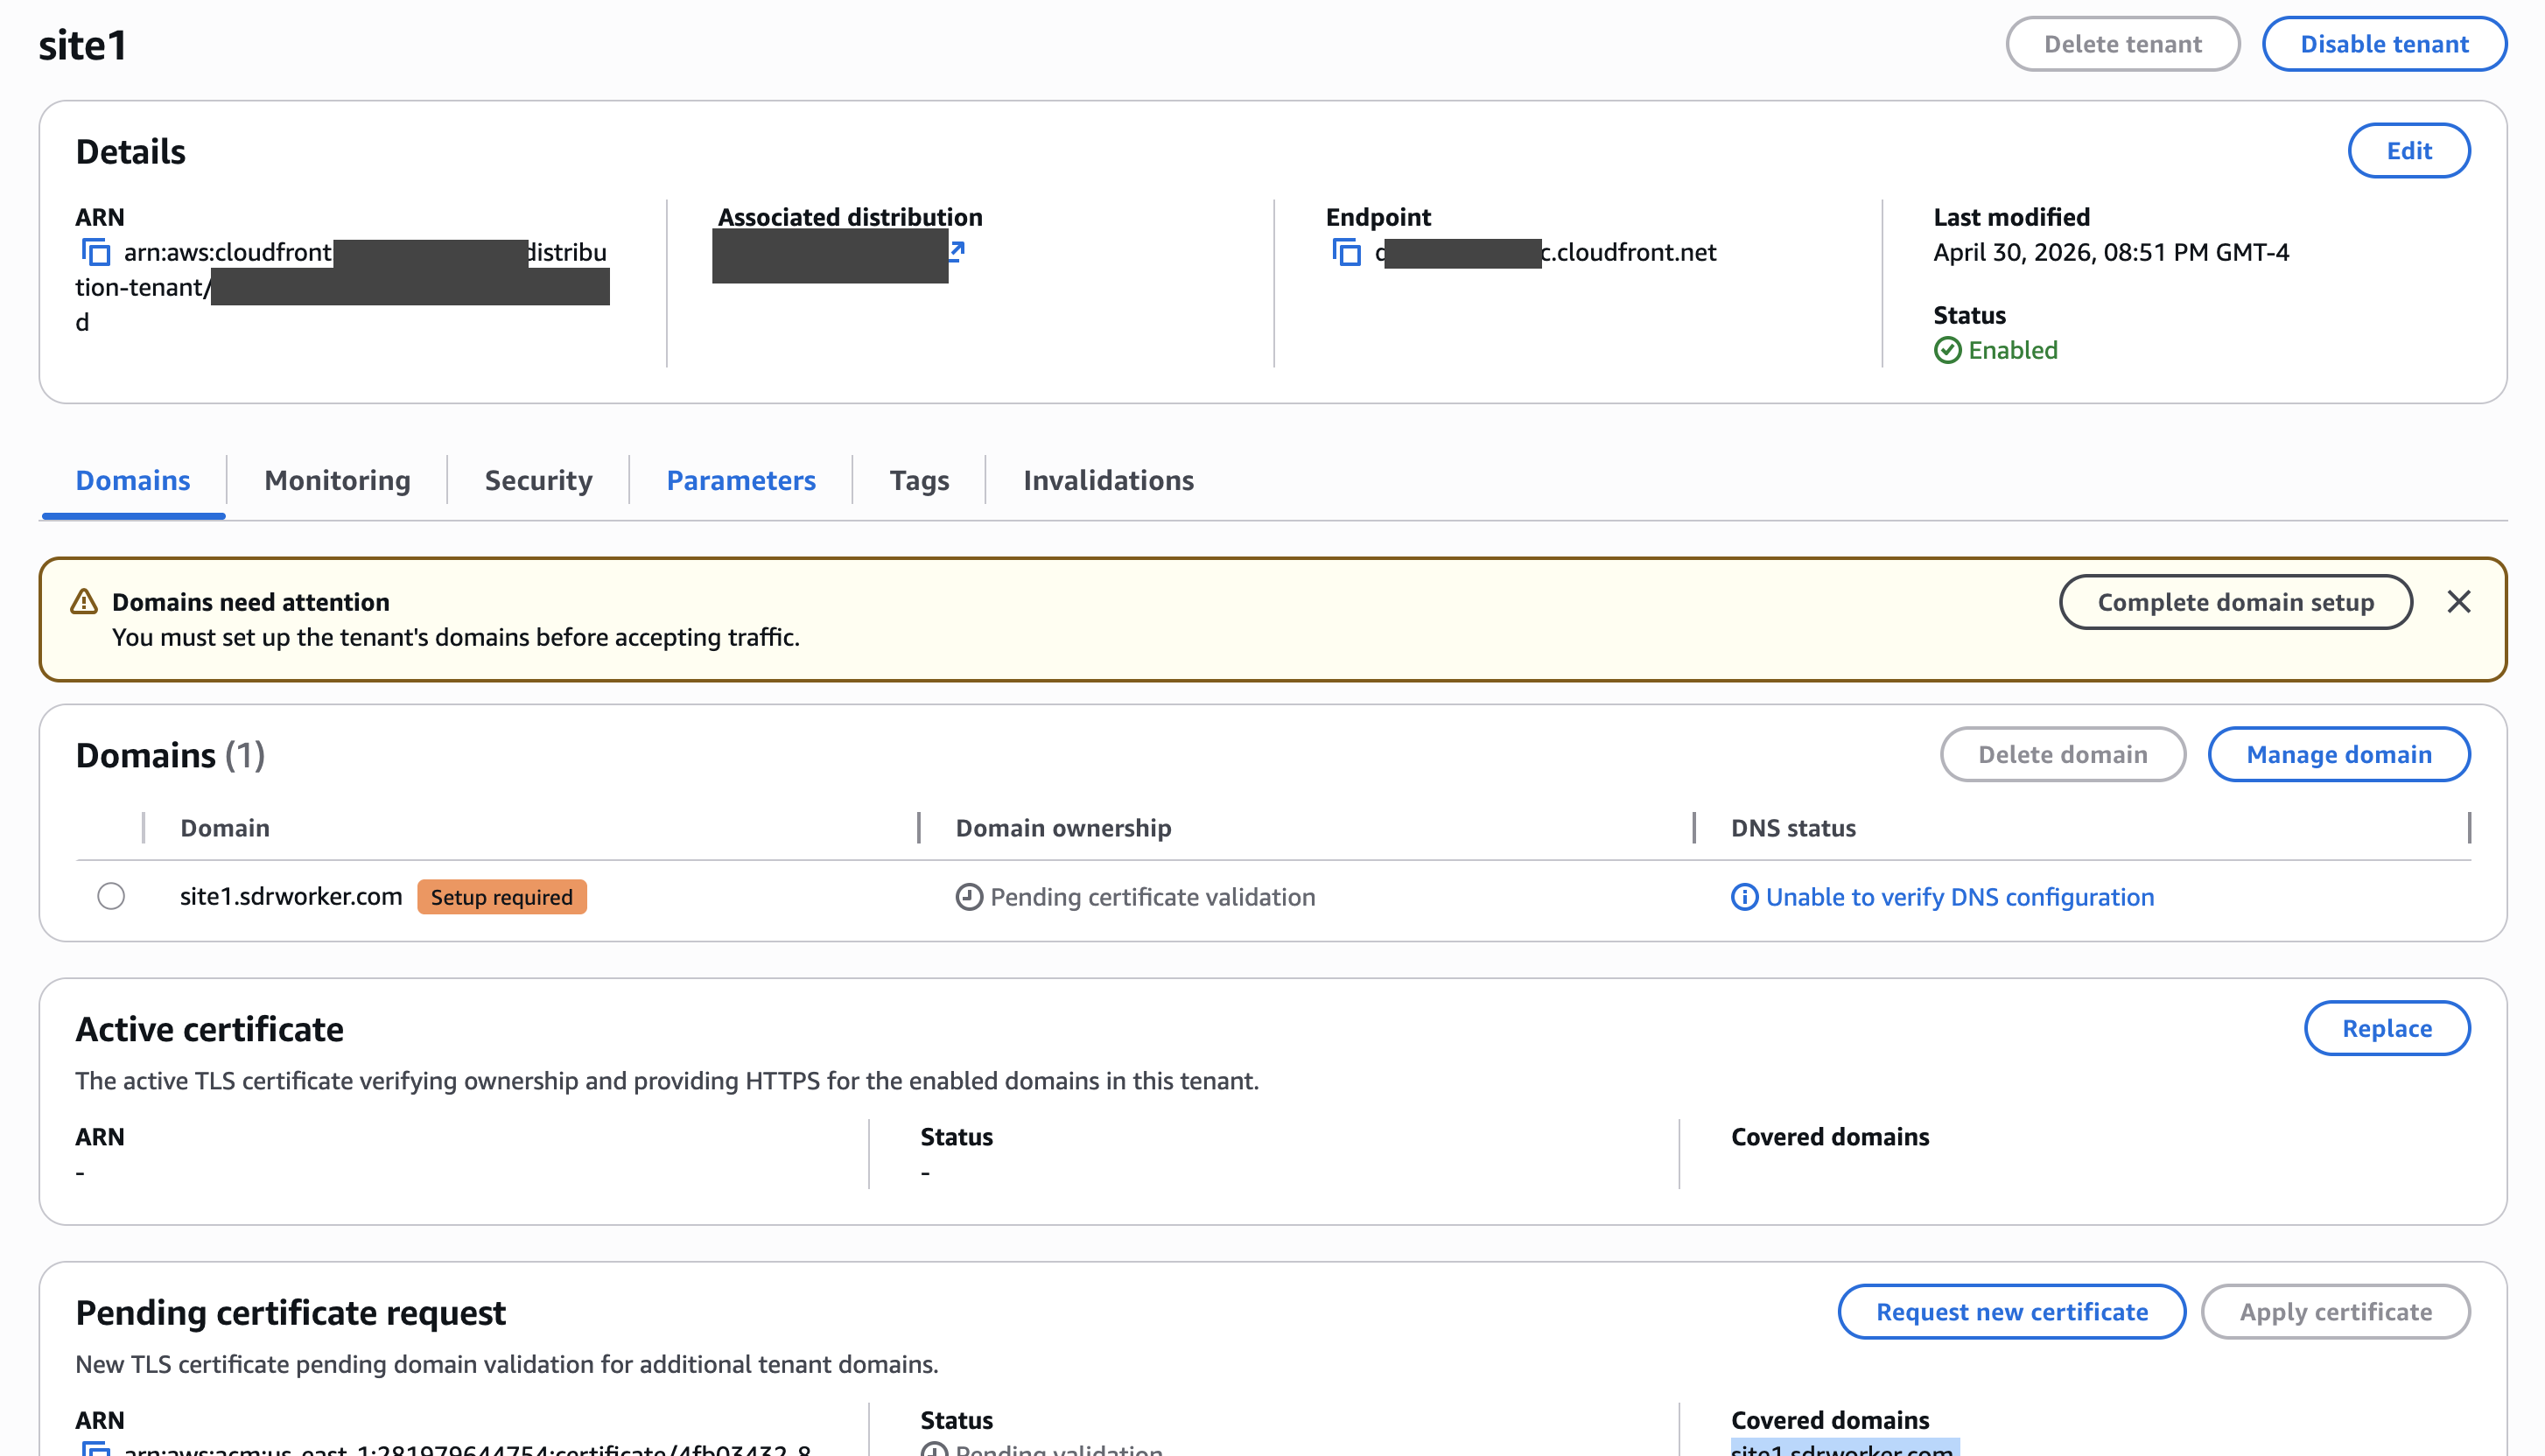
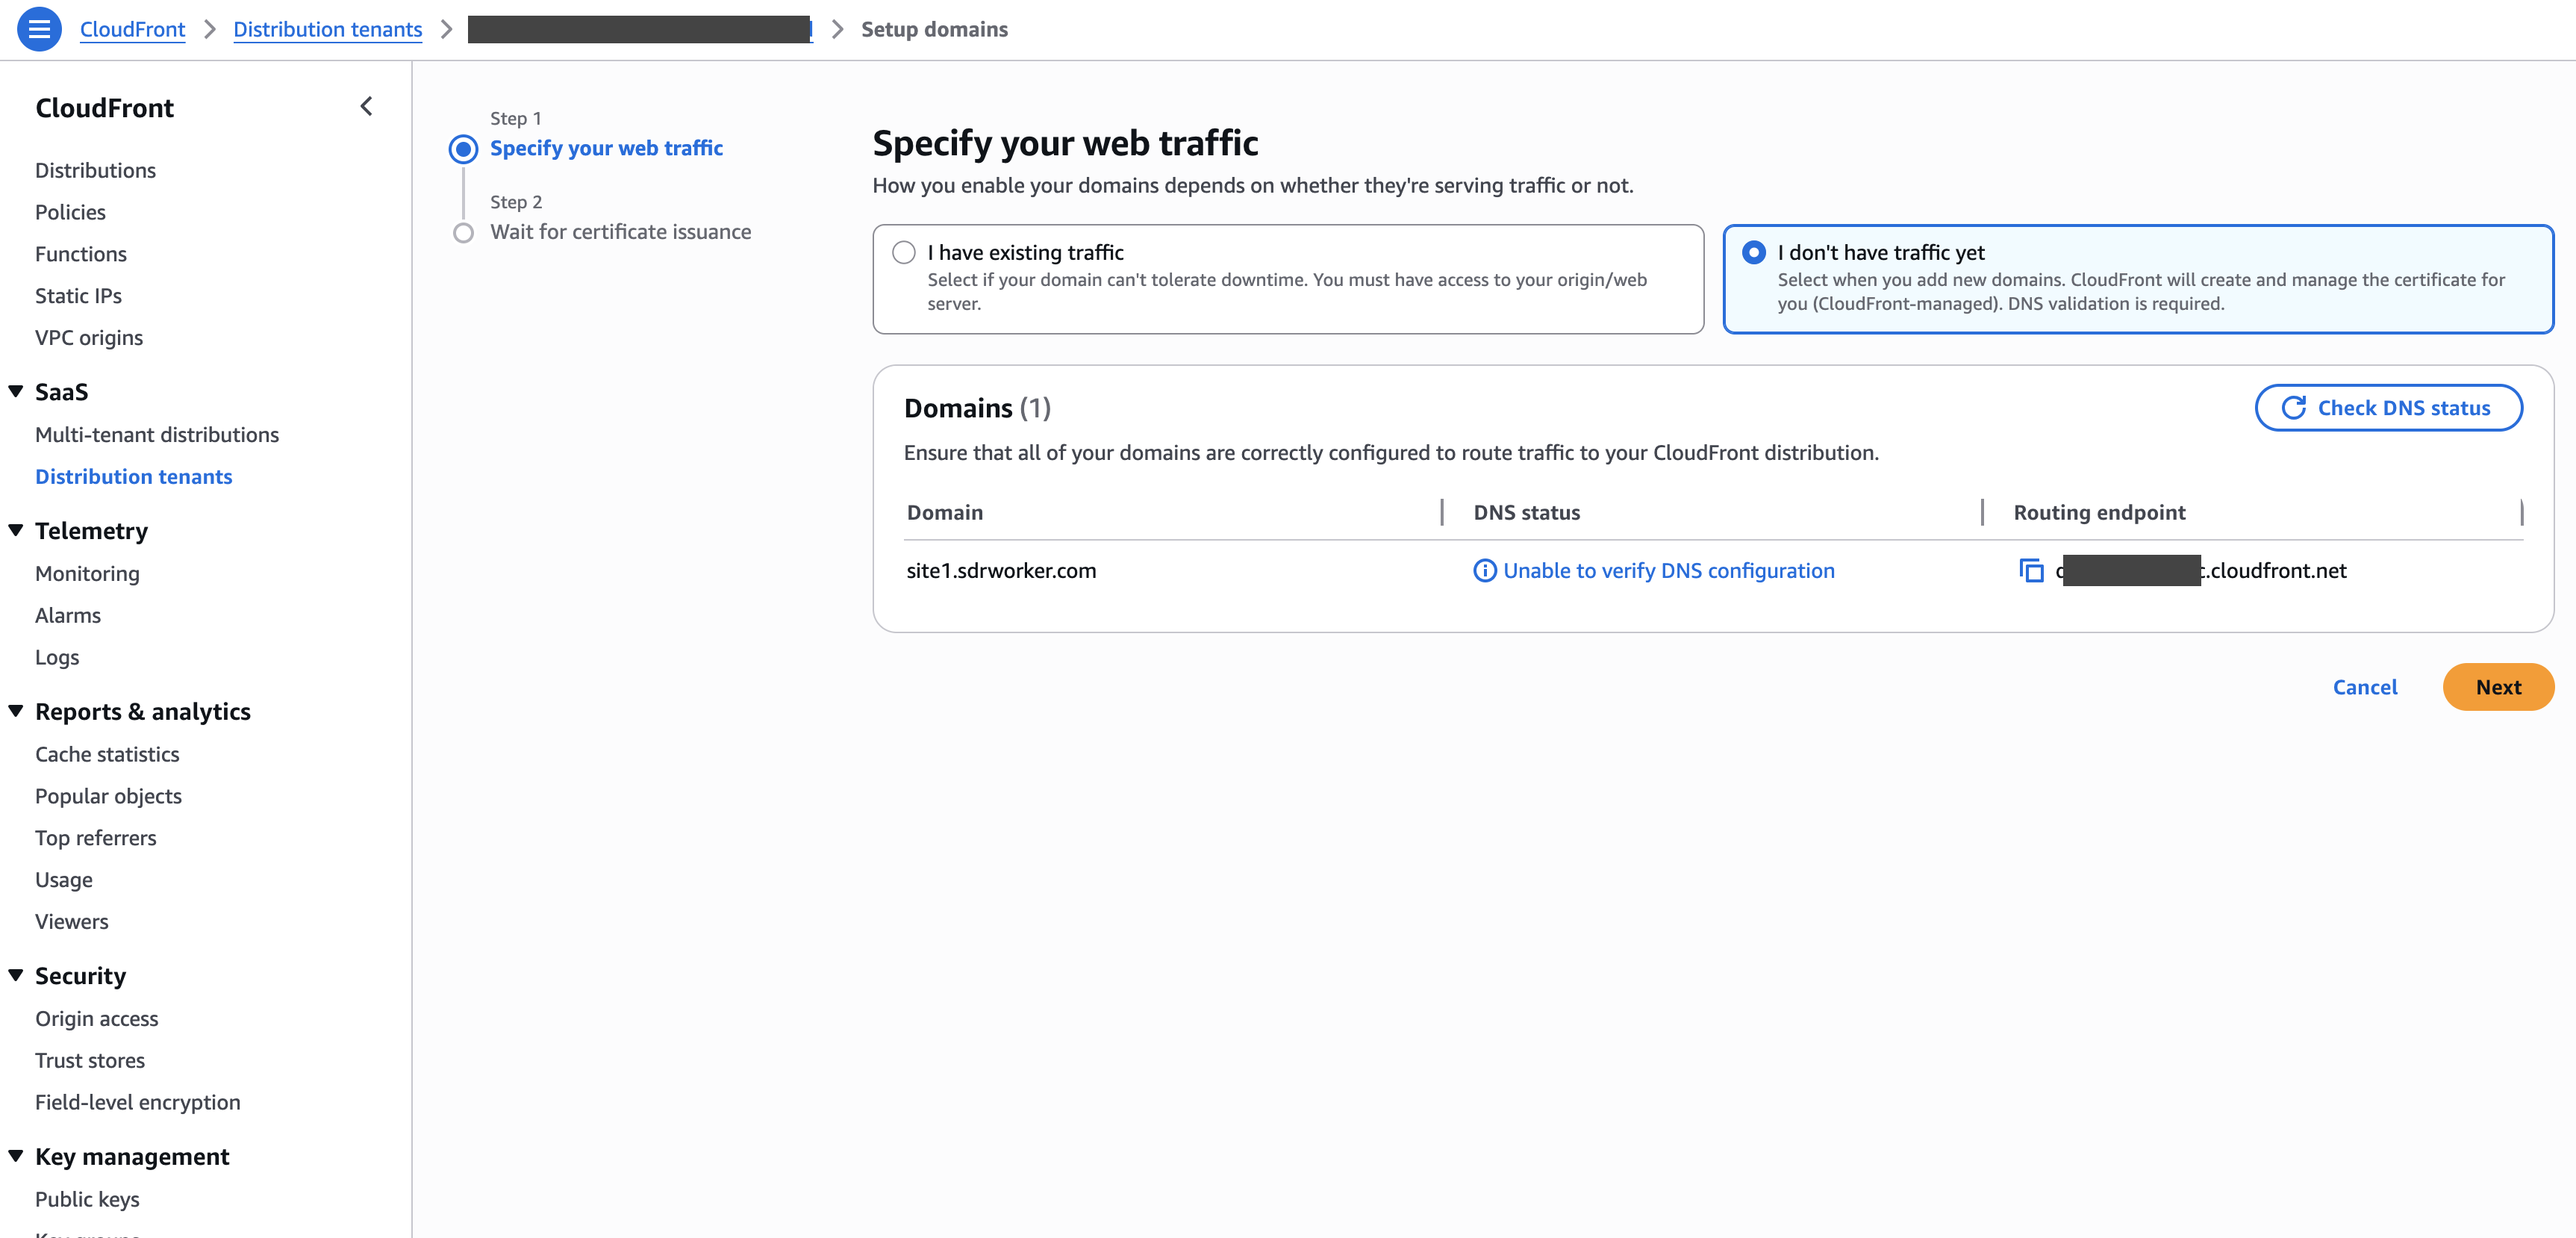
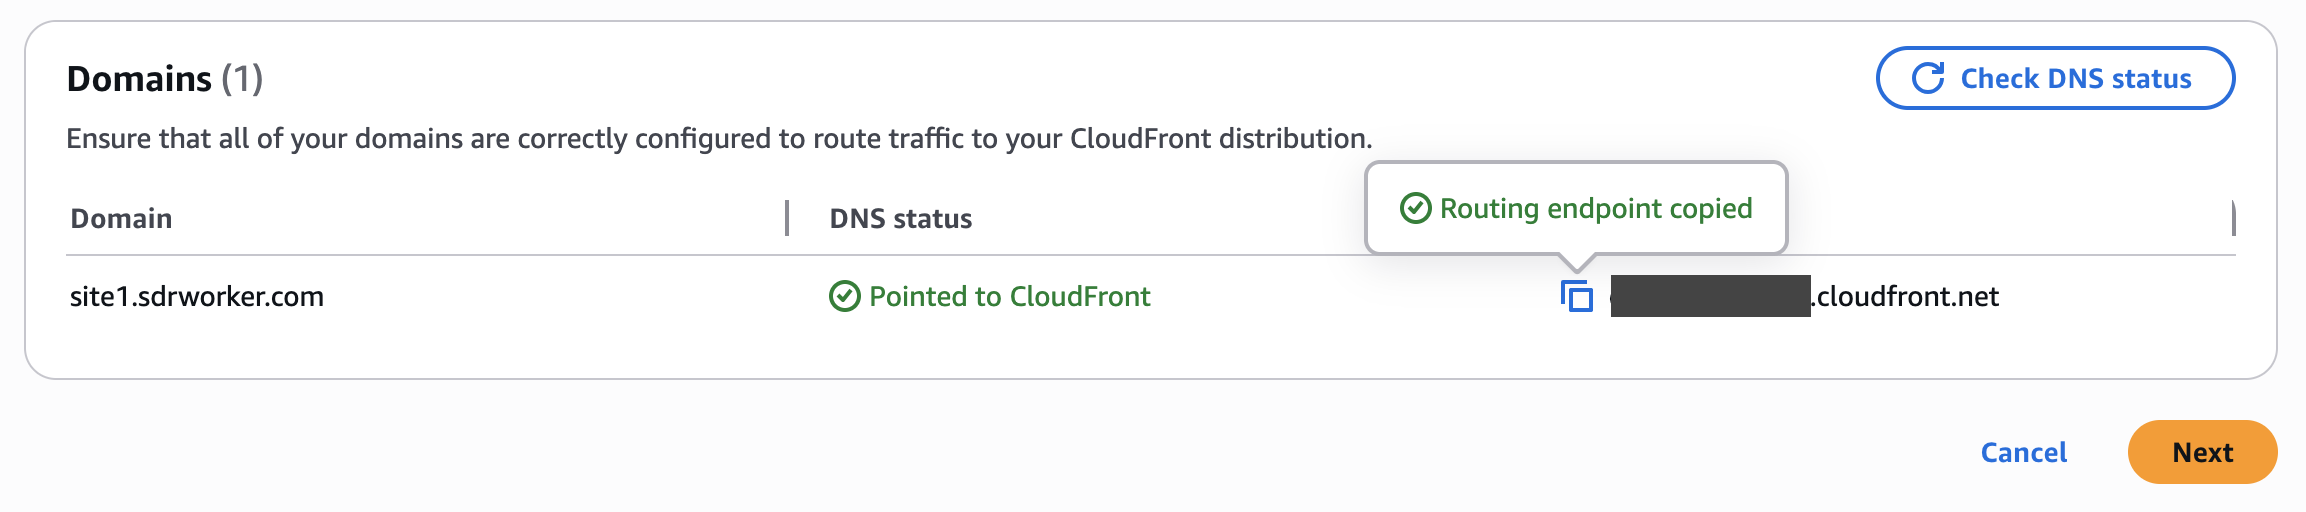
Add the DNS record for the tenant. For example:
site1.sdrworker.com CNAME d1234567890.cloudfront.net

Step 6: Point the origin to the first folder
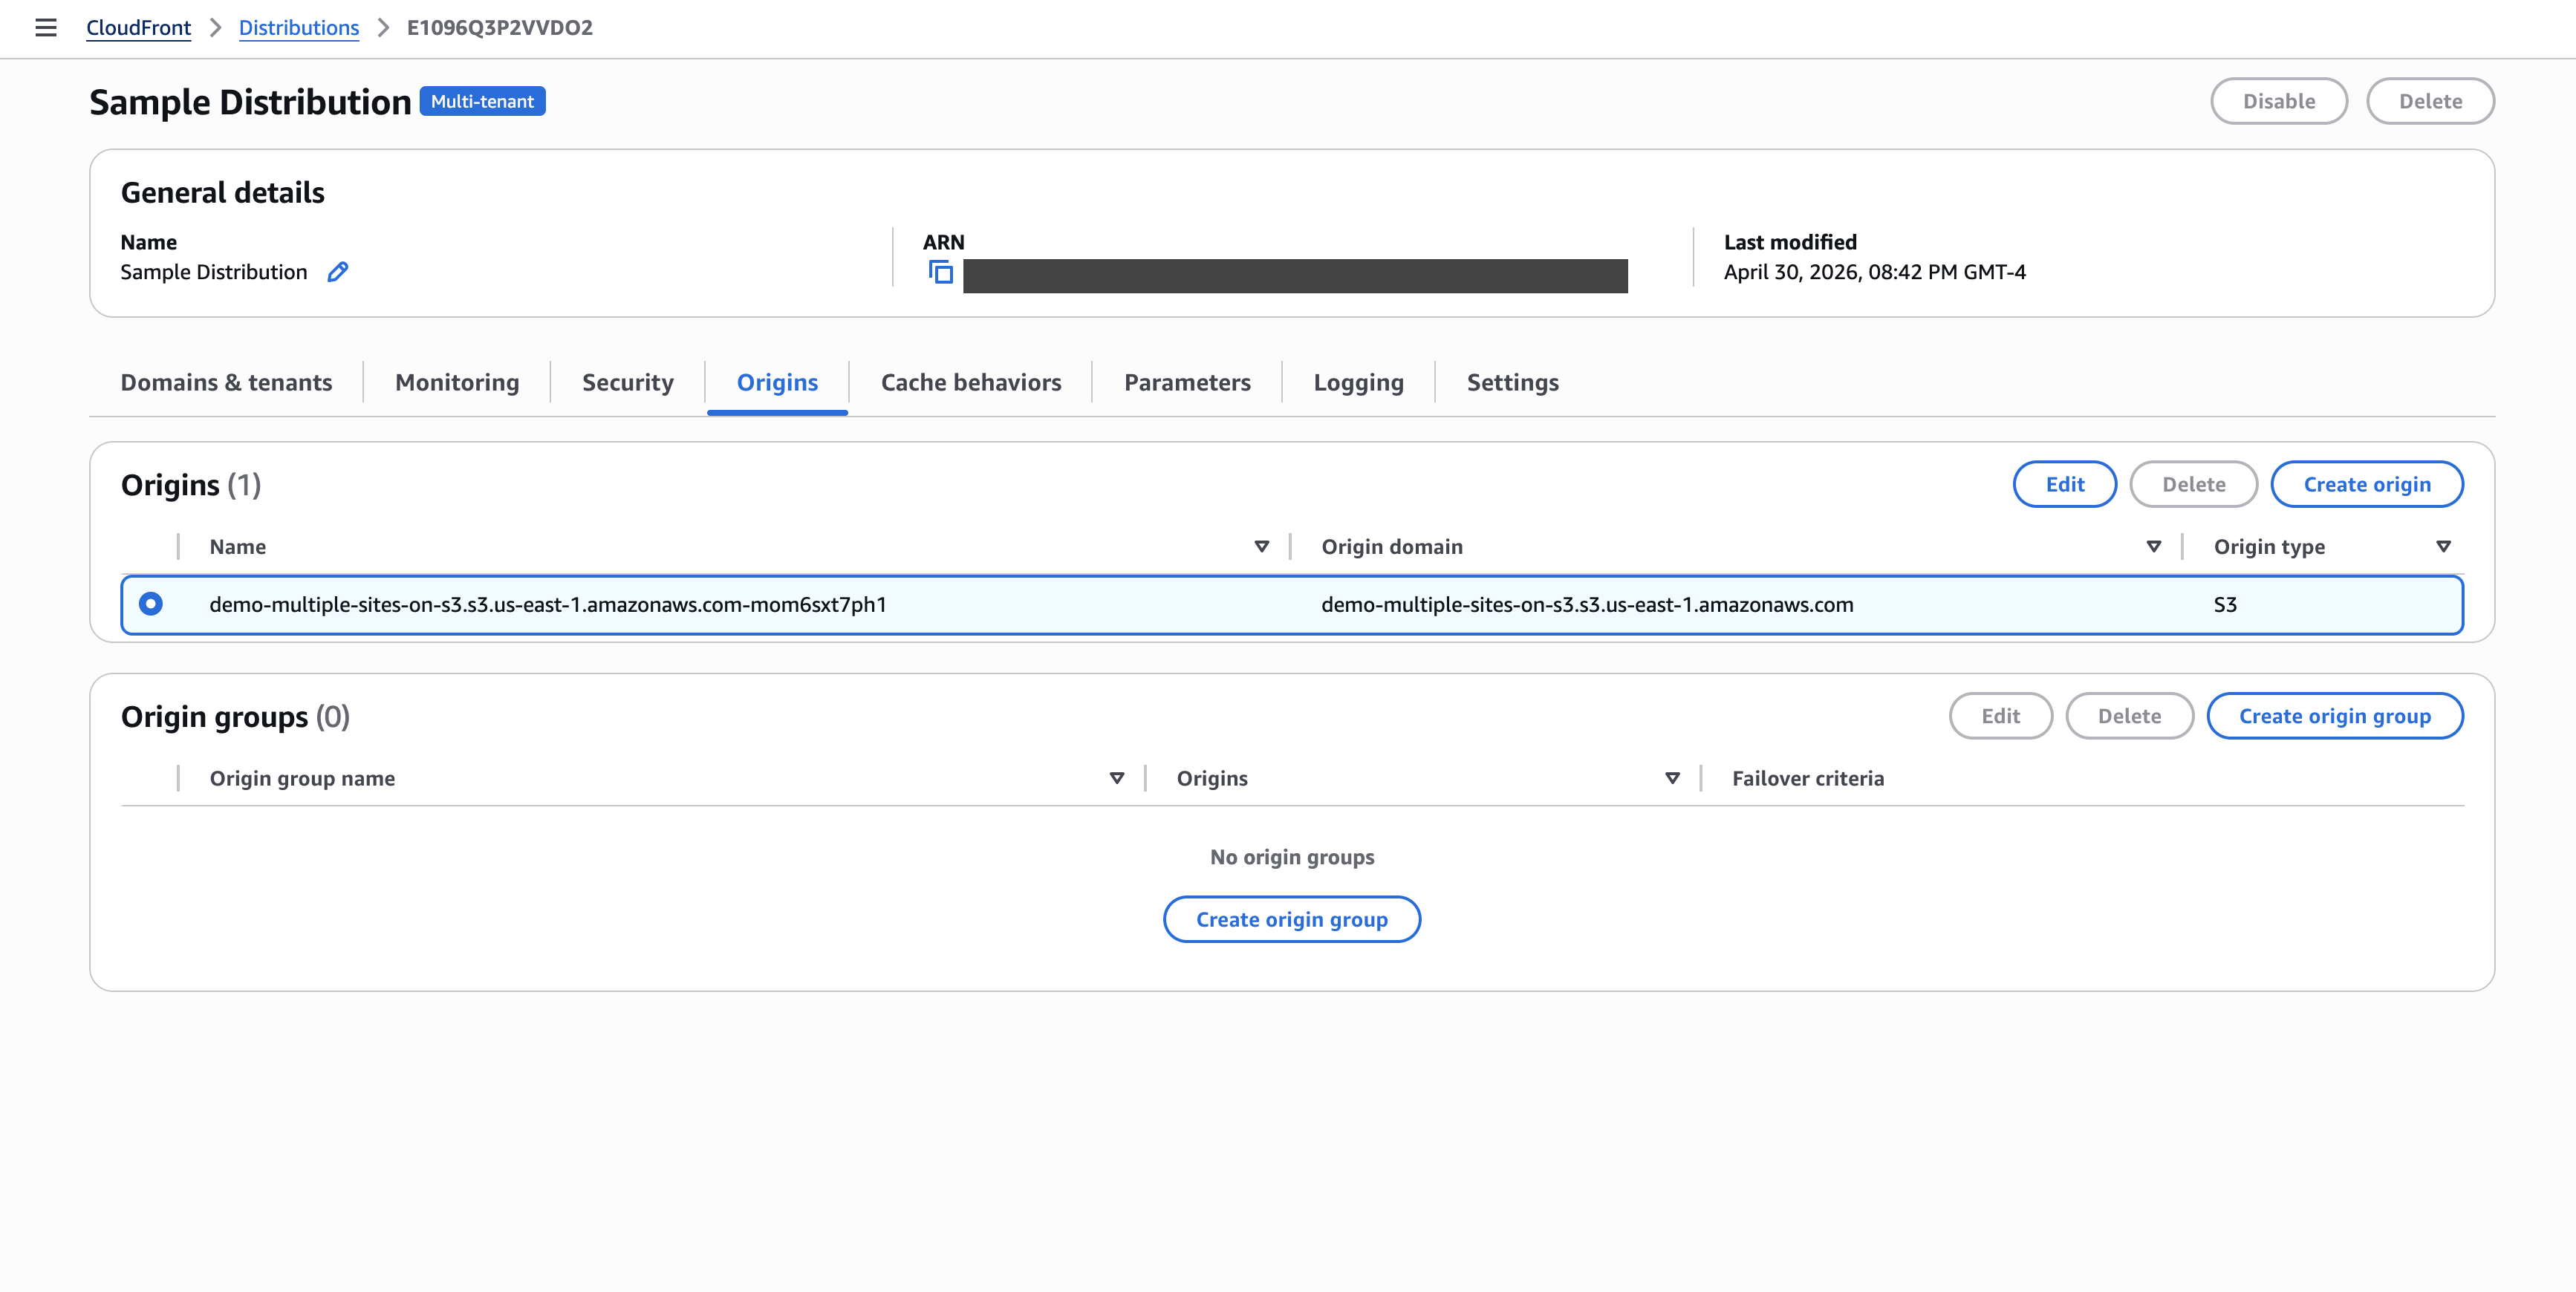
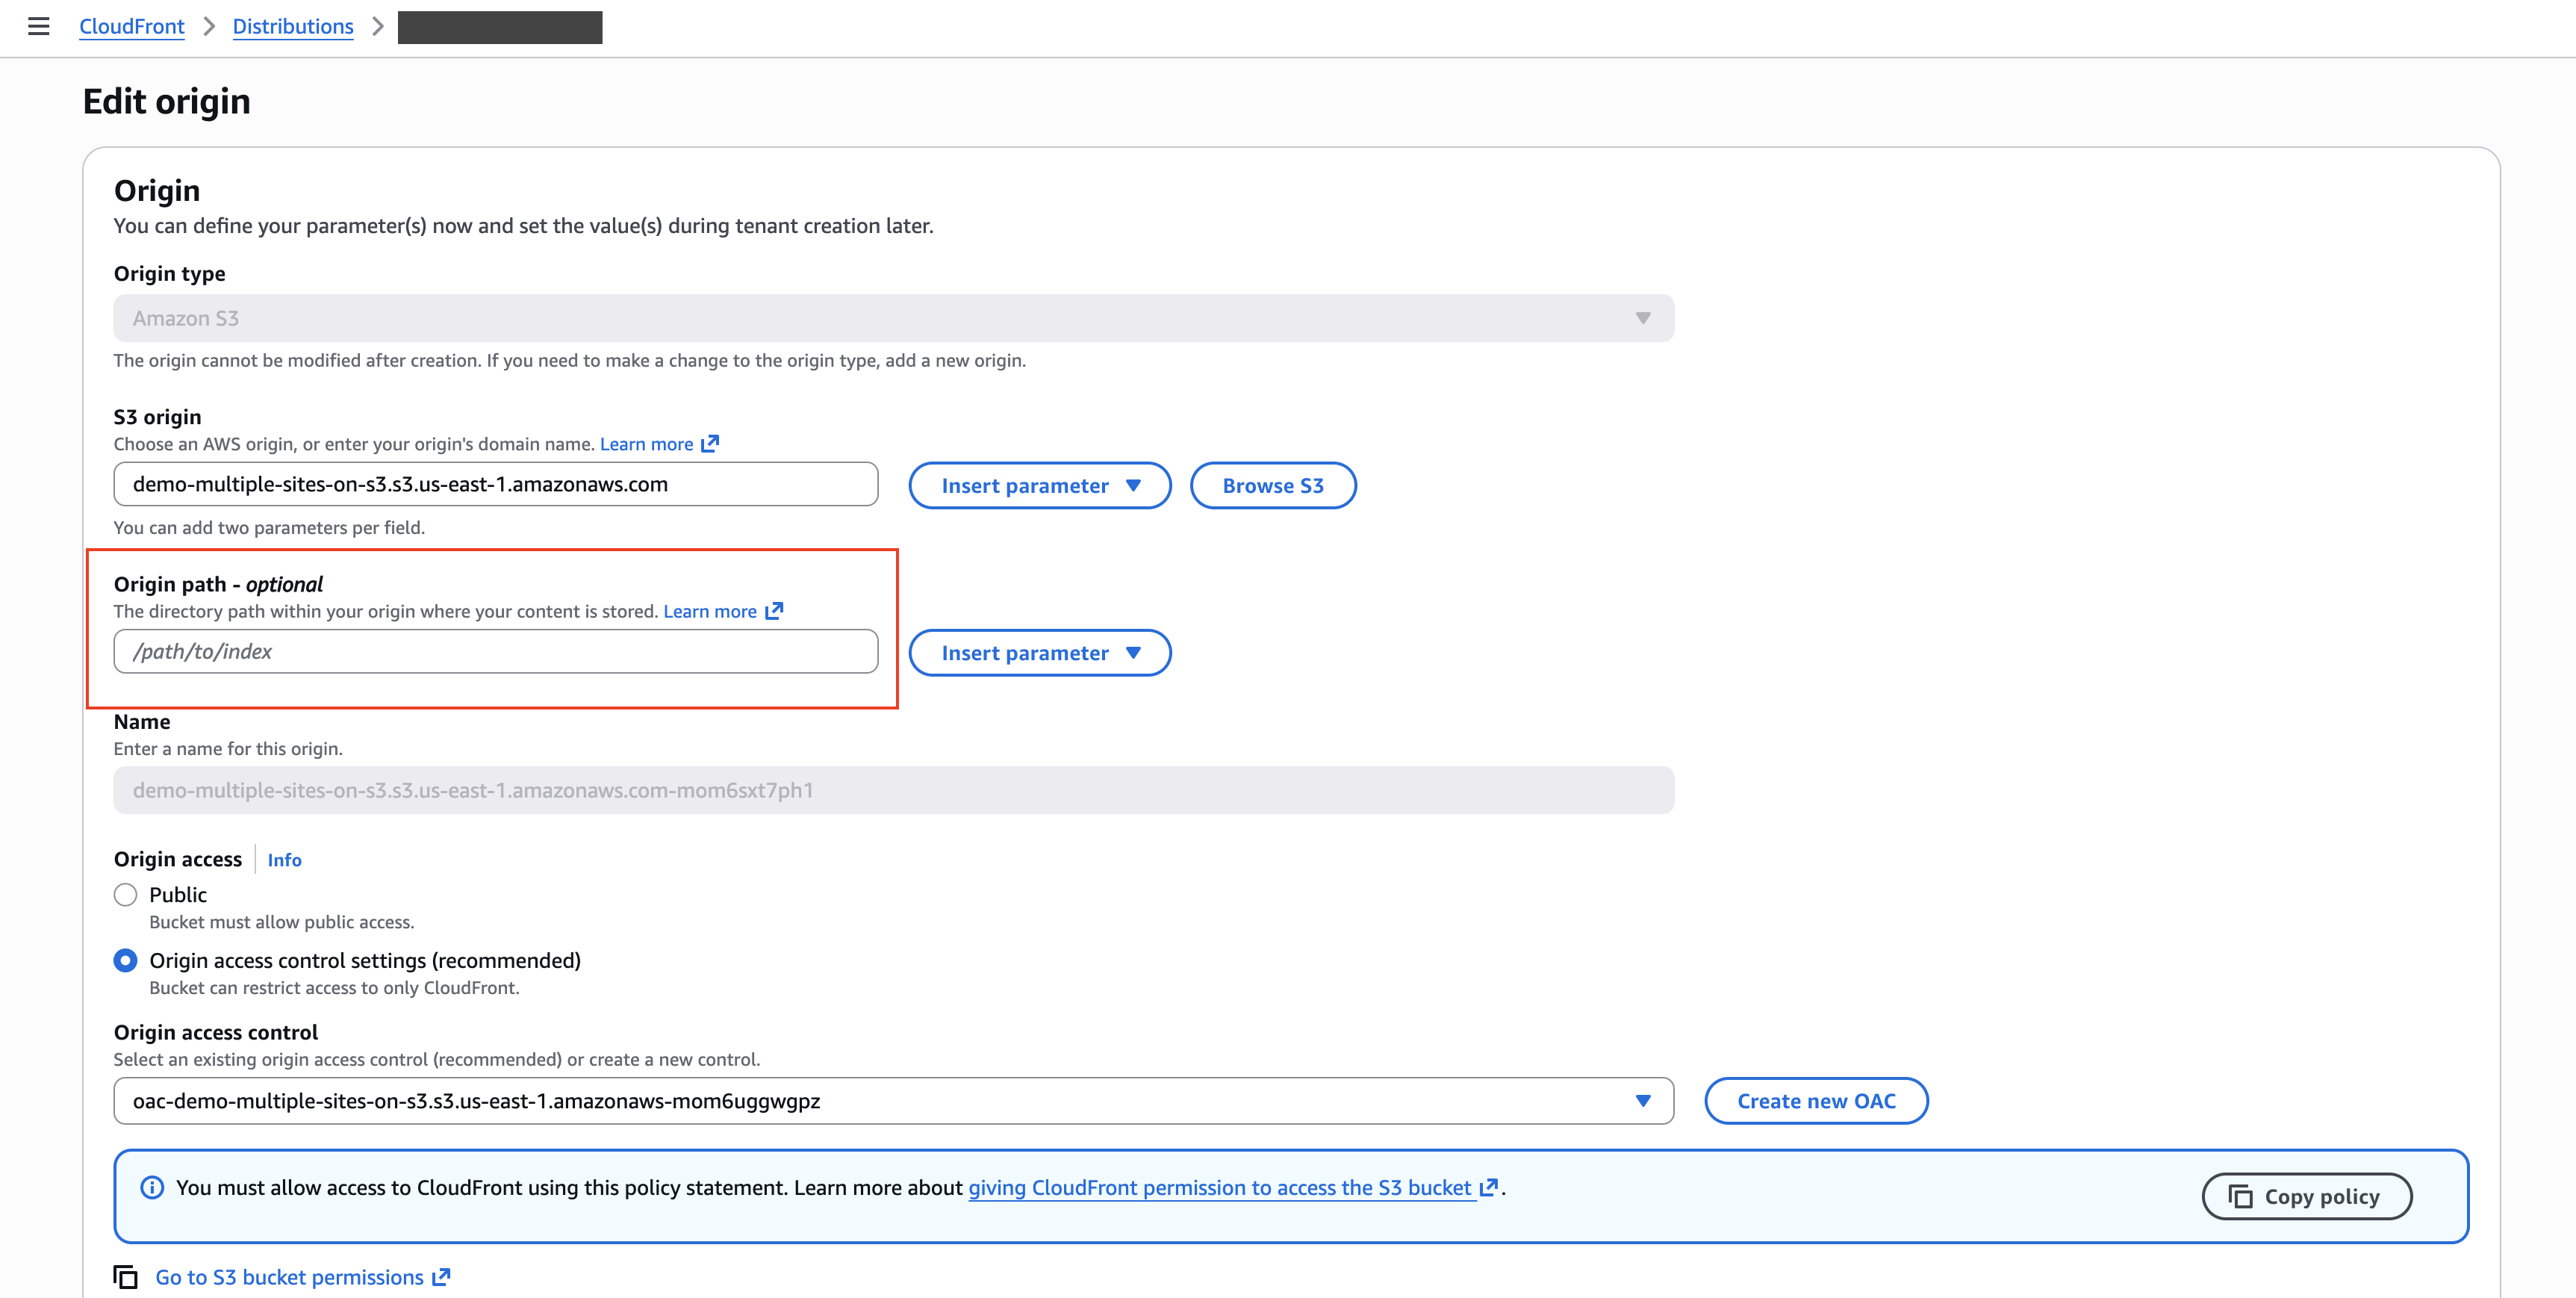
Edit the origin and set the origin path to /site1 so site1 traffic resolves to the correct folder.
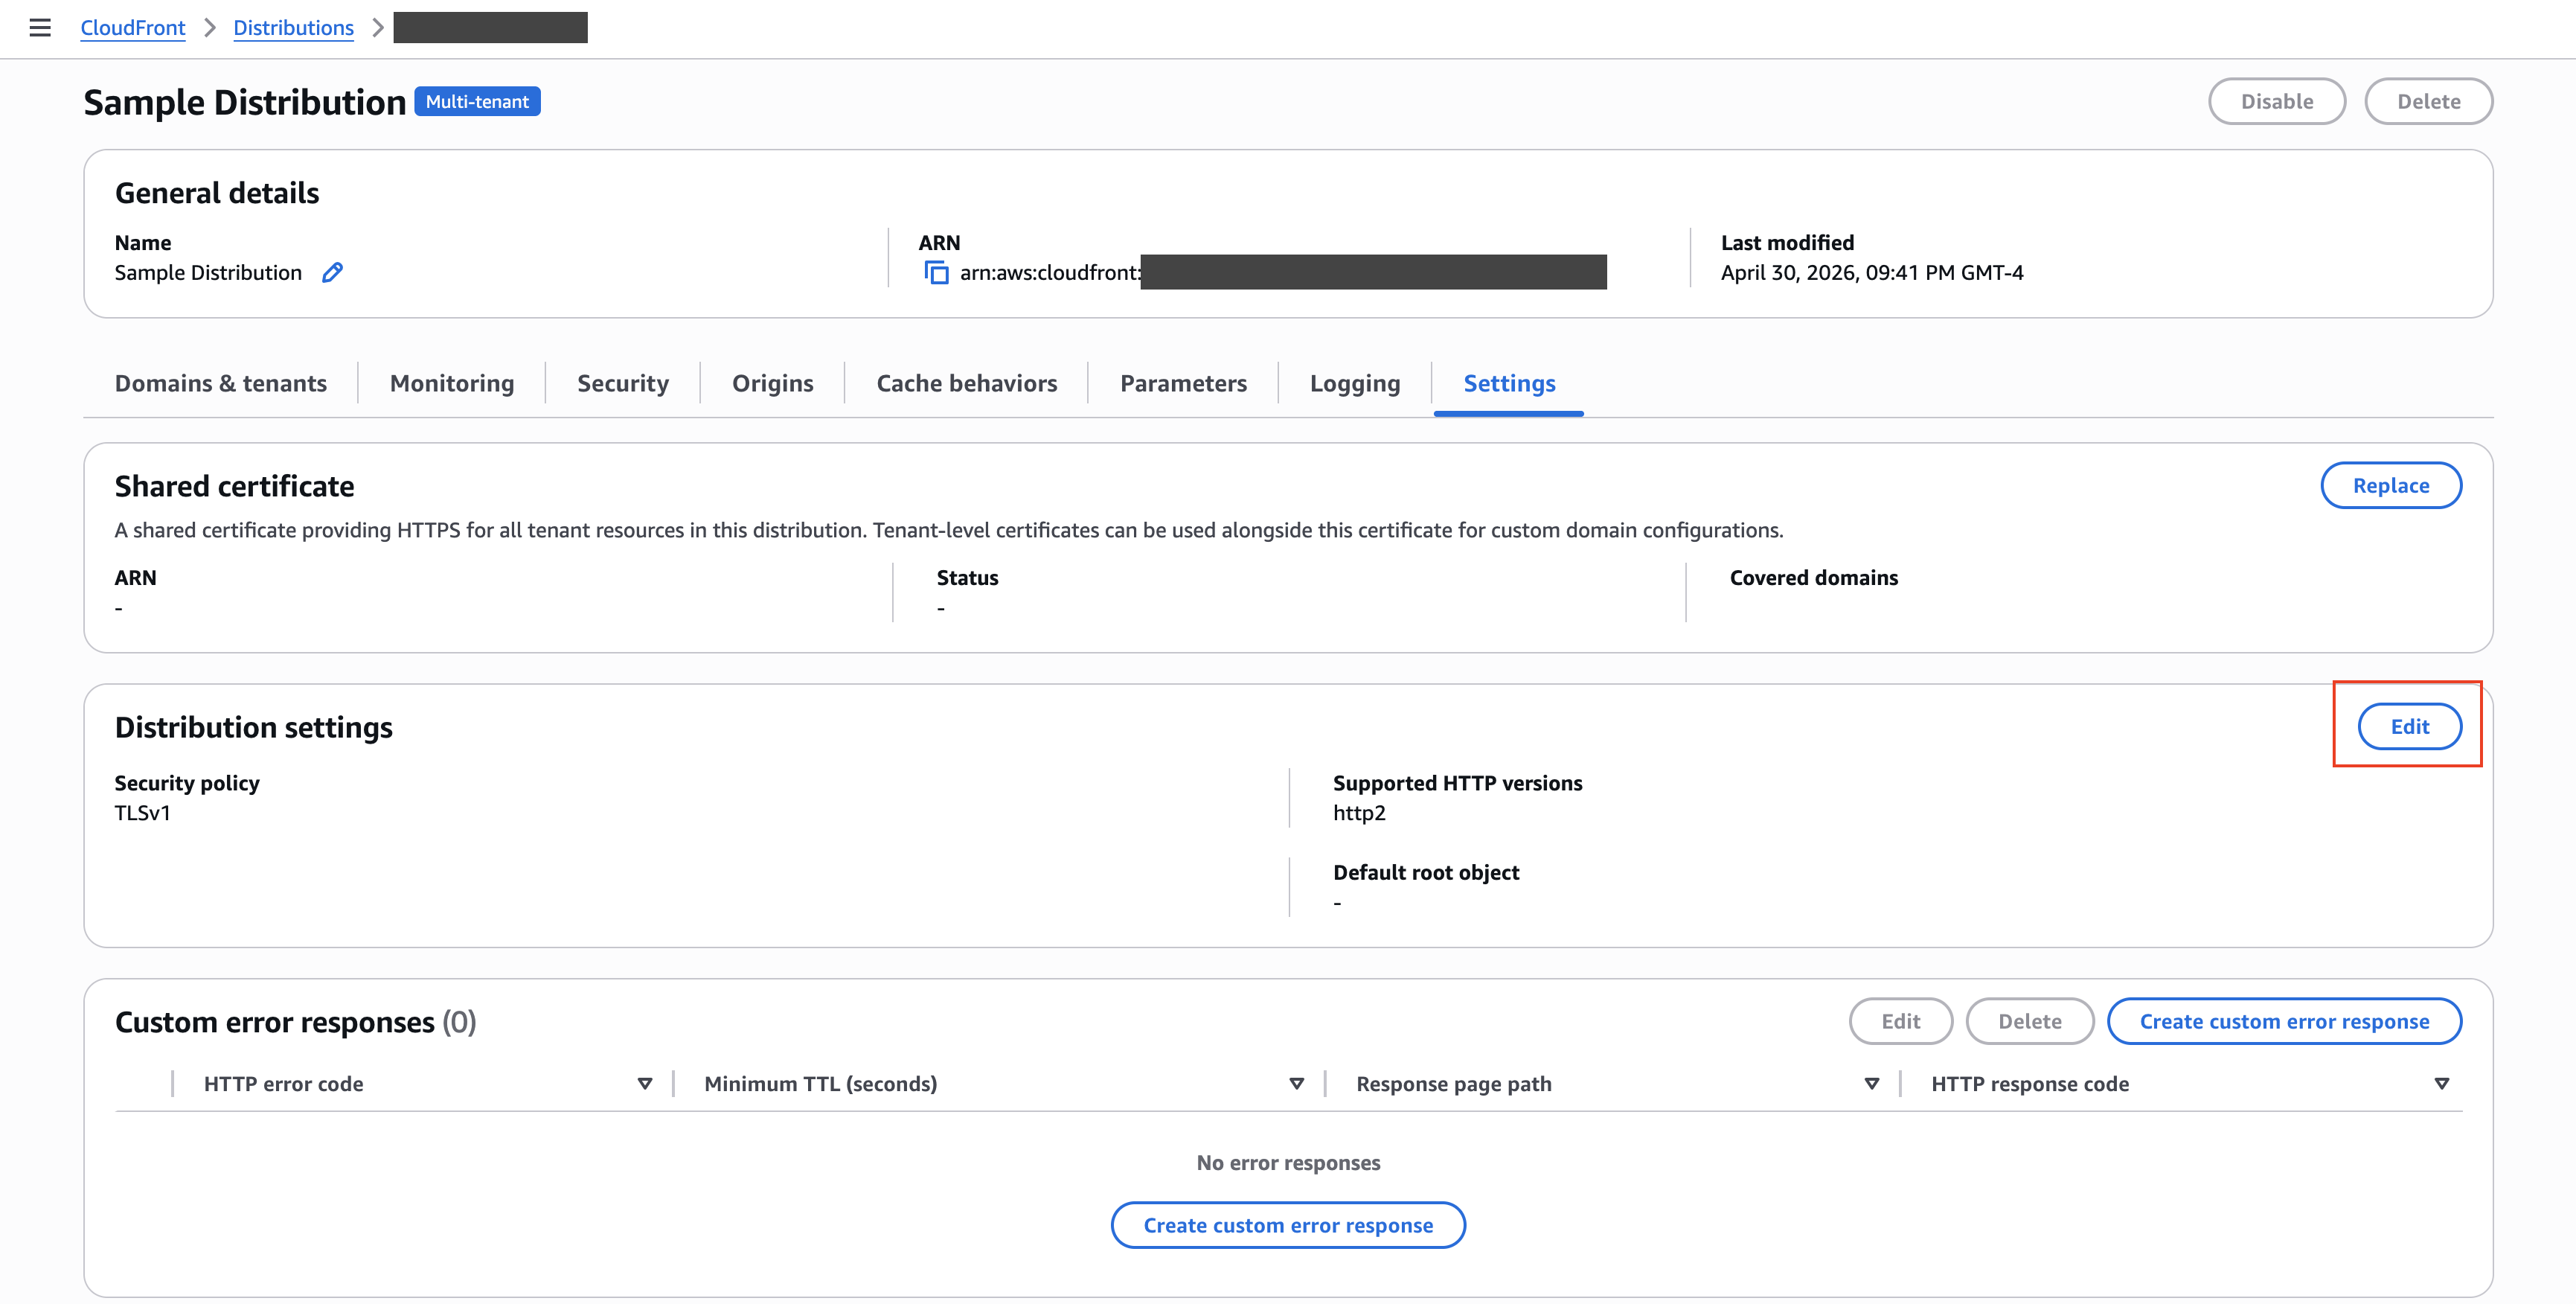
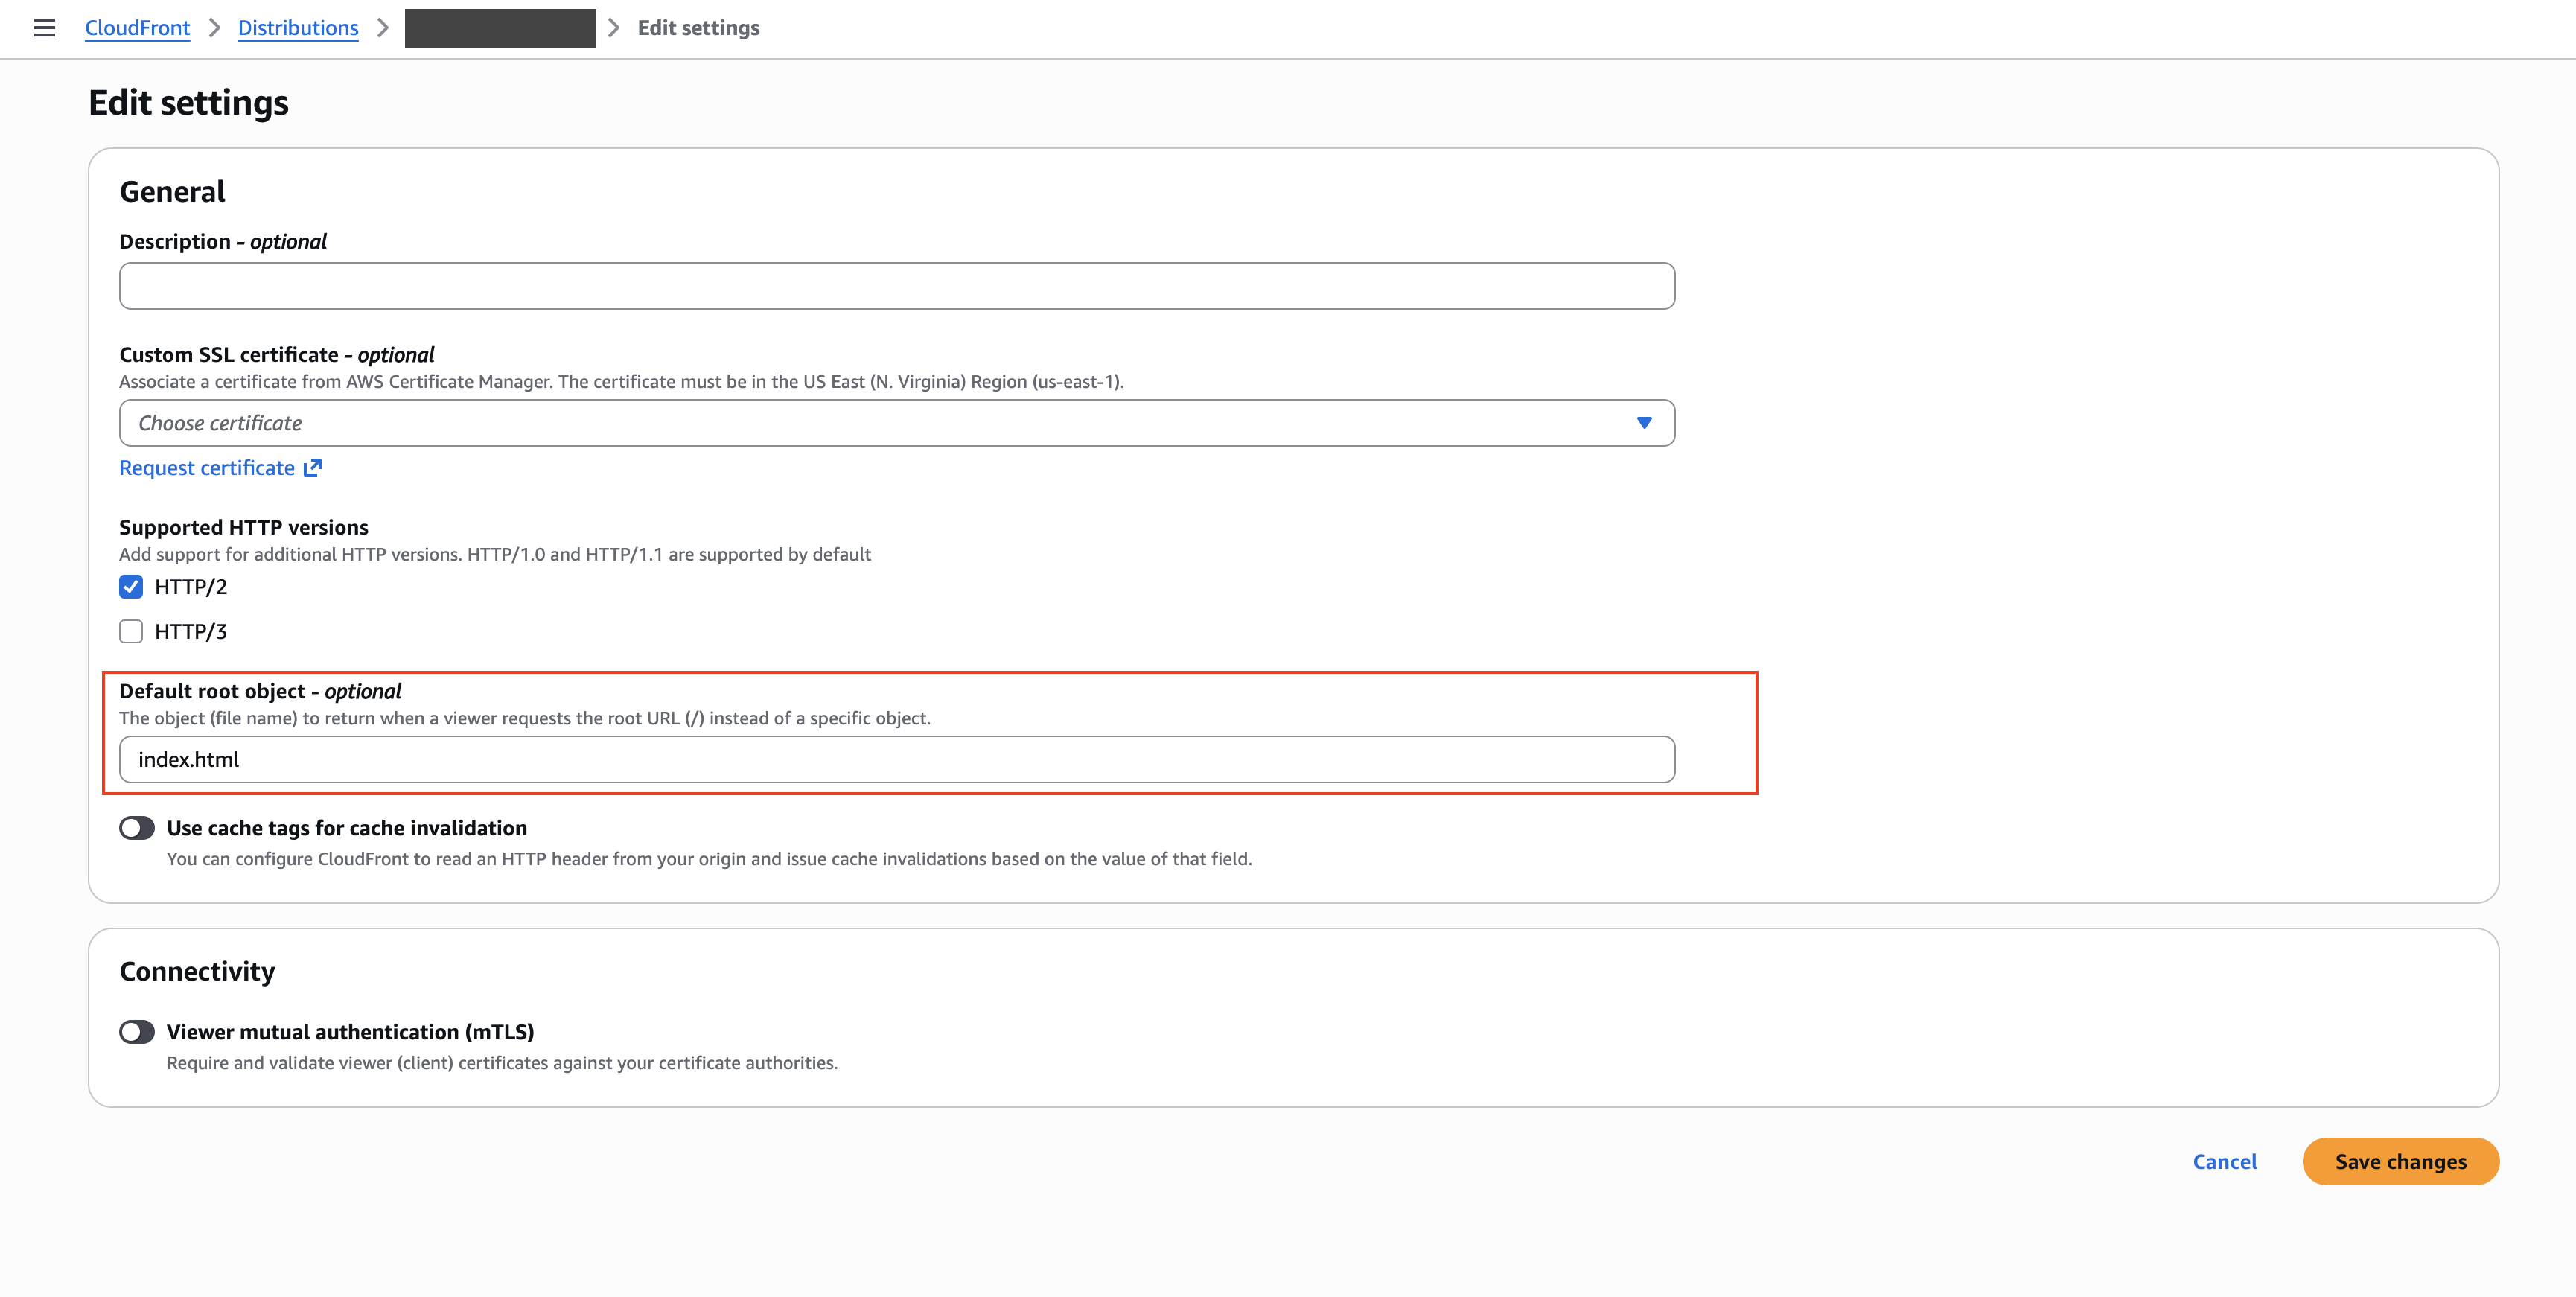
Step 7: Set the default root object
Set the distribution default root object to index.html.
Step 8: Test the first site
After deployment finishes and DNS propagates, open the first domain and confirm it serves the site1/index.html file.
Step 9: Add more sites with a CloudFront Function
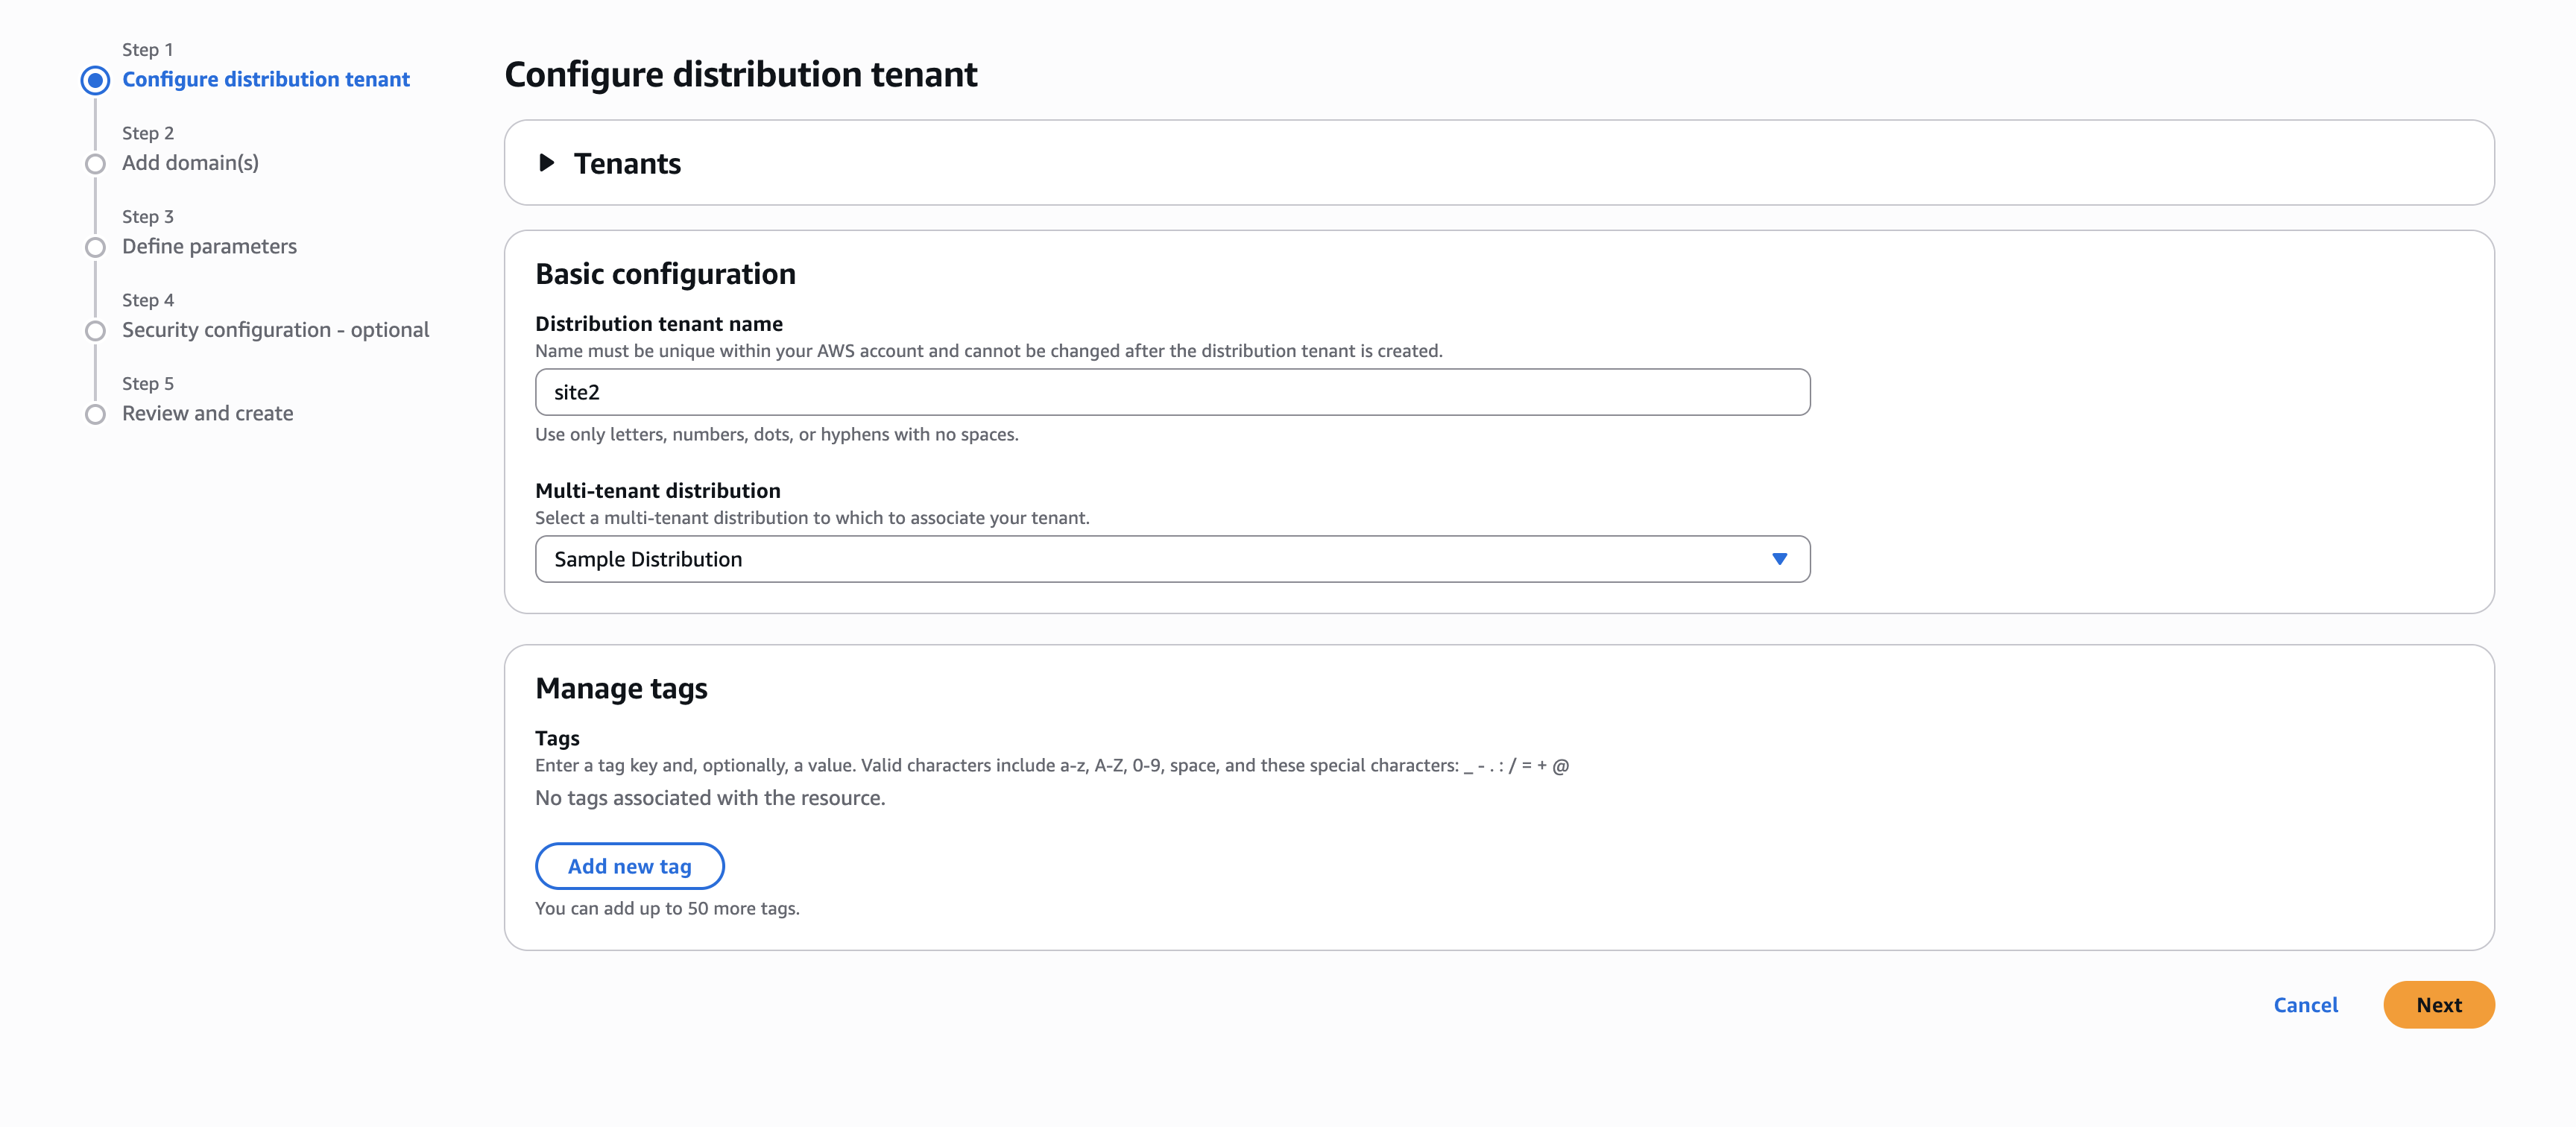
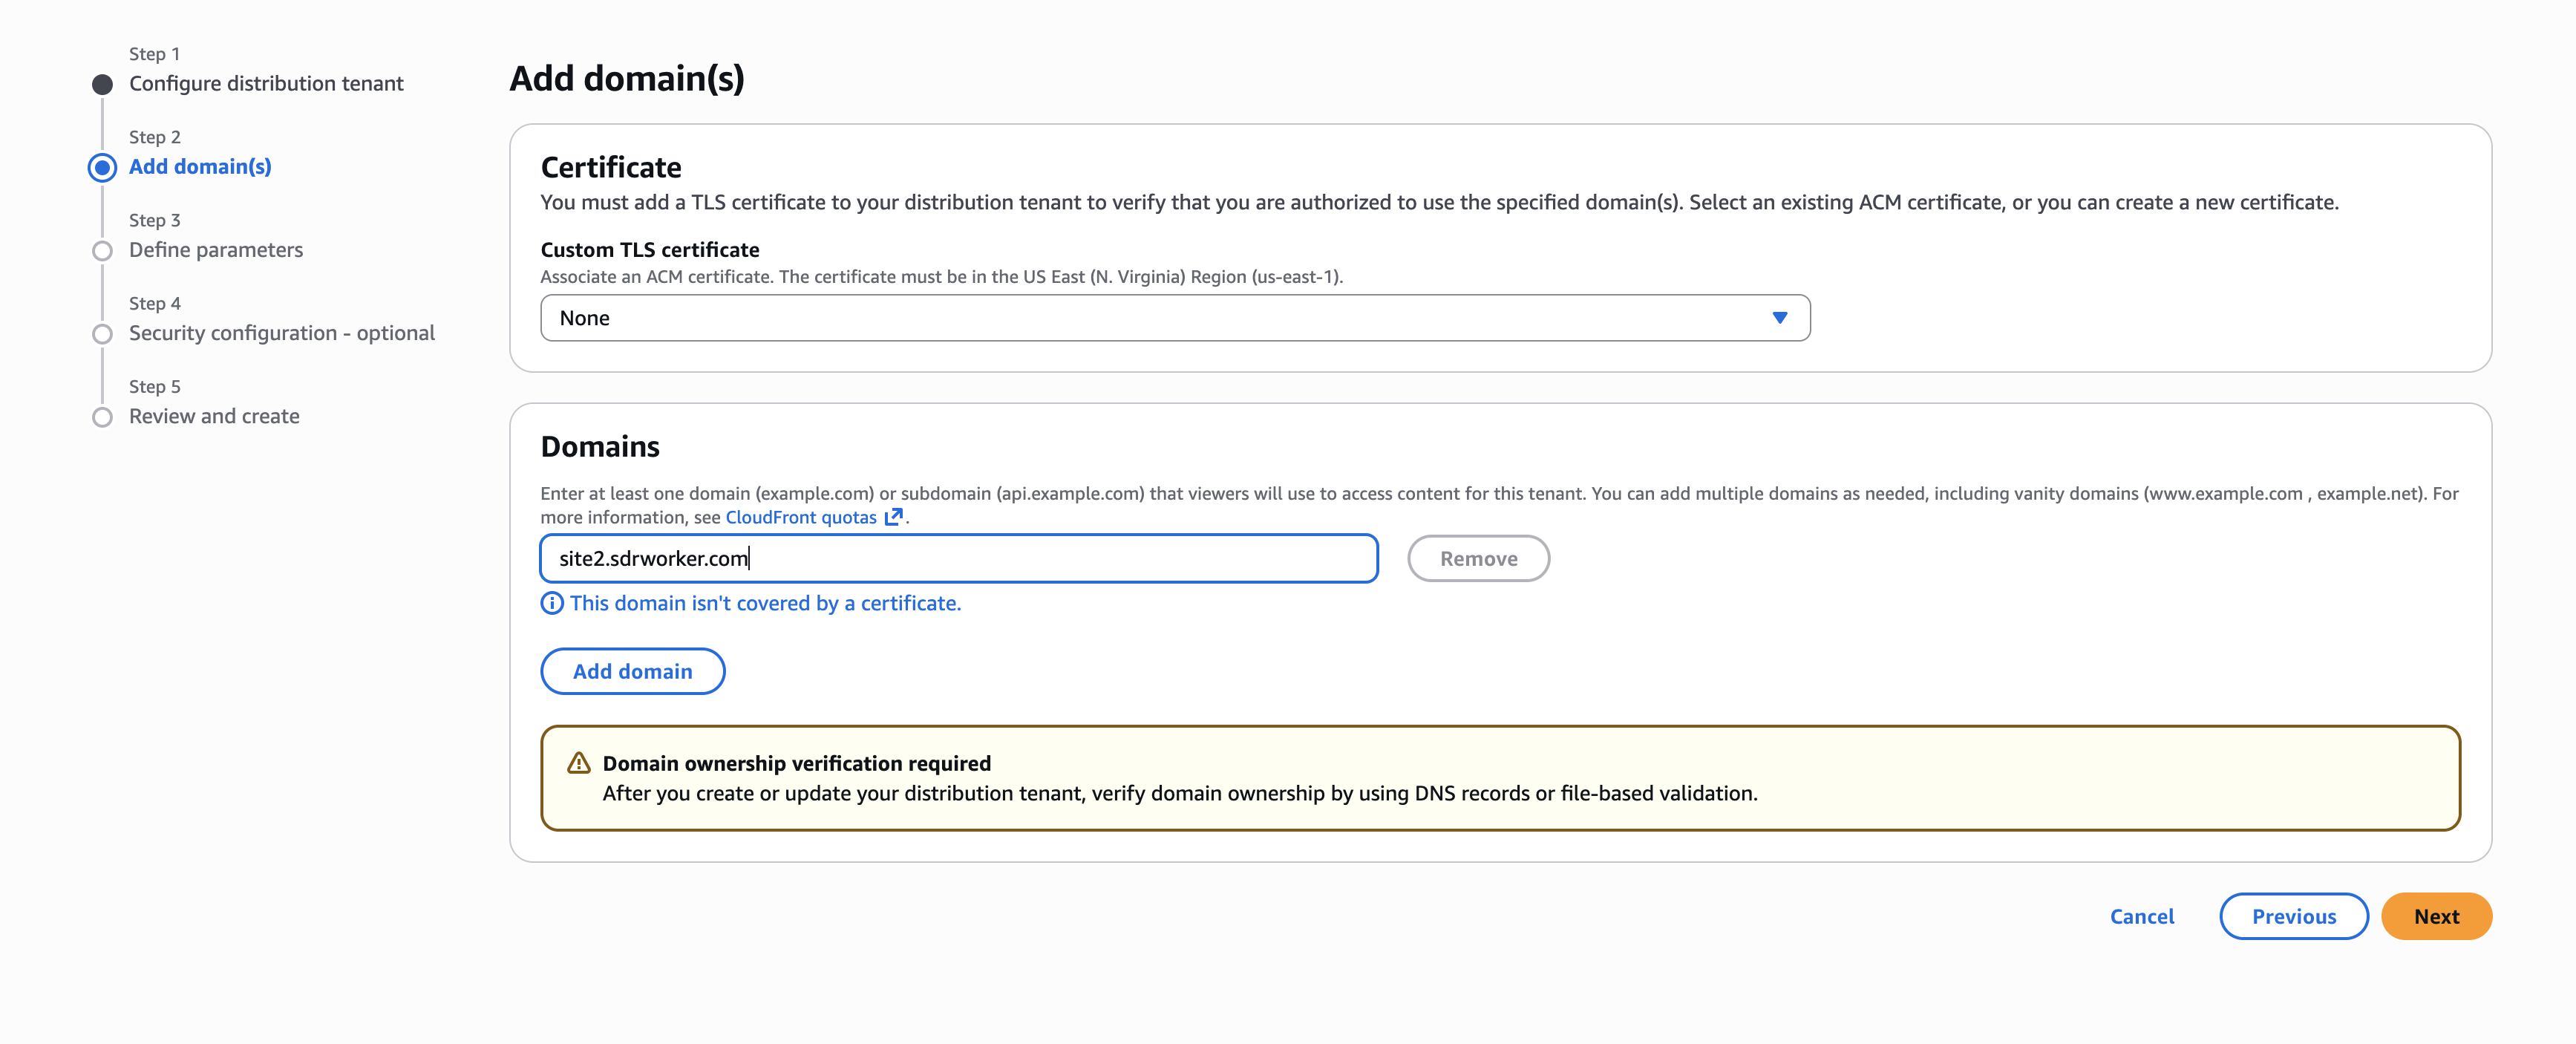
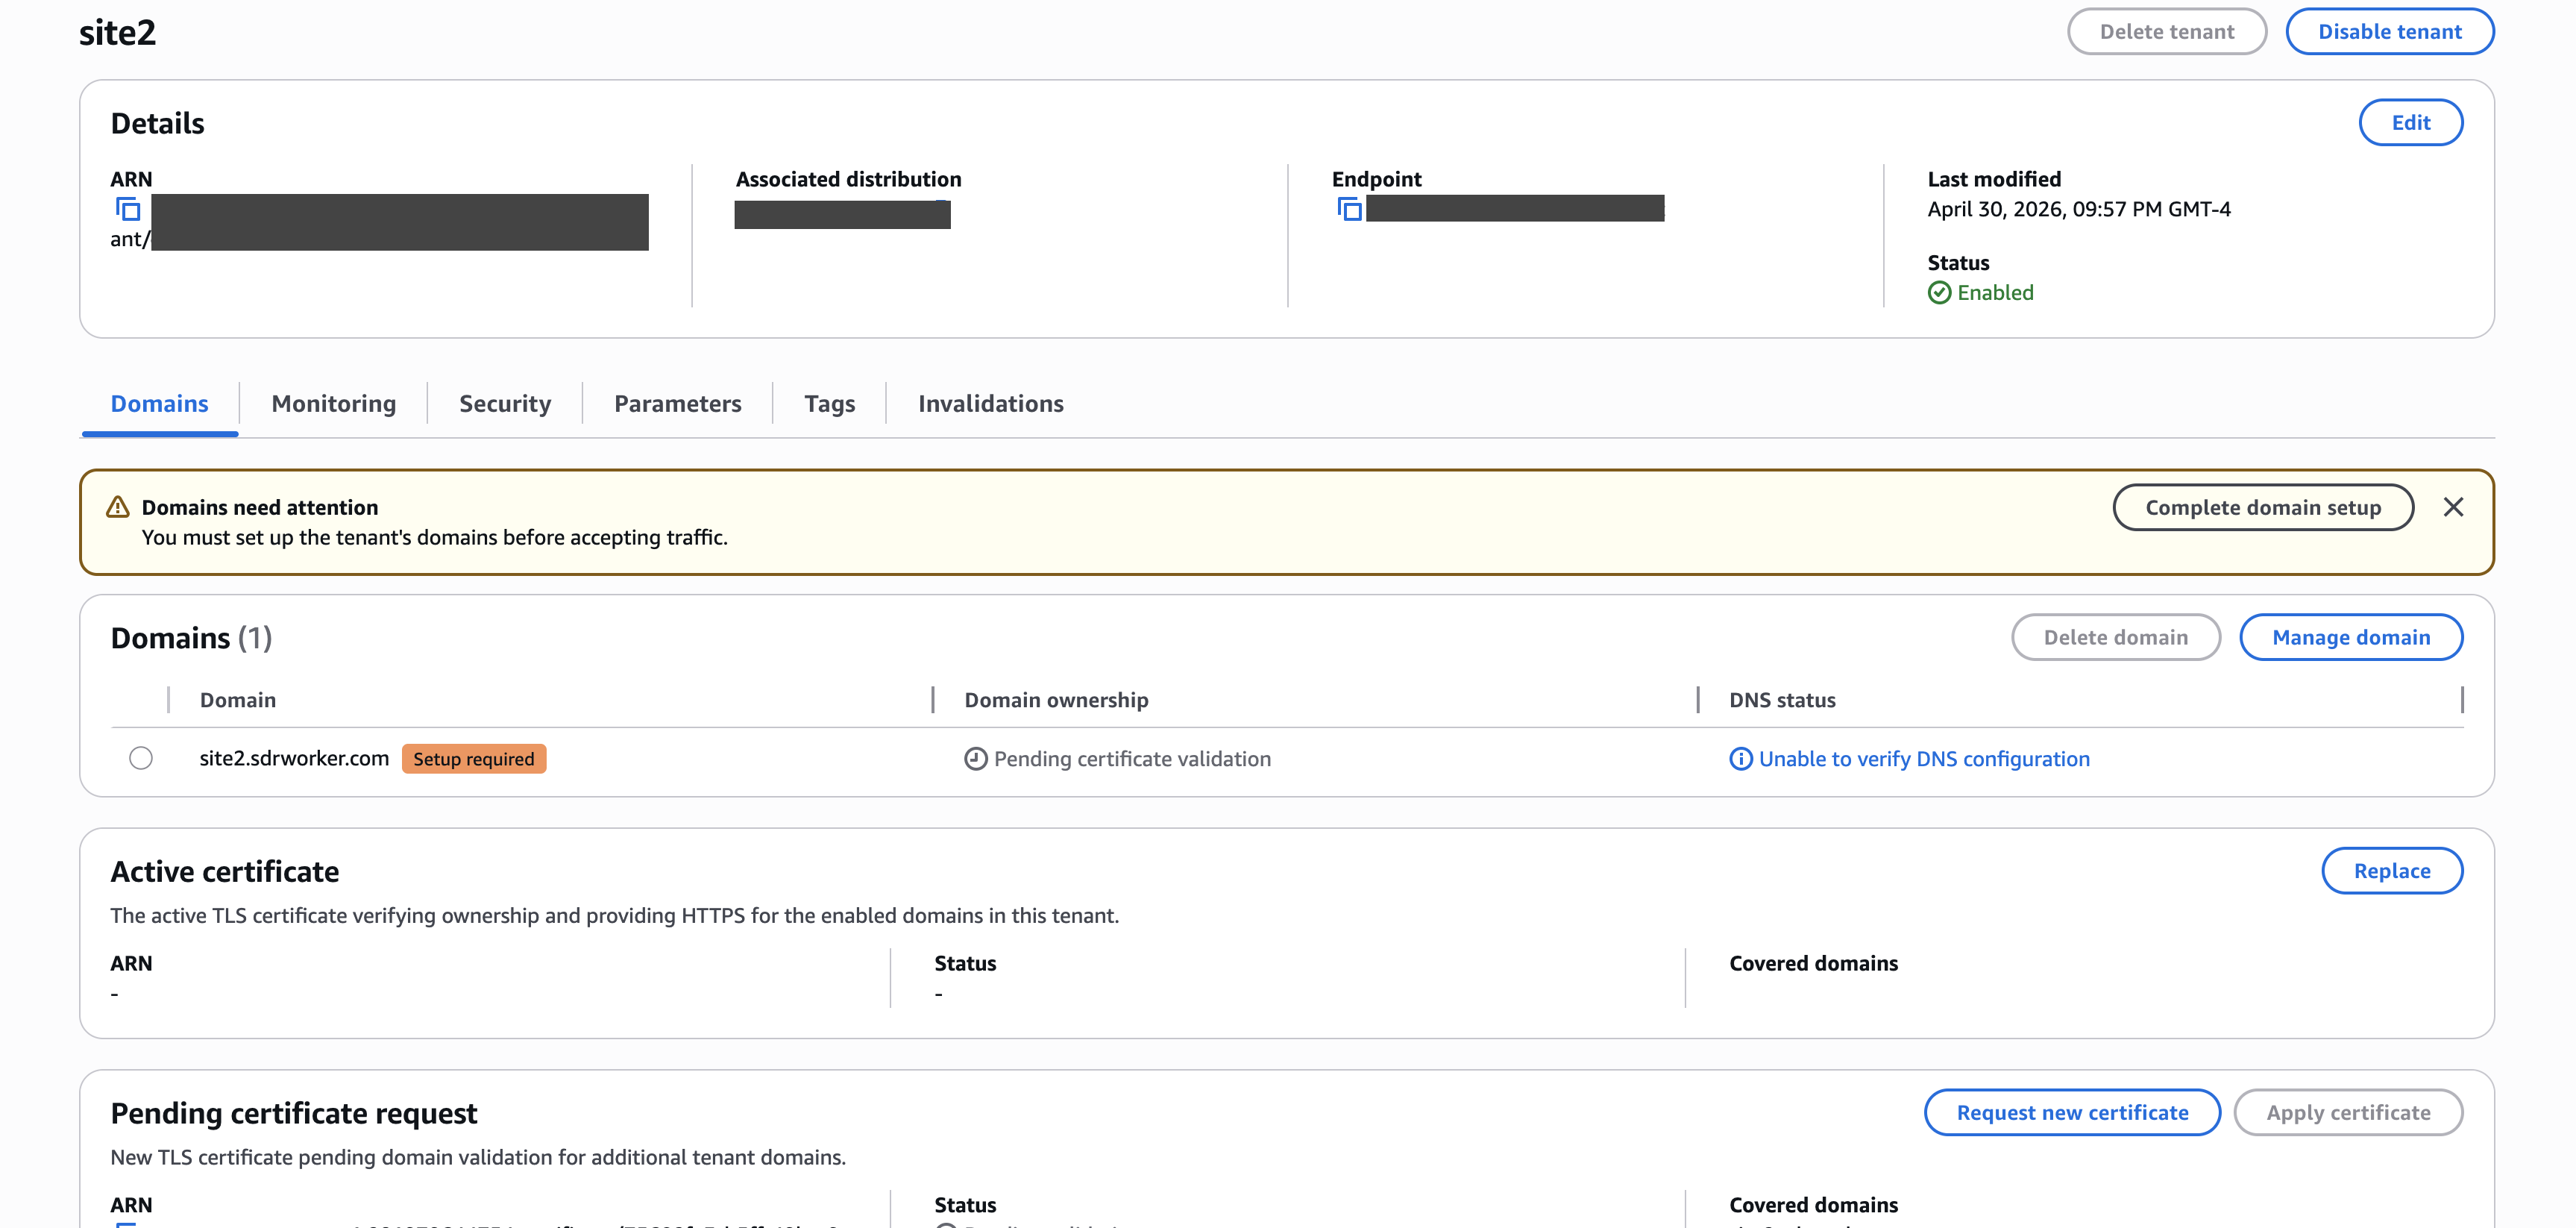
Create the second tenant in Domains & Tenants and repeat the DNS and certificate flow for site2.
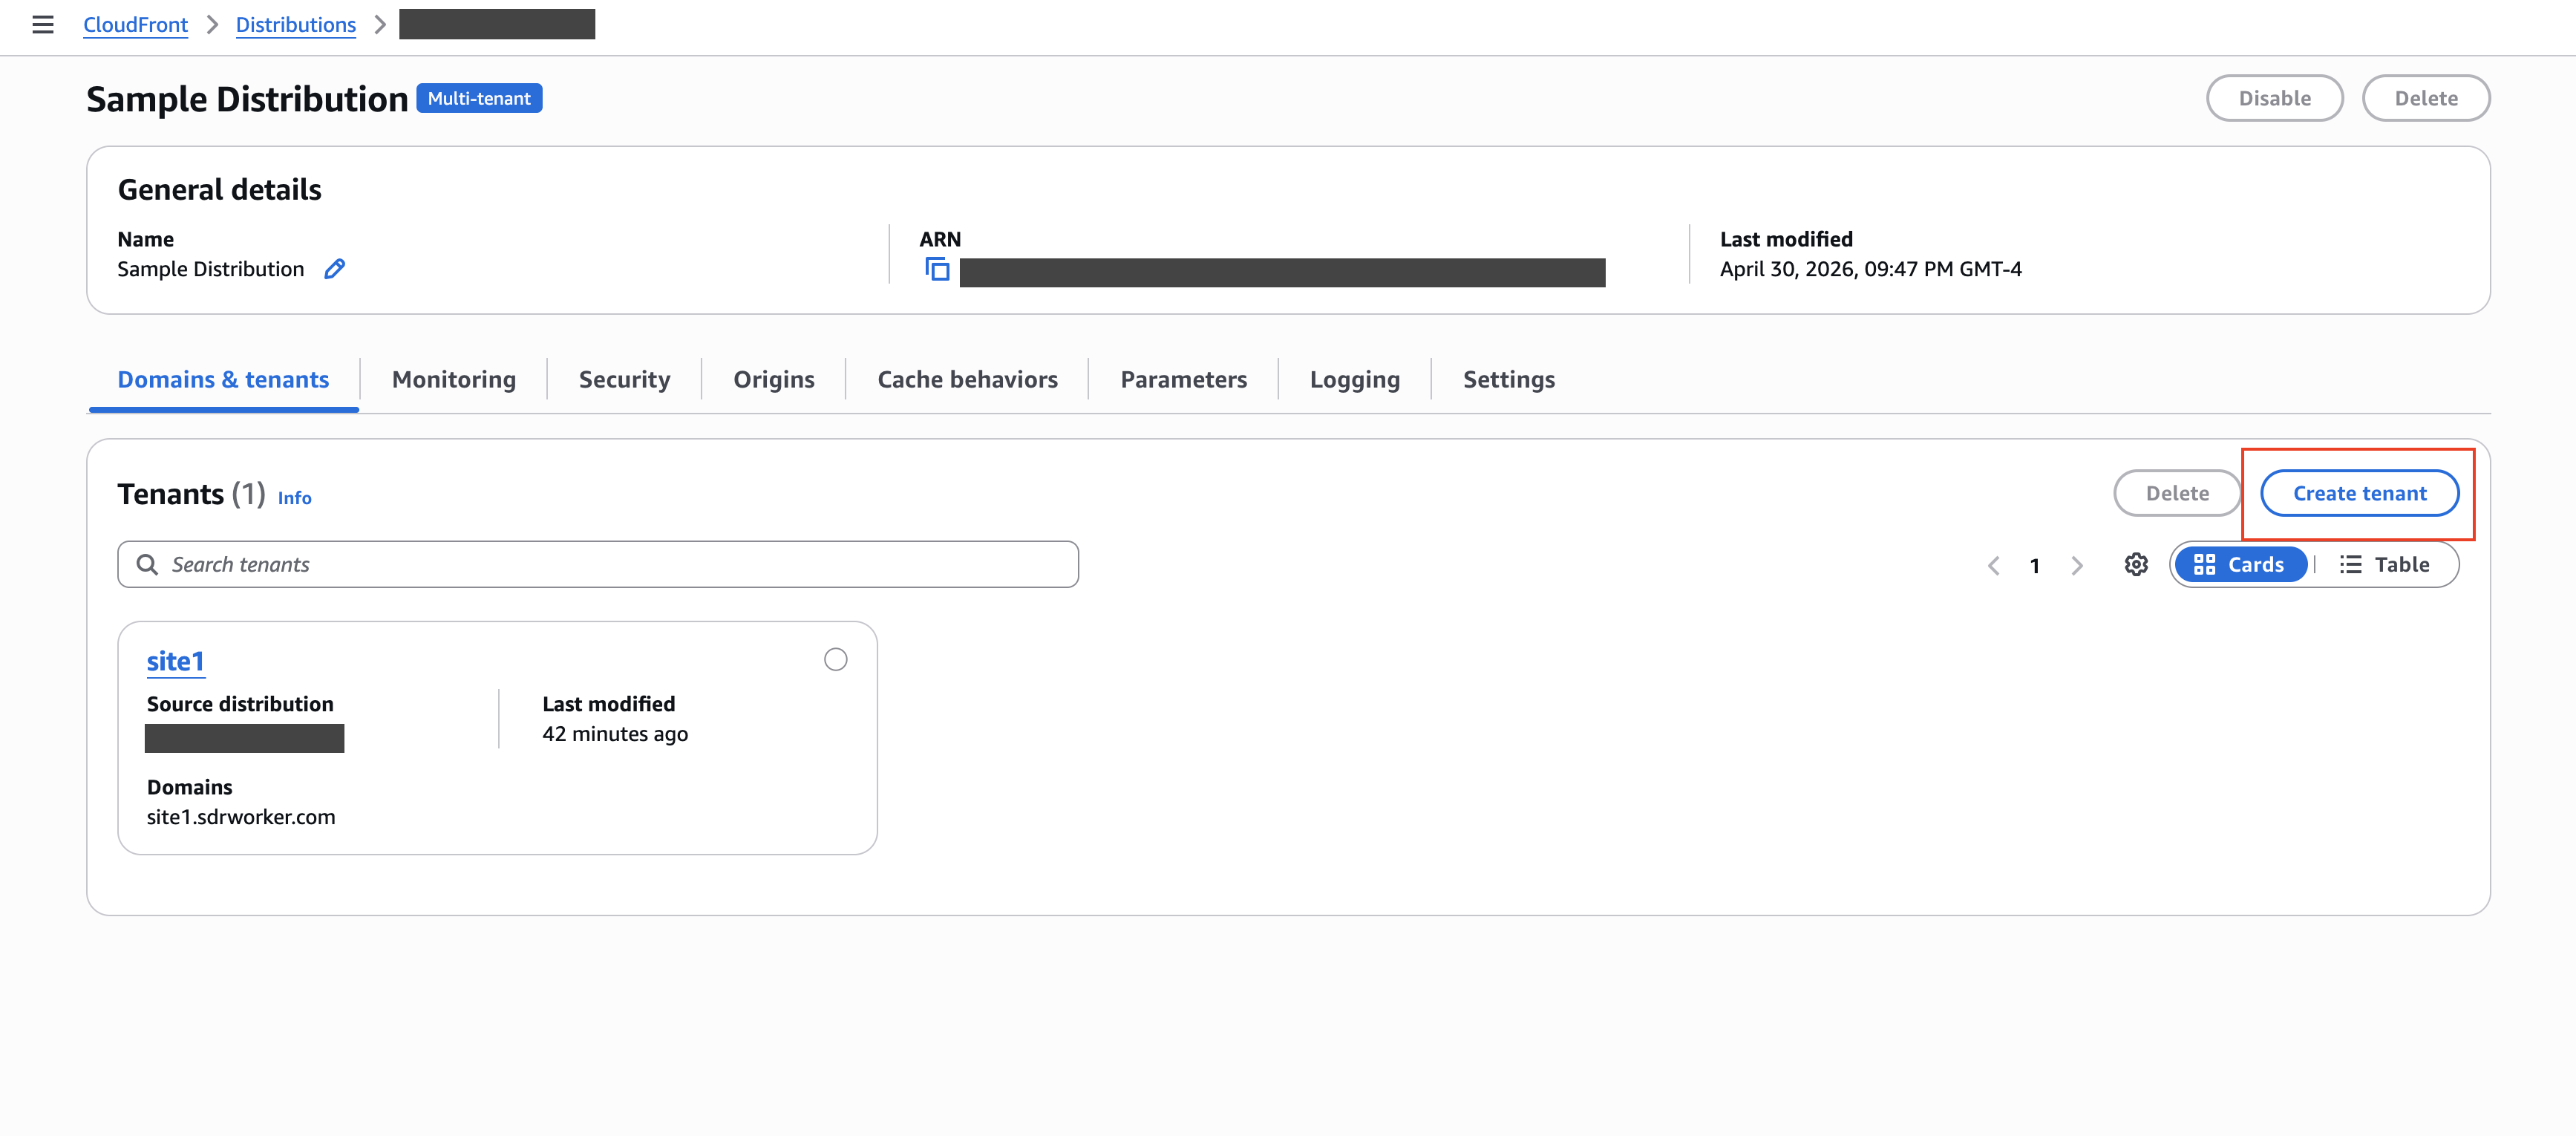
Do not create a separate origin for site2. Instead, clear the origin path and route requests with a CloudFront Function:
function handler(event) {
  var request = event.request;
  var host = request.headers.host.value;

  if (host === "site1.sdrworker.com") {
    request.uri = "/site1" + request.uri;
  } else if (host === "site2.sdrworker.com") {
    request.uri = "/site2" + request.uri;
  }

  if (request.uri.endsWith("/")) {
    request.uri += "index.html";
  } else if (!request.uri.includes(".")) {
    request.uri += "/index.html";
  }

  return request;
}
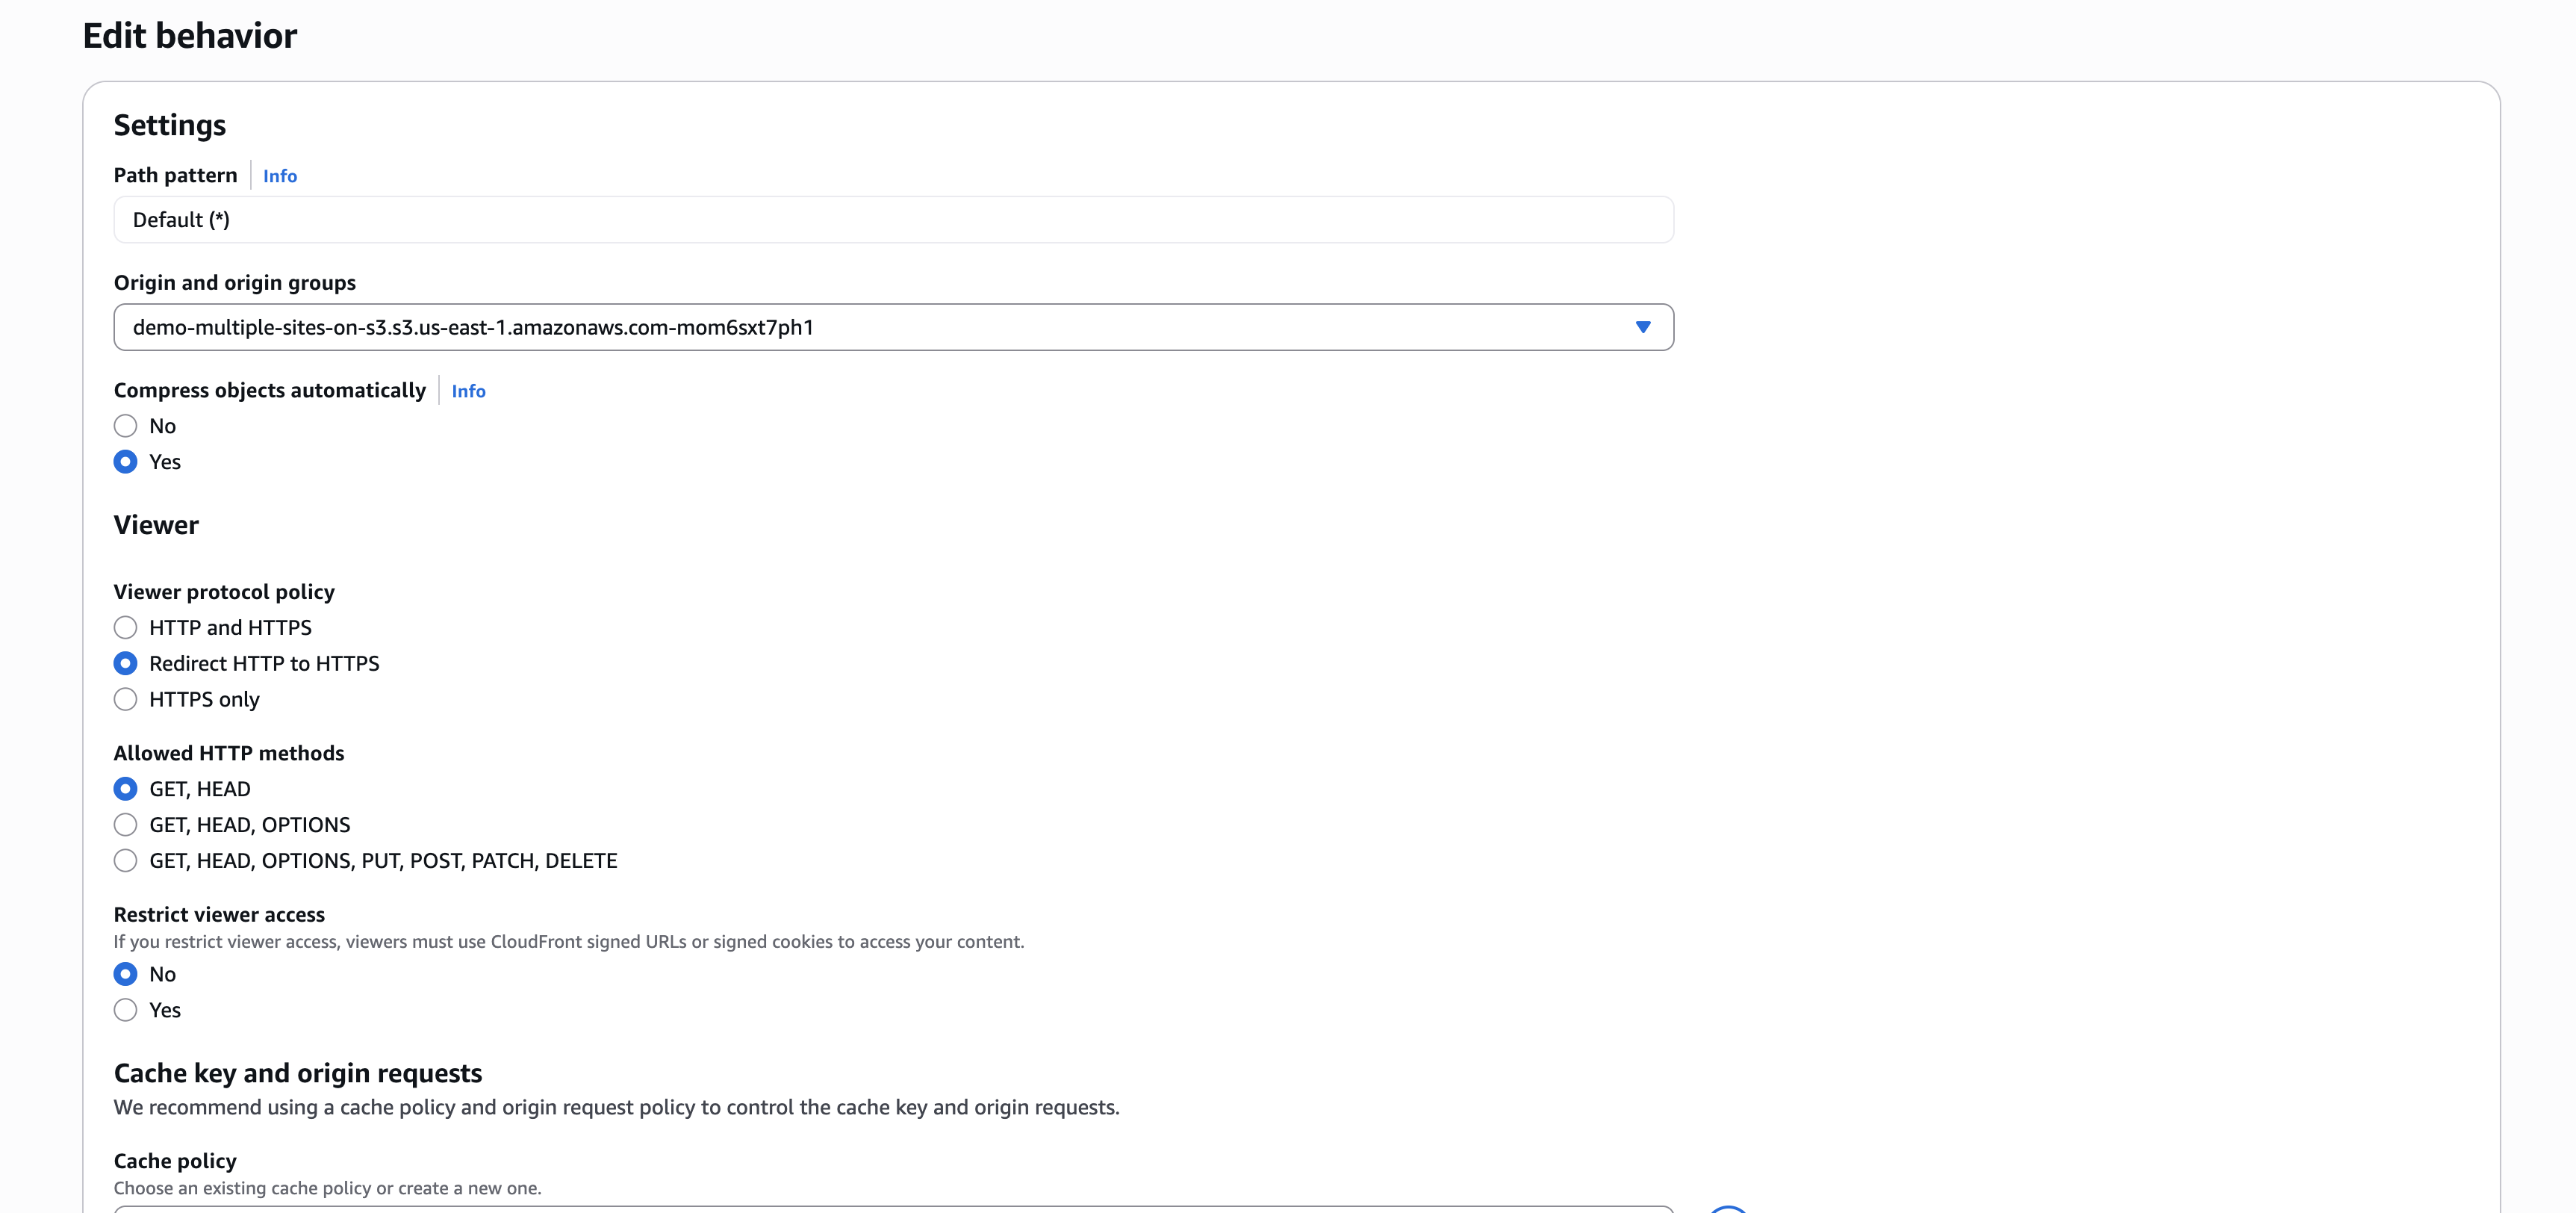
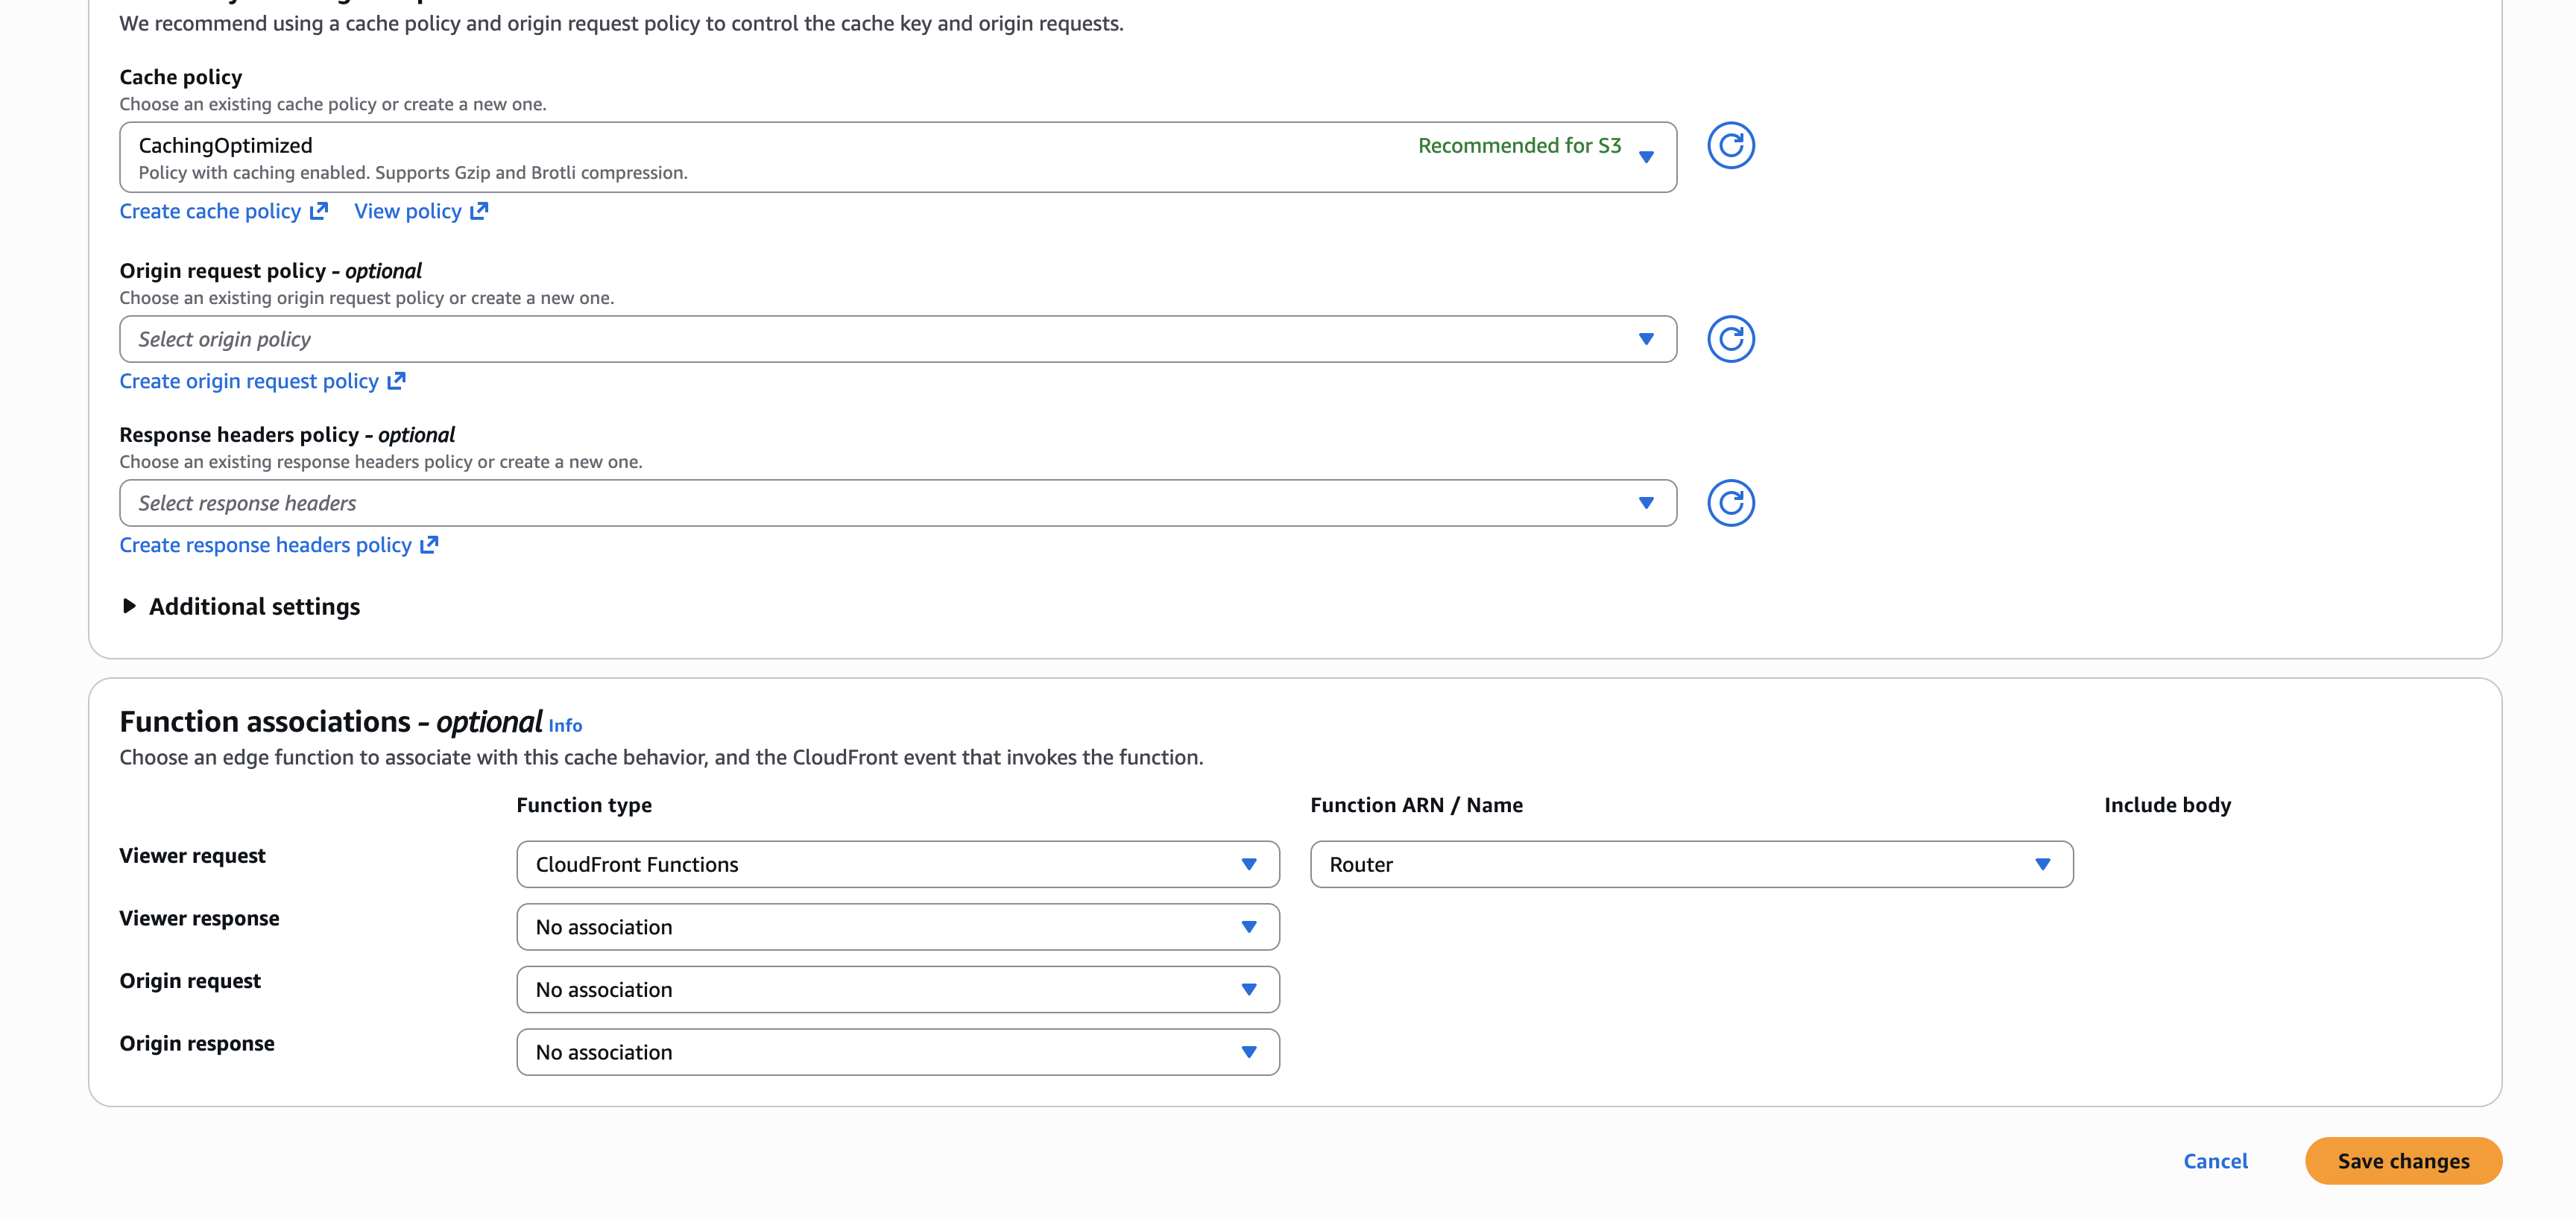
Publish the function and attach it to the default cache behavior on the Viewer Request event.

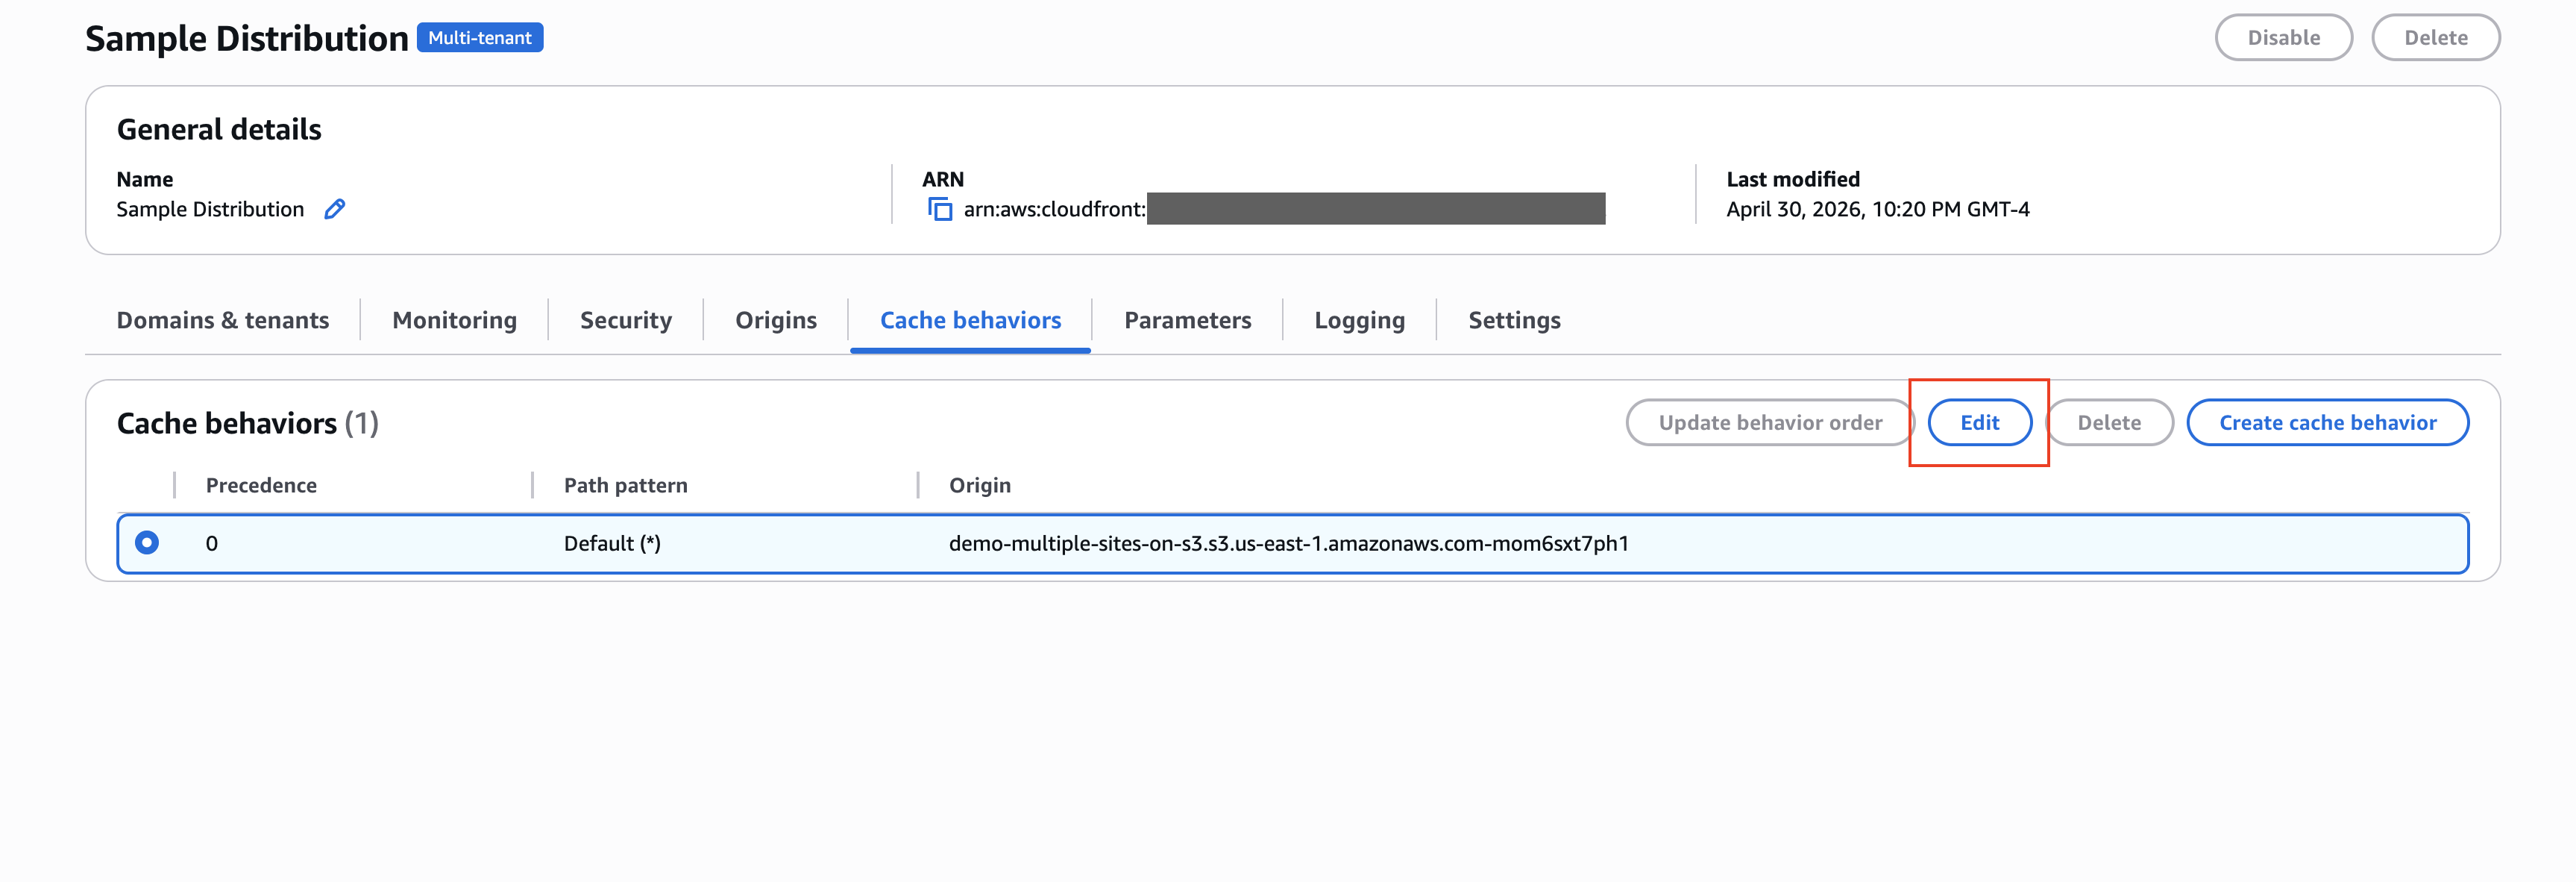
Test both hostnames again after the change deploys.
Conclusion
You now have multiple static sites hosted from one S3 bucket with CloudFront routing traffic to the correct folder. From here, you can keep adding tenants and extend the routing function for more hostnames.