Set up MYSQL on Render
Learn how to set up a MySQL database on Render using Docker.
In this tutorial, we will walk you through the steps to set up a MySQL database on Render. Render is a cloud platform that allows you to deploy web applications and databases easily. We are going to use Docker to set up a MySQL database on Render.
Step 1: Sign into Render
Sign into your Render account or create a new account if you don't have one.
Step 2: Create a New Service
Create a new Private Service on Render. You can do this by clicking on the "New" button and selecting "Private Service". If you are connecting off Render, use "Web Service" instead.
Step 3: Configure the Service
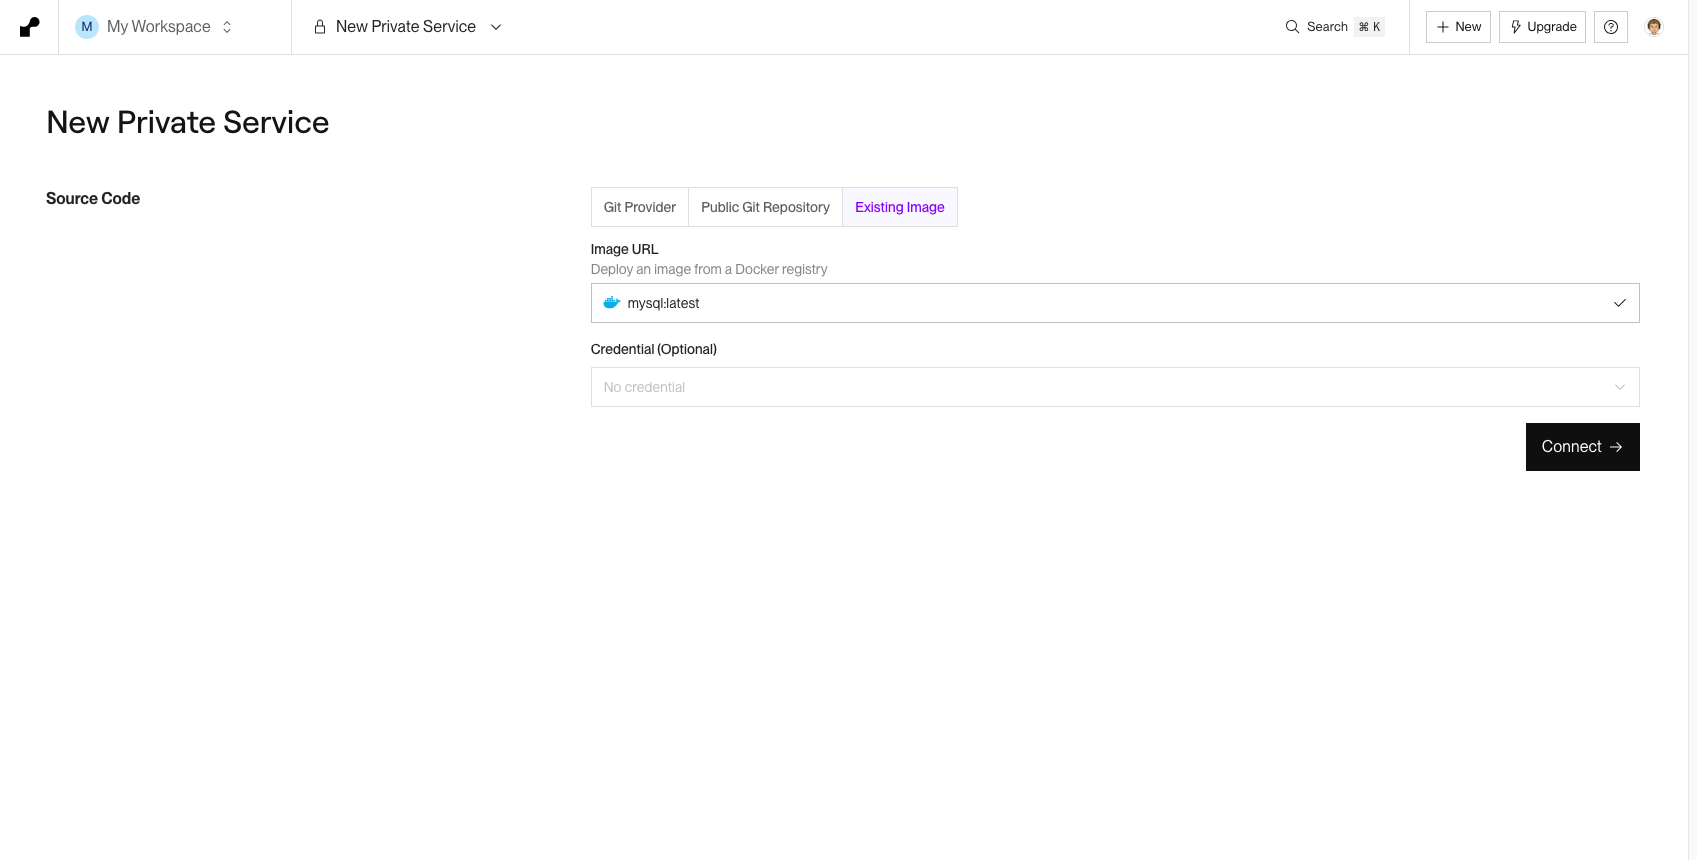
Select "Existing Image" and enter the following Docker image for MySQL:
mysql:latest
Hit "Connect" to proceed.
Select a plan, then set the environment variables for your MySQL database. You will need to set the following environment variables:
MYSQL_DATABASE:: The name of the database you want to create.MYSQL_ROOT_PASSWORD:: The password for the root user.
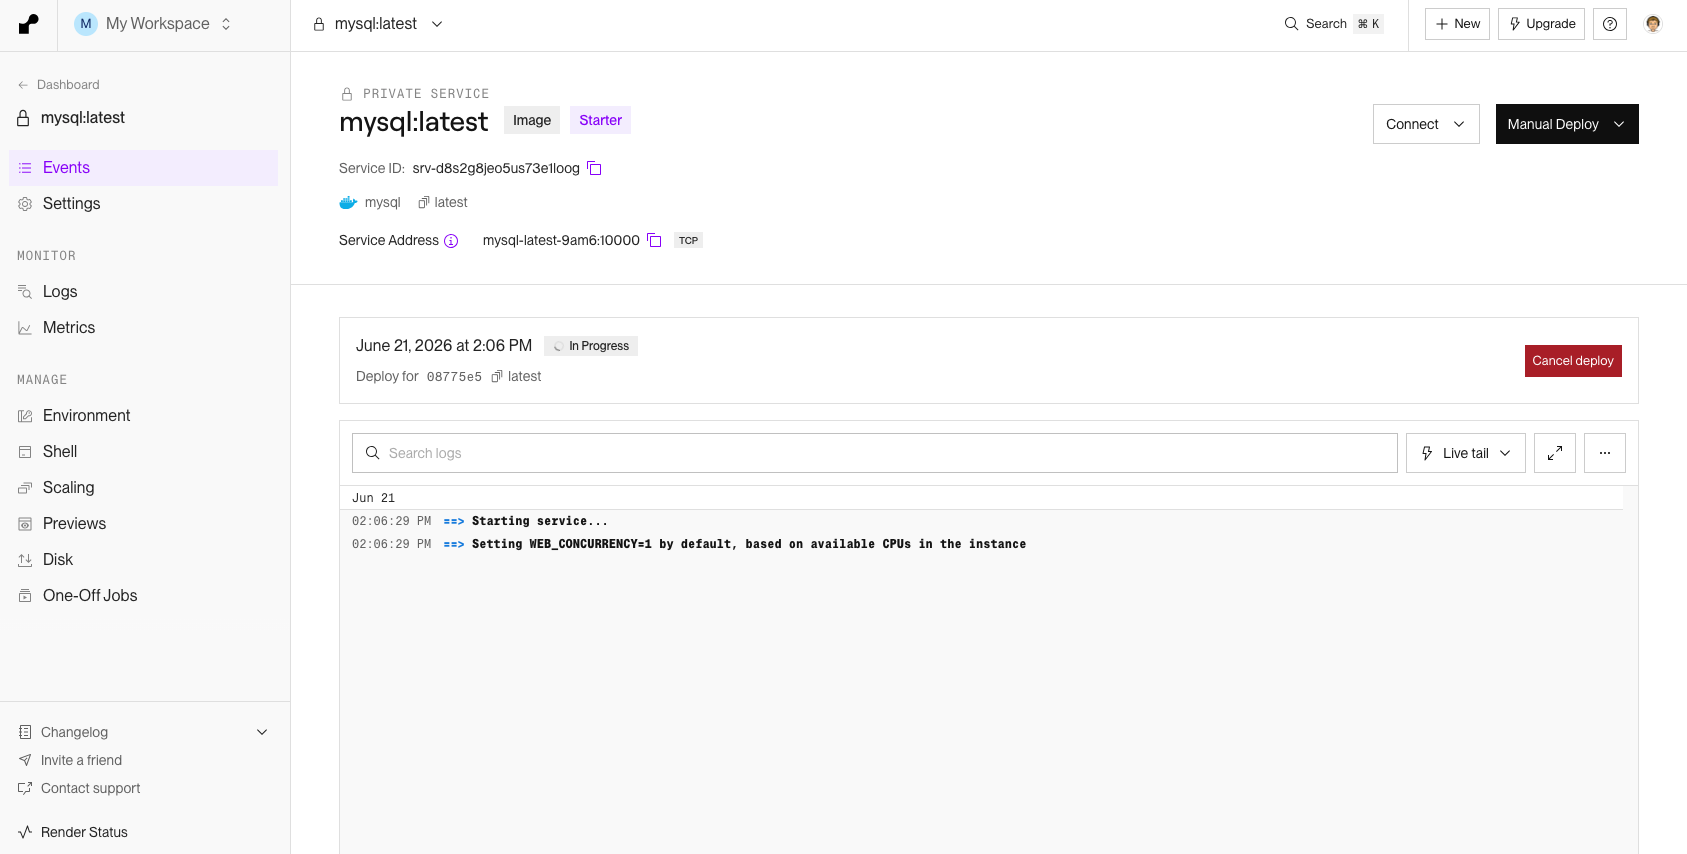
Hit Deploy to create the service.
Step 4: Connect to the Database
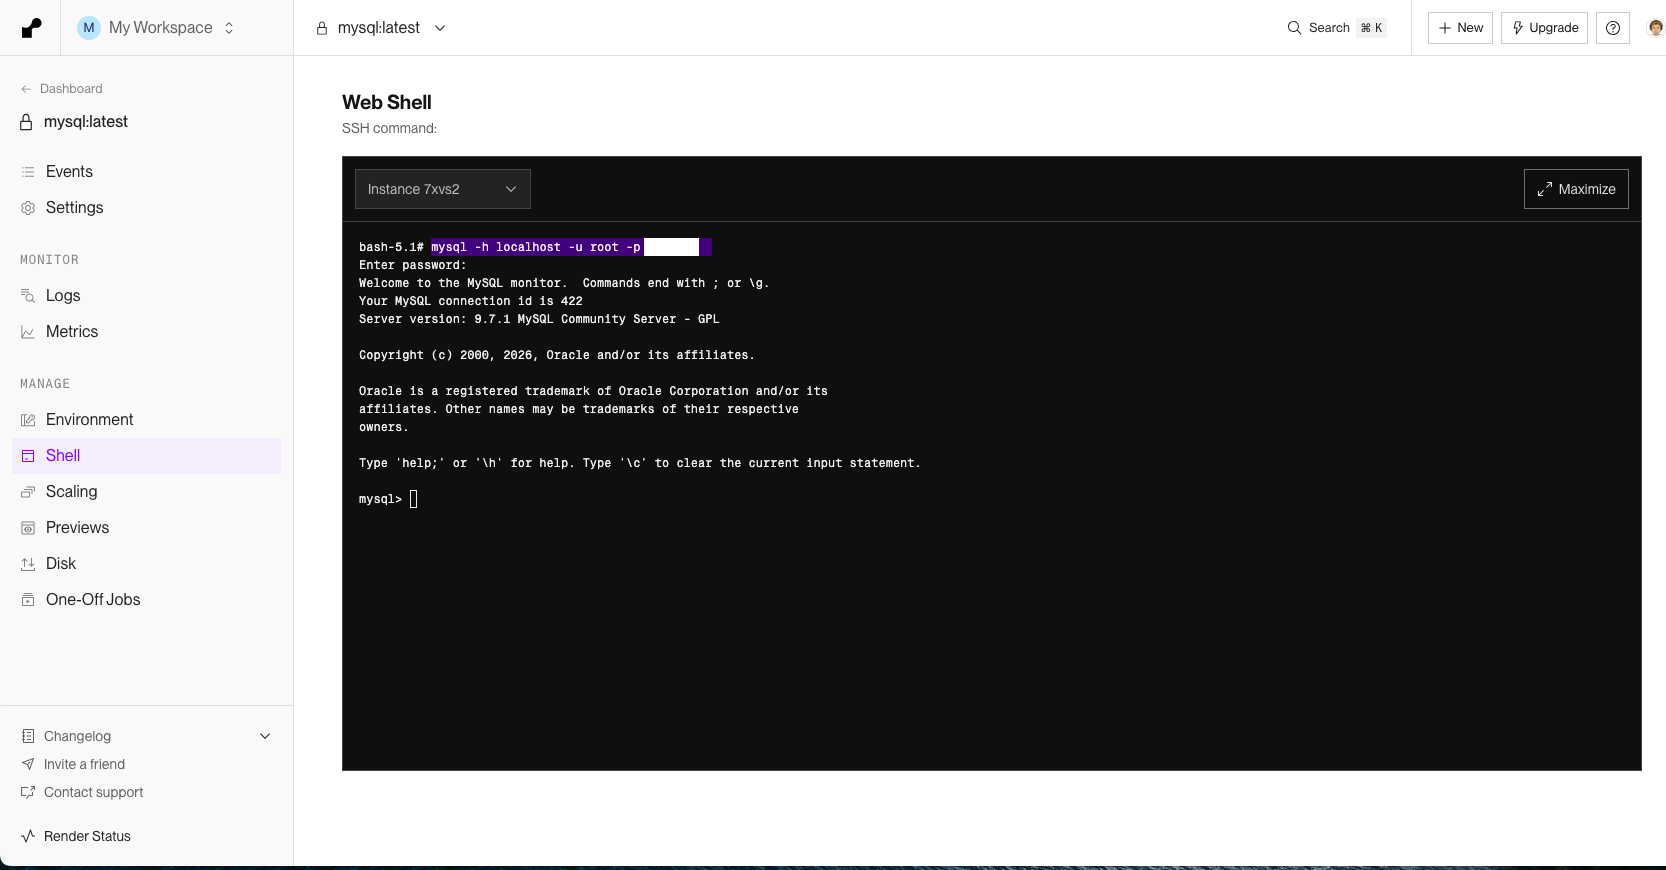
Once the service is deployed, you can connect to your MySQL database using the connection details provided by Render. You can find these details in the "Environment" tab of your service. Open the Shell (On left menu), and run:
$ mysql -h localhost -u root -p YOUR_DB_NAME
> Enter your password
Conclusion
Congratulations! You have successfully set up a MySQL database on Render. You can now use this database for your applications or projects. If you have any questions or need further assistance, feel free to reach out to the Render support team.